
Legendary scene developer TheGammaSqueeze is back again to bring the most out of your emulation hardware. This time, they’re bringing that special sprinkle of Gamma magic to the recent Anbernic RG Vita Pro.
The Vita Pro shipped with a dual-boot Linux/Android option that was admirable to include, but a bit off with its execution. GammaOS Next brings with it a whole host of additional options, tweaks, and performance boosts.
New GammaOS Next releases are generally locked behind a timed initial release window that’s only for Patreon subscribers, but this release is available to all for free right now!
So grab your new Vita Pro and follow along to get the most bang out of your Anberbucks.
What You’ll Need
- A trusted brand of micro SD card (64GB – 128GB recommended). Cards that come with these devices are of poor quality and prone to failure. If you ordered a loaded card with your device, back it up and chuck the card. It will eventually fail. Don’t say we didn’t warn you!
- An SD Card reader
- A Windows/MAC/Linux PC
- 7-Zip or WinRAR to unpack any downloads
- Rufus or any other Image writing software of choice
- Balena Etcher – Image writing software available for all major Desktop OS.
- Win32DiskImager – An open-source option designed for Windows, but there are many ports.
- MintStick/USB Image Writer – Image writing software that comes baked in with many popular Linux OS distros.
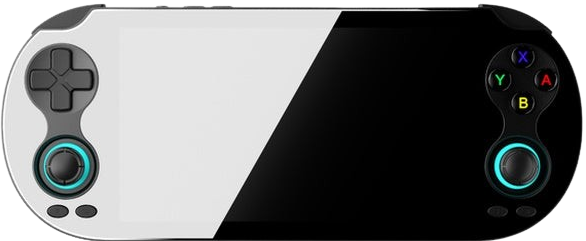
Anbernic RG Vita Pro
Choose Your Package
GammaOS comes in two different flavors for the RG Vita Pro. The standard package includes hardware tunes and overclocks to squeeze additional performance from the chipset. The alternate option removes the overclocking for users who just want to keep the stock tuning.
It’s worth noting that the RG Vita Pro does not have any type of active cooling, so if you’re planning on installing the overclocked version of the OS, you might want to consider an additional cooling mod like a thermal pad to keep things safe. For today’s install, I’m going to opt for the non-overclocked version, but the process should be the same regardless.

Now, between these two packages, there is an additional choice you’ll have to make. You can opt for either the Full or Lite package. The difference between the two options is that the Lite version of Gamma is essentially the de-Googled version.
If you’re someone (like me) who doesn’t care about having access to Google Services on your handhelds, then the Lite version is the way to go – minimal bloat, maximum performance and battery life. The Aurora Store comes pre-installed with the Lite version, so your access to a full apps marketplace remains intact.
Installation Instructions
- Head over to the GammaOS Next Github and download the package that you’d like to install.

- Unpack the downloaded package from the .001 archive using WinRaR, 7zip, or your archive tool of choice

- Using Balena Etcher, USB Image Writer, or any of the choices listed above, select the extracted xxx_VITA_PRO_GammaOS_xxx_SDCARDINSTALL.img as the file to be written. Choose your fresh SD card as the destination. Be careful to make sure you’re selecting the correct drive, as this will erase the entire contents of whatever you choose.

- Write the .img and let the software do its thing


- Now that the .img has been written to the SD card, eject the card from your PC and insert it into the TF1 Card slot of the Vita Pro.
- Power on the Vita Pro handheld. You should be greeted by a status bar and a “installing system update” message. The system is unpacking GammaOS and rewriting the needed internal files.

- Once the status bar is full, you should enter the terminal environment and be presented with installation processes. Then you’ll be asked to do something that I’ve never done before….

- With the RG Vita Pro still ON, remove the SD card from the TF1 Card slot.
- Installation will finish, and you should be greeted by the GammaOS logo.

- After inputting some details like your WiFi information, the final stages of the install will commence and start installing the standard suite of apps. You’ll also have an opportunity to test the controller inputs to make sure you have a full range of motion and no cardinal snapping issues.


- From there, it’s just a matter of following the setup steps before booting into your new OS with the Daijisho frontend.

- You’re done! The SD card that we used for the installation can be reused for ROMs or whatever else you might want to do with it. GammaOS Next has been written to the internal storage of the Vita Pro.
Final Notes
The Anbernic RG Vita Pro is a good device that just felt like it had launched with a bit of a confused identity. A half-baked Linux option wasn’t really doing anything to justify itself at the time of launch.

If you’d like to learn about all the highlights that the switch over to Gamma can offer users, check out Andrew’s recent news.
GammaOS Next, arriving on the console, means that you will be running at the hardware’s max potential with access to everything you could want. Get flashing!