

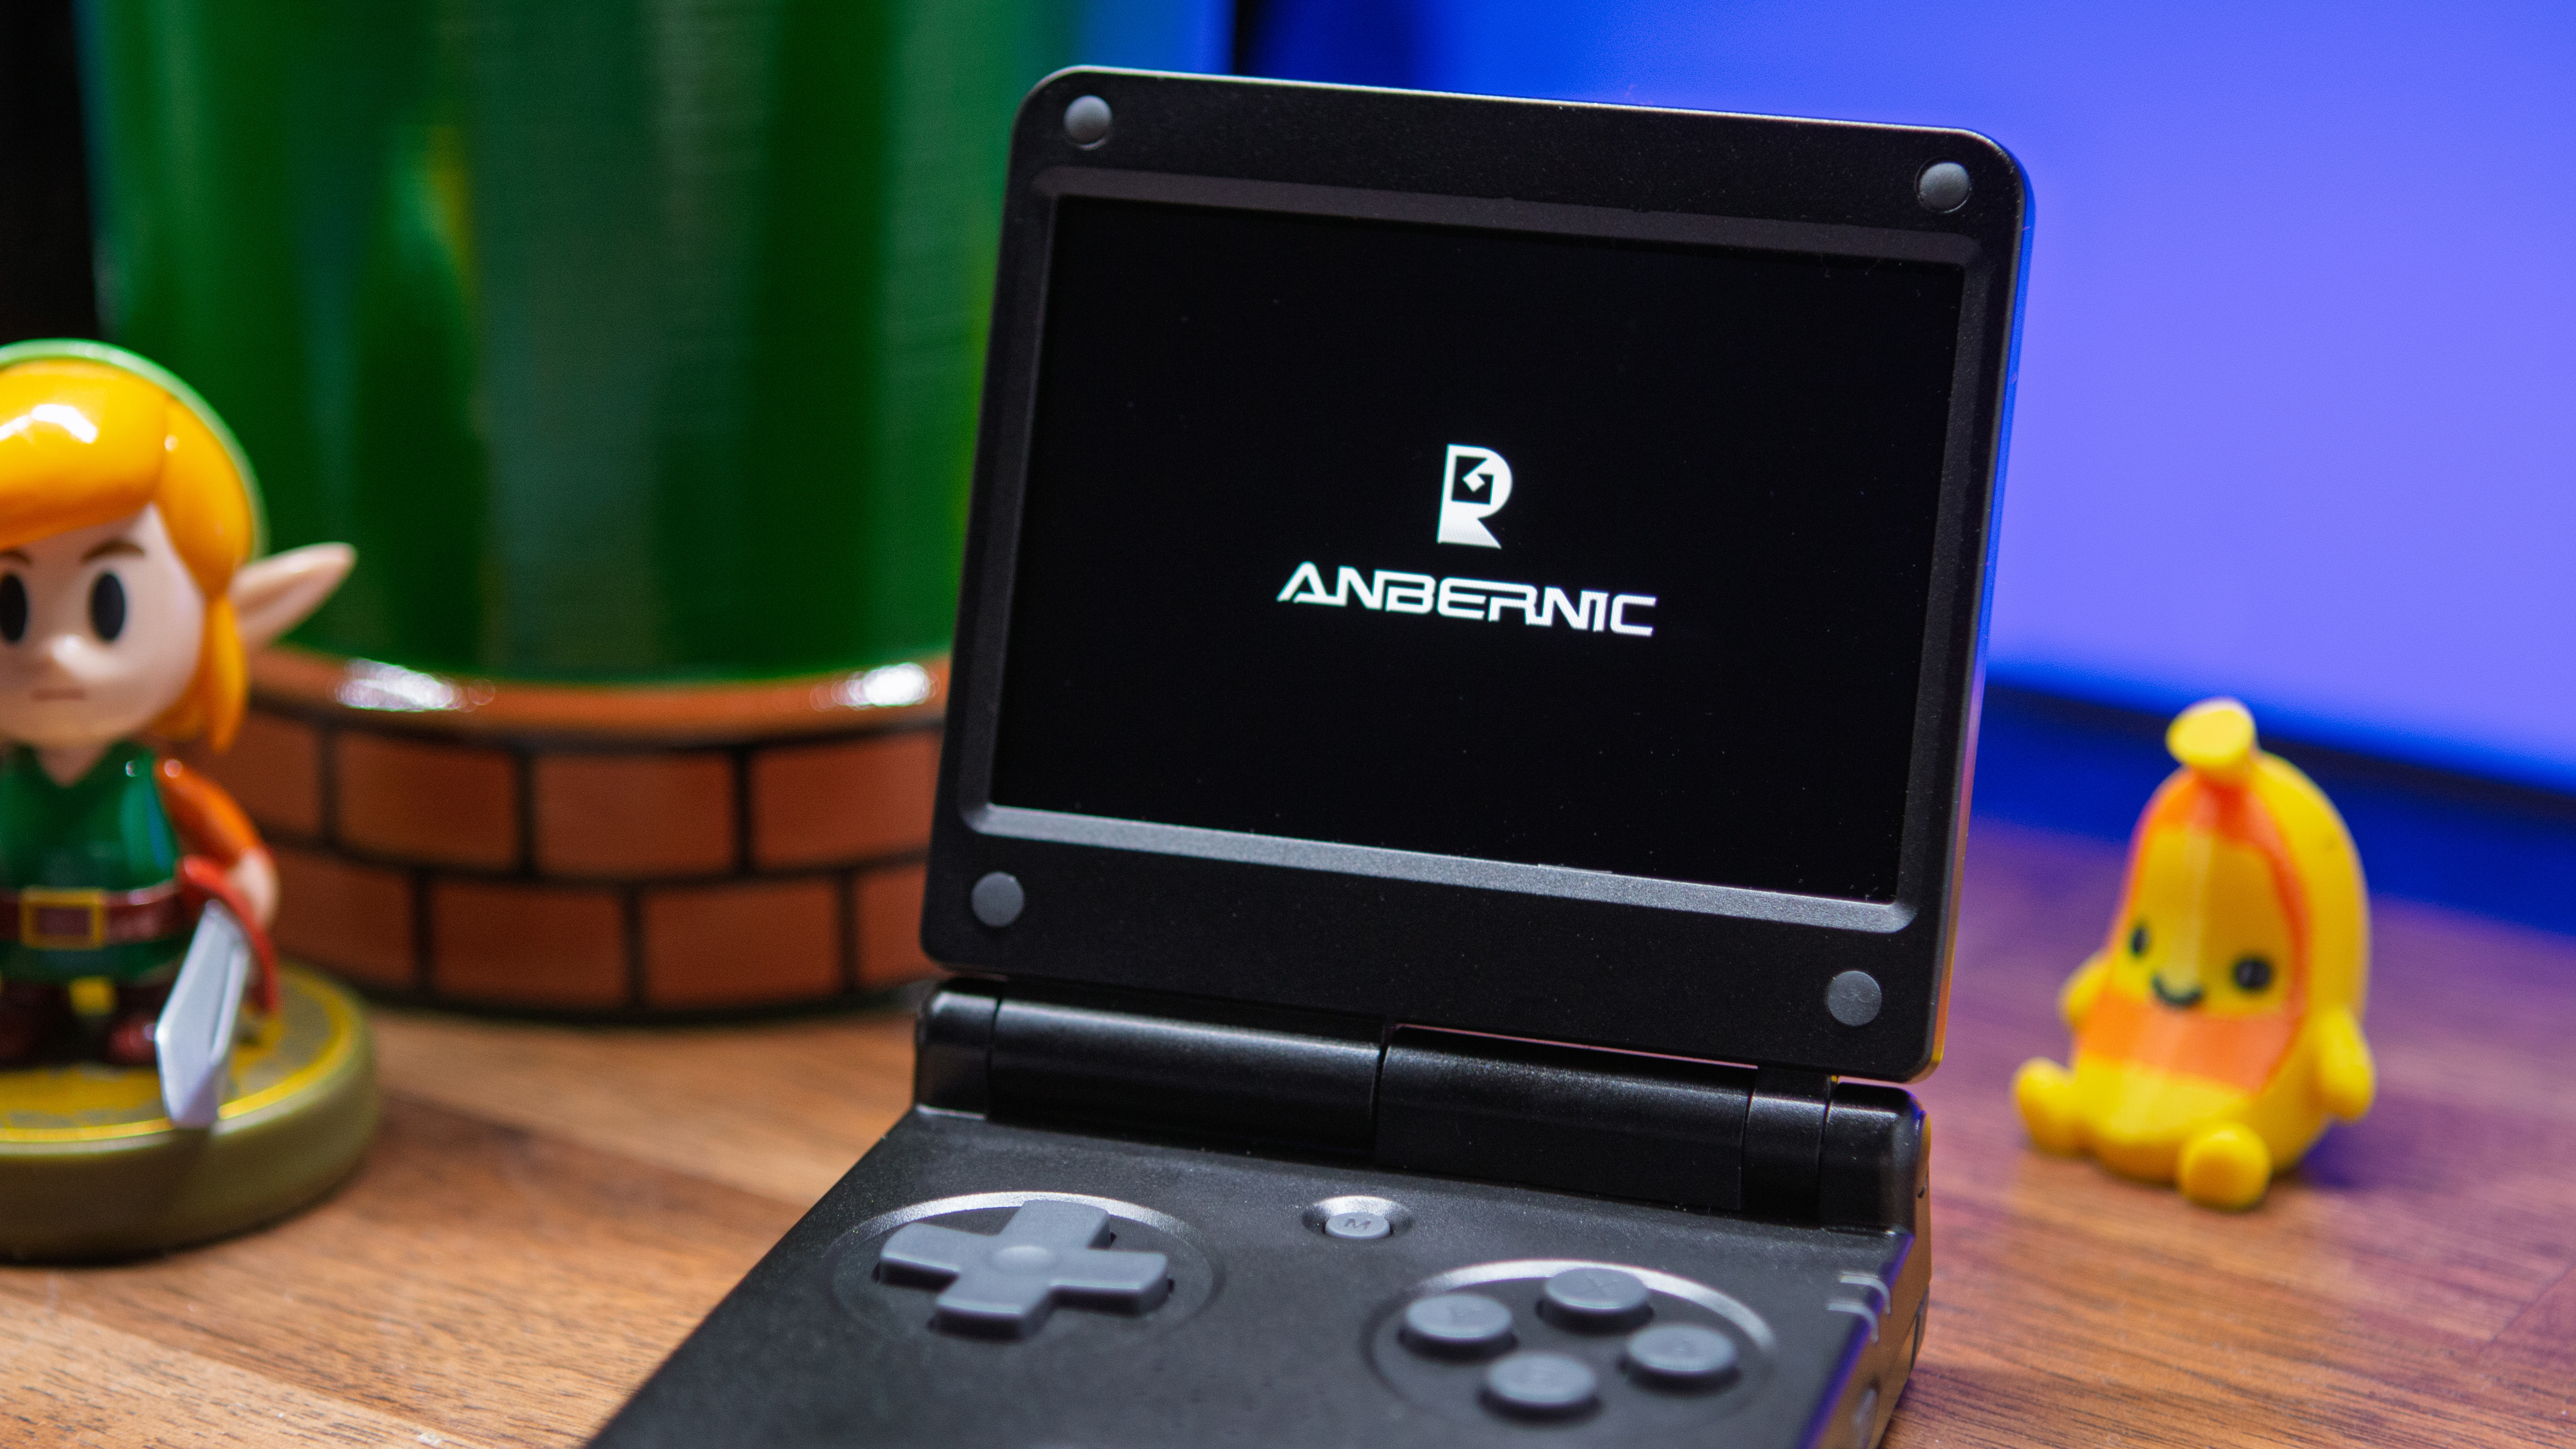
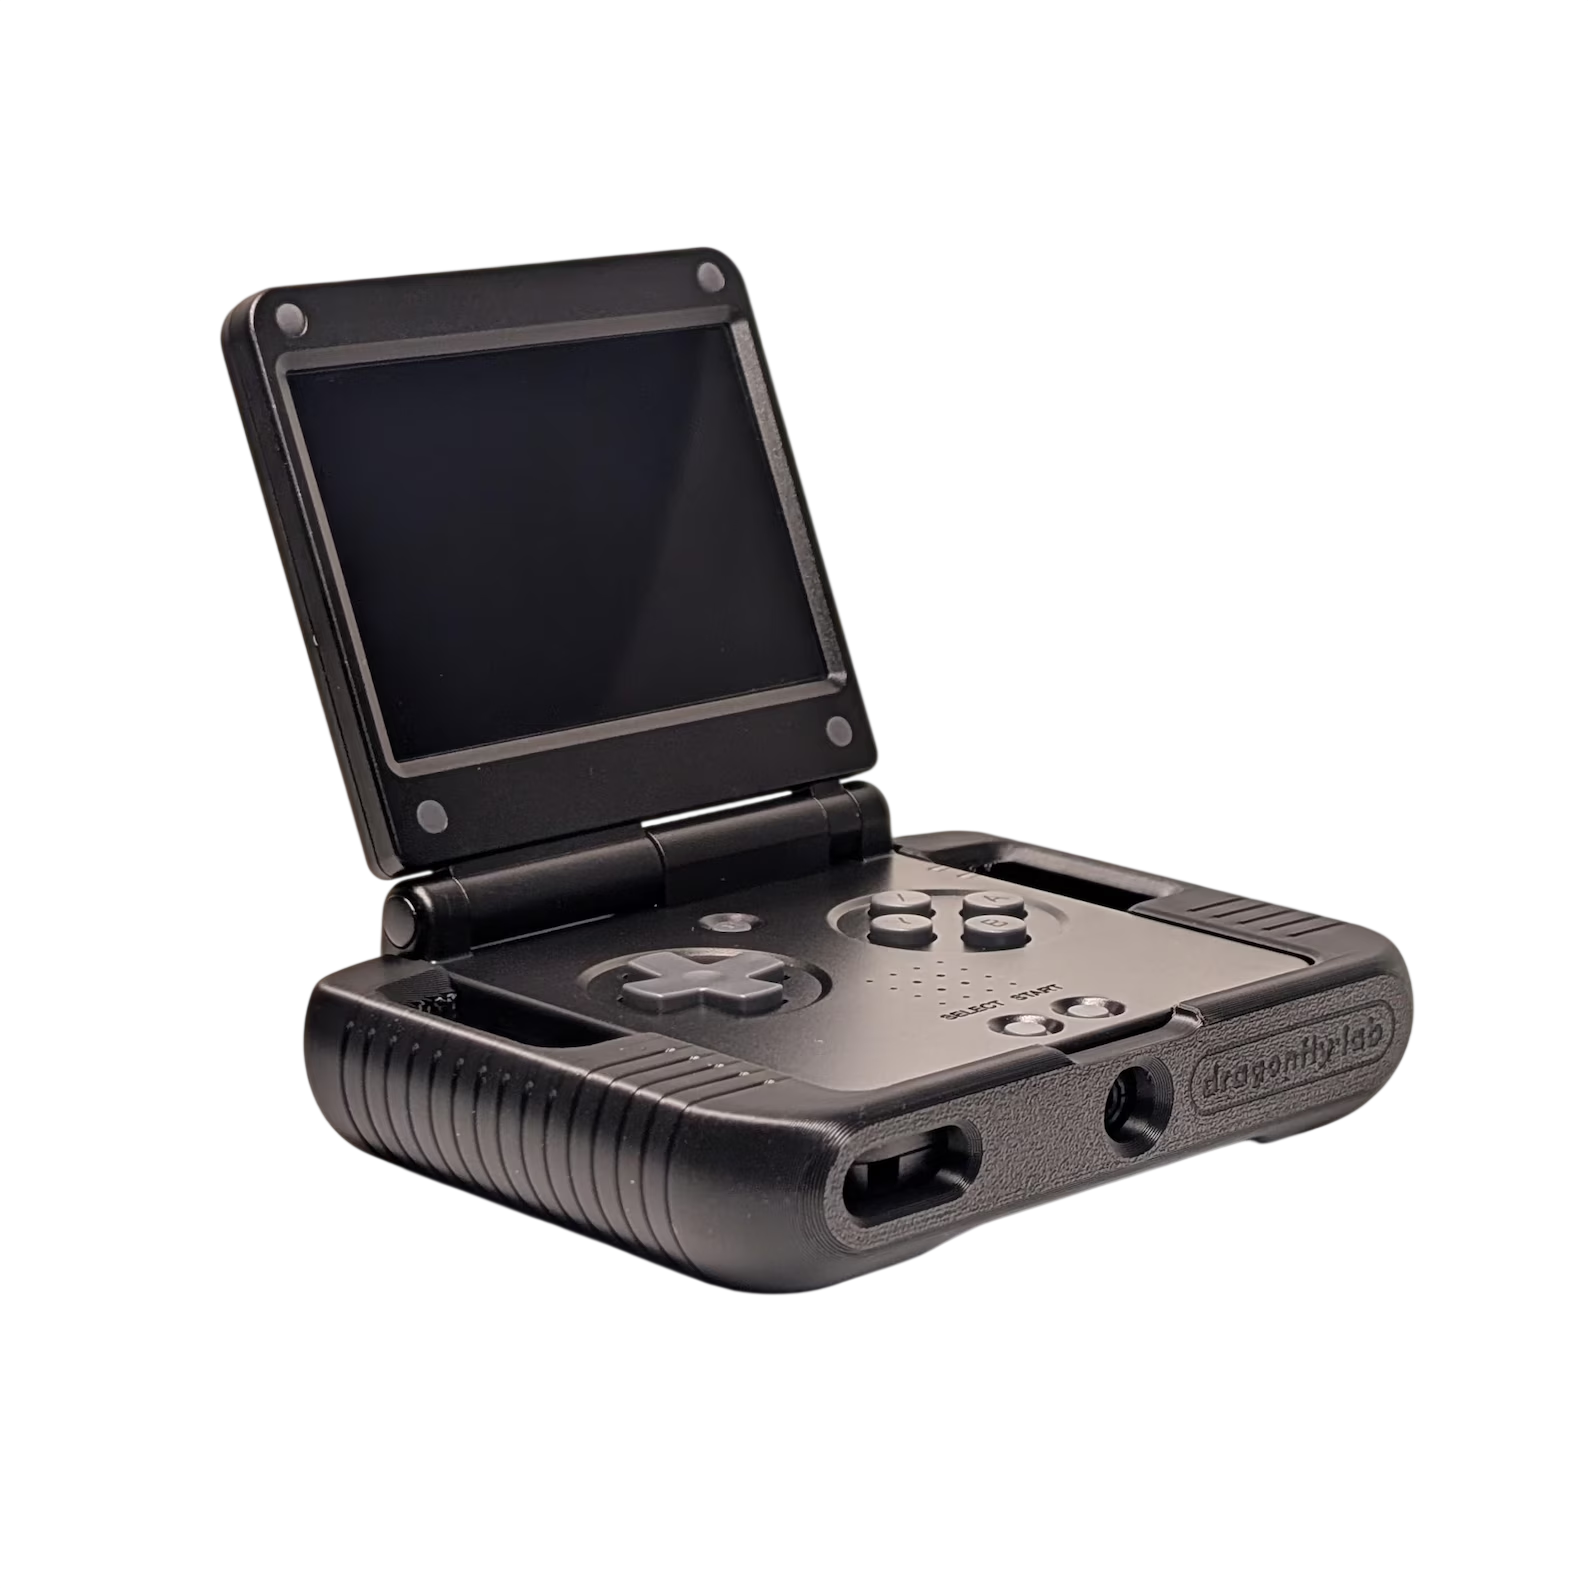
Heading into 2026, we didn’t have yet another Anbernic H700 clamshell on our bingo cards. Yet, here we are with exactly that courtesy of the Anbernic RG SP. This is the company’s latest clamshell, offering arguably the closest clone to the original Game Boy Advance SP that we’ve ever seen.
While we already knew what to expect in terms of performance, the RG SP has quickly turned into a “community darling.” With that in mind, we’re here to help get you up and running with this Anbernic RG SP setup guide.
Table of Contents
Anbernic RG SP Specs
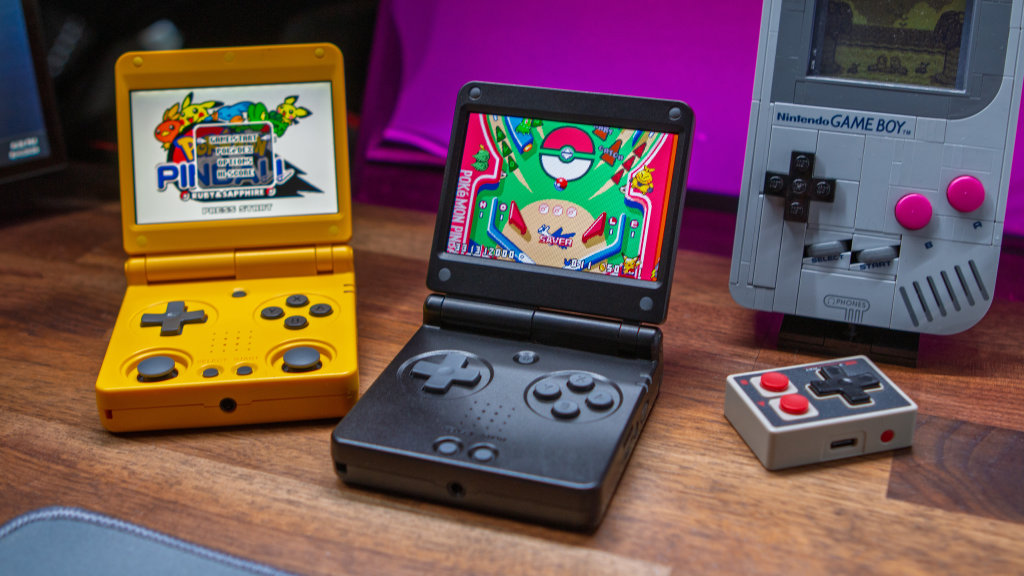
| Hardware | |
| CPU | Allwinner H700 |
|---|---|
| GPU | Mali-G31 MP2 |
| RAM | 1GB |
| Display | |
| Screen Size | 3.4-inch |
| Resolution | 720 x 480 |
| Aspect Ratio | 3:2 |
| Refresh Rate | 60Hz |
| PPI | 254 PPI |
| Storage | |
| Internal Storage | ❌ |
| External Storage | 2x microSD |
| Battery | |
| Battery Capacity | 3300mAh |
| Connectivity | |
| Wi-Fi | Wi-Fi 5 |
| Bluetooth | Bluetooth 4.2 |
| Ports | 3.5mm Audio Jack, microSD, USB-C |
| Controls | |
| Sticks | ❌ |
| Triggers | Digital |
| Shoulder Layout | Shelf |
| D-Pad | Top Left |
| Audio | |
| Speakers | Mono |
| Speaker Location | Front-facing |
| Headphone Jack | Yes |
| Physical | |
| Dimensions | 83 x 82 x 24mm |
| Weight | 168g |
| Form Factor | Clamshell |
| Software | |
| Operating System | Linux (ARM) |
Where to Buy
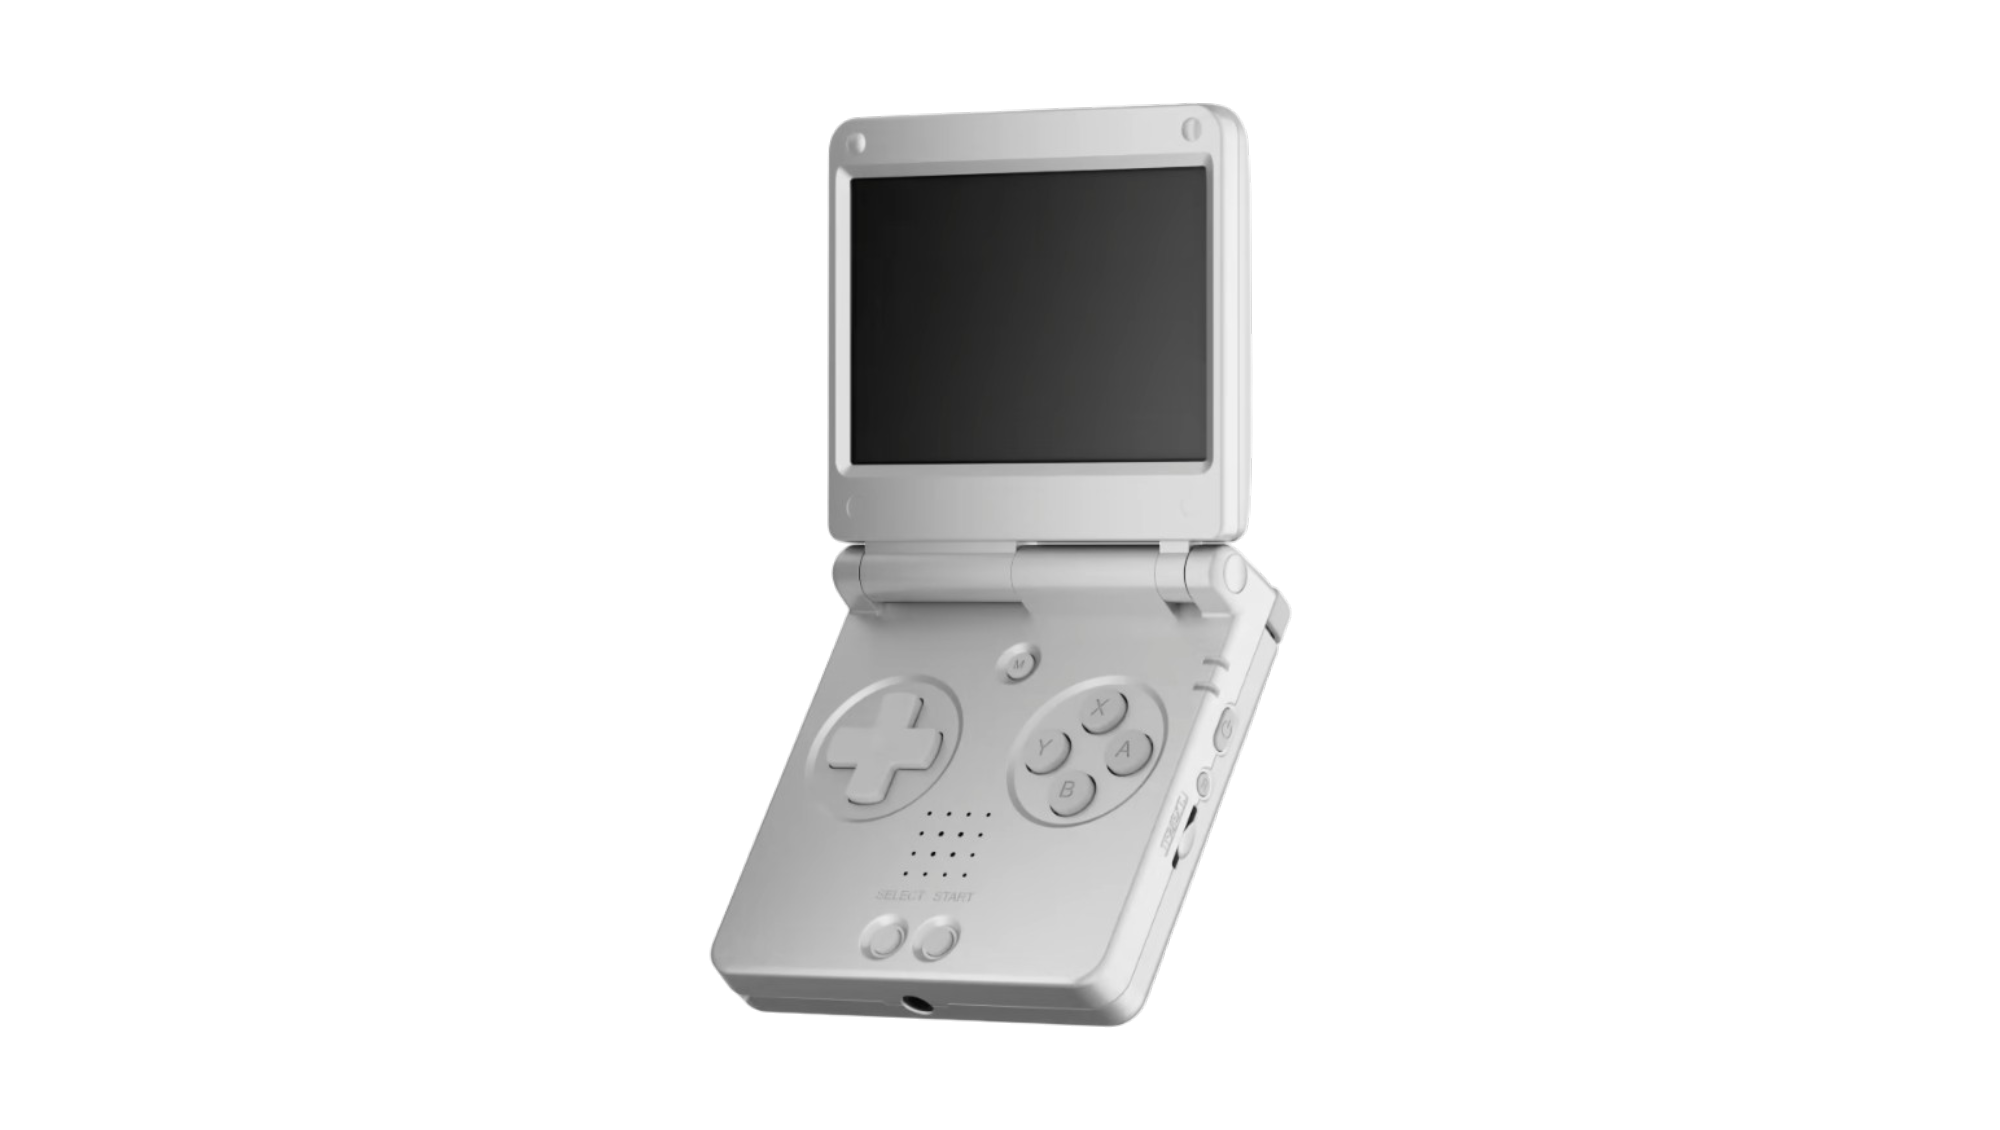
Anbernic RG SP
AnbernicRecommended Accessories
microSD Cards
Cases/Protection
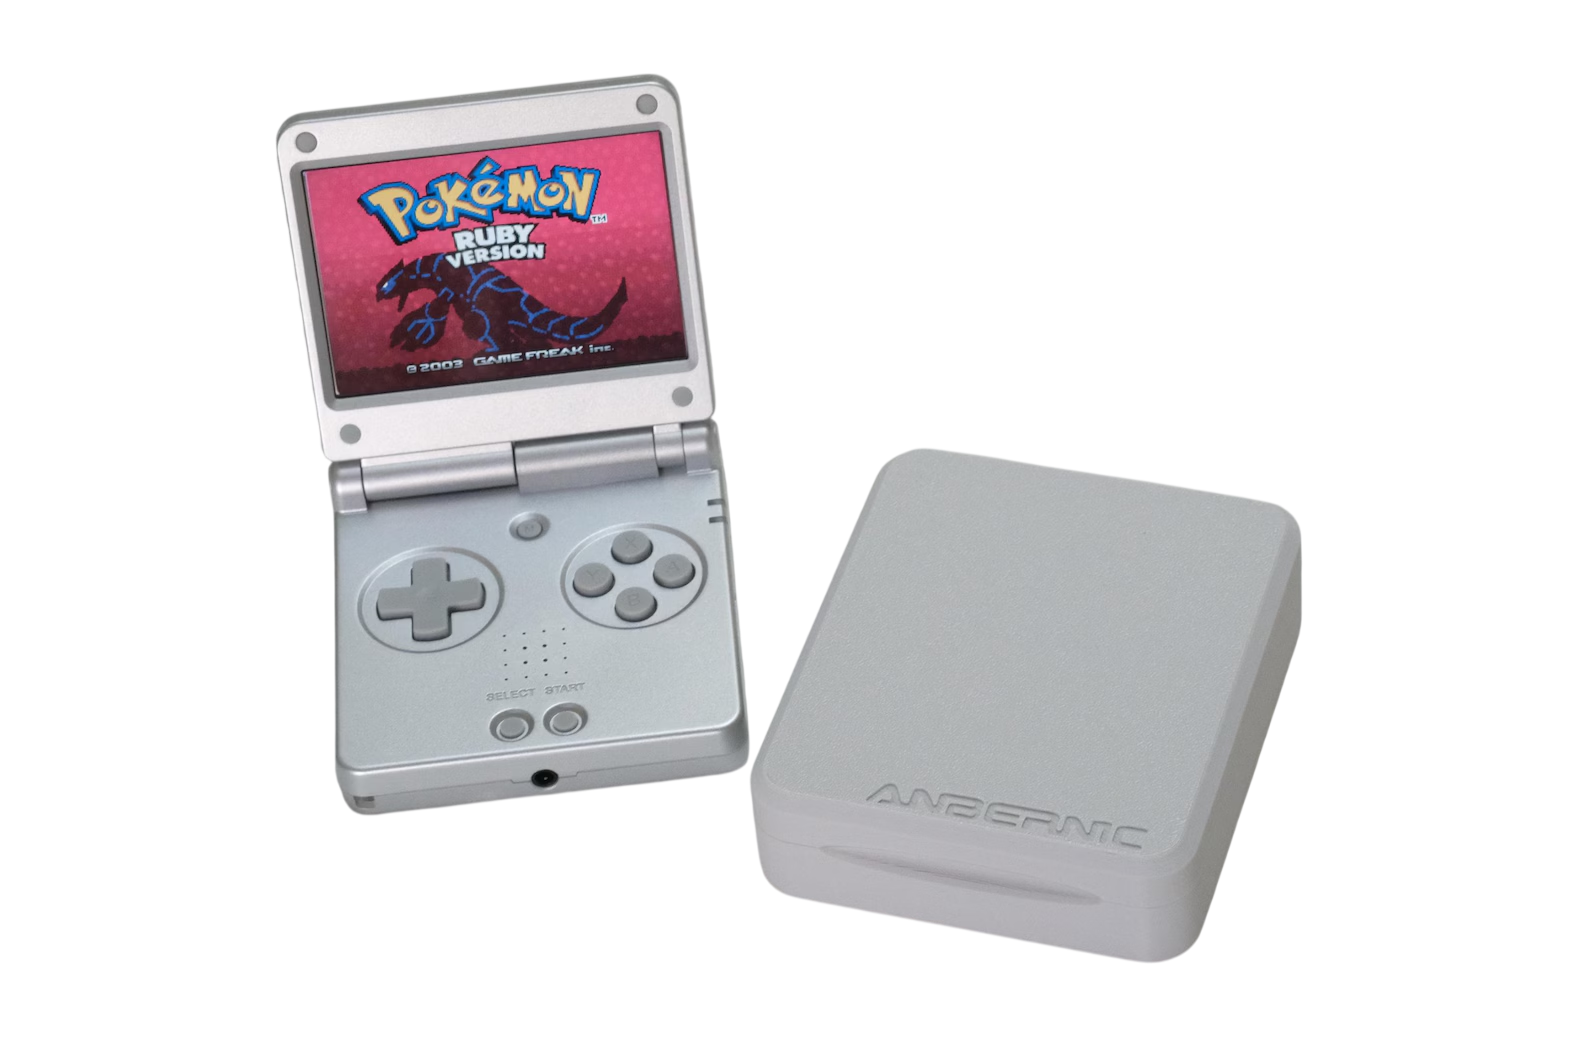
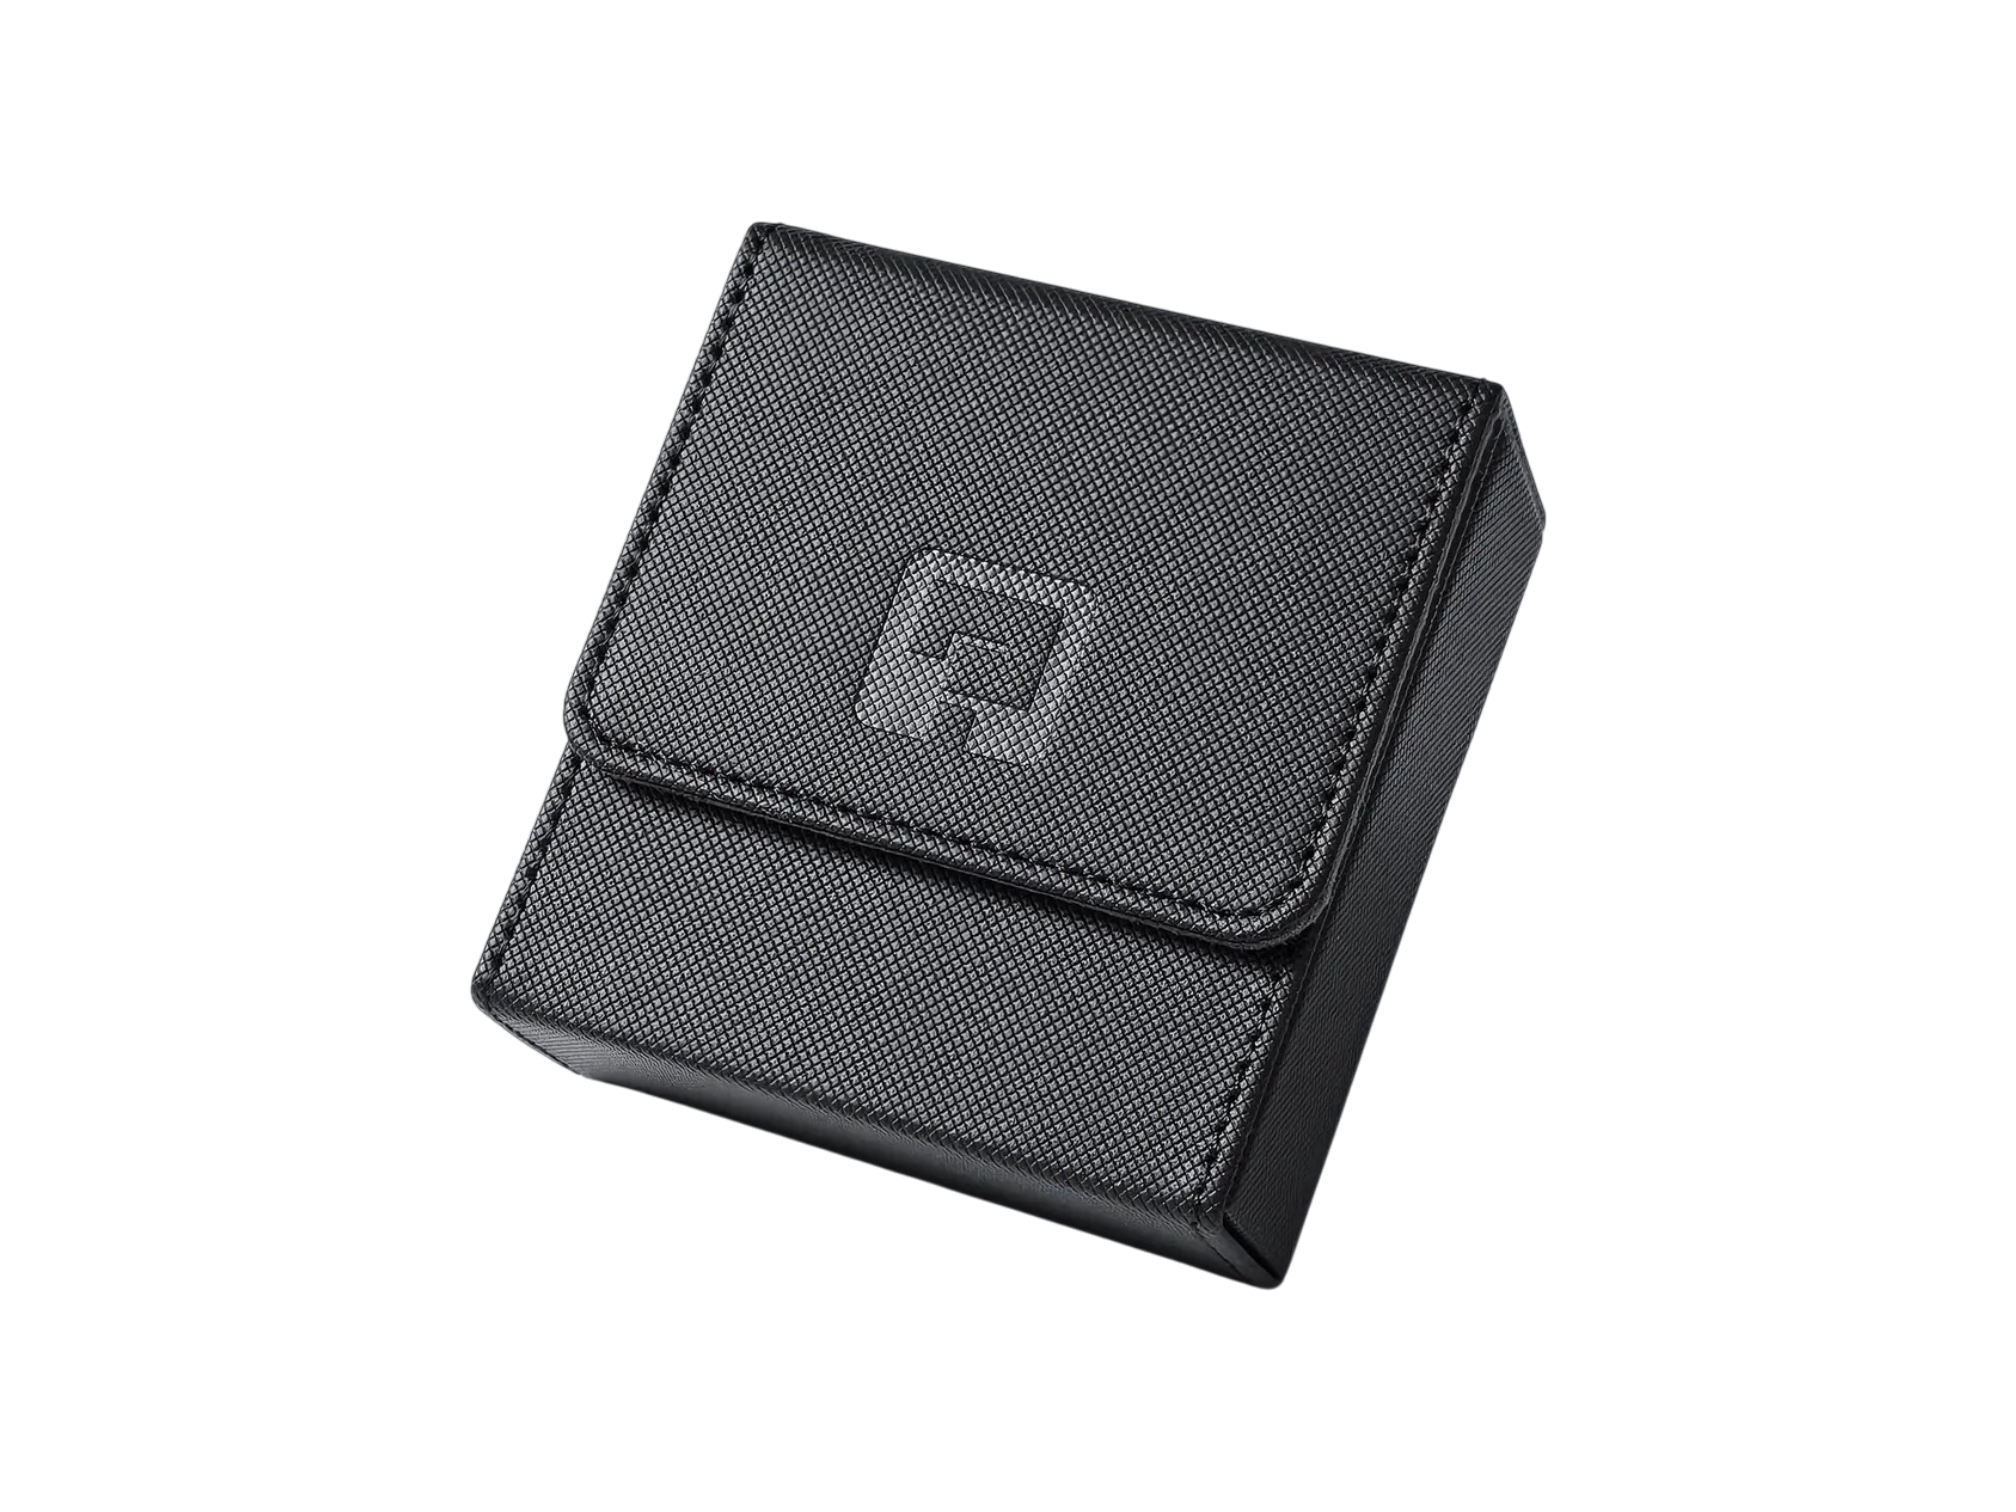
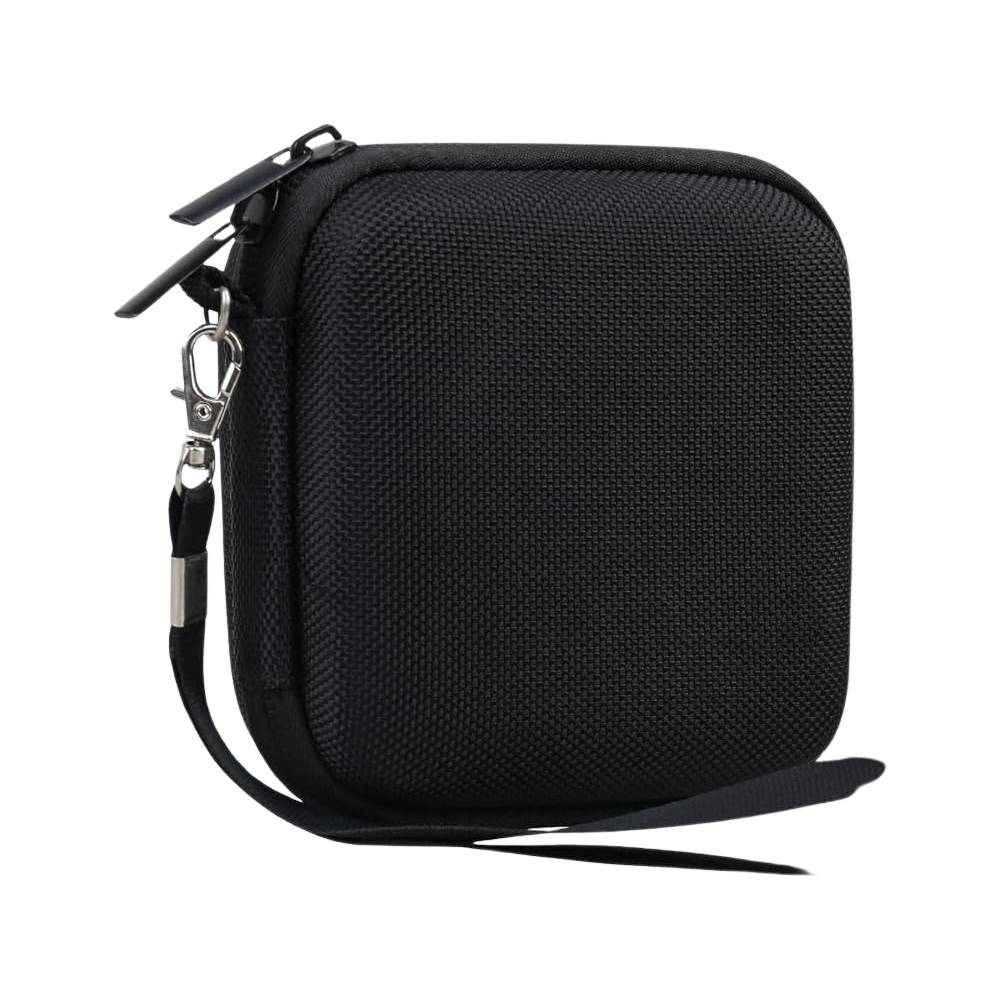
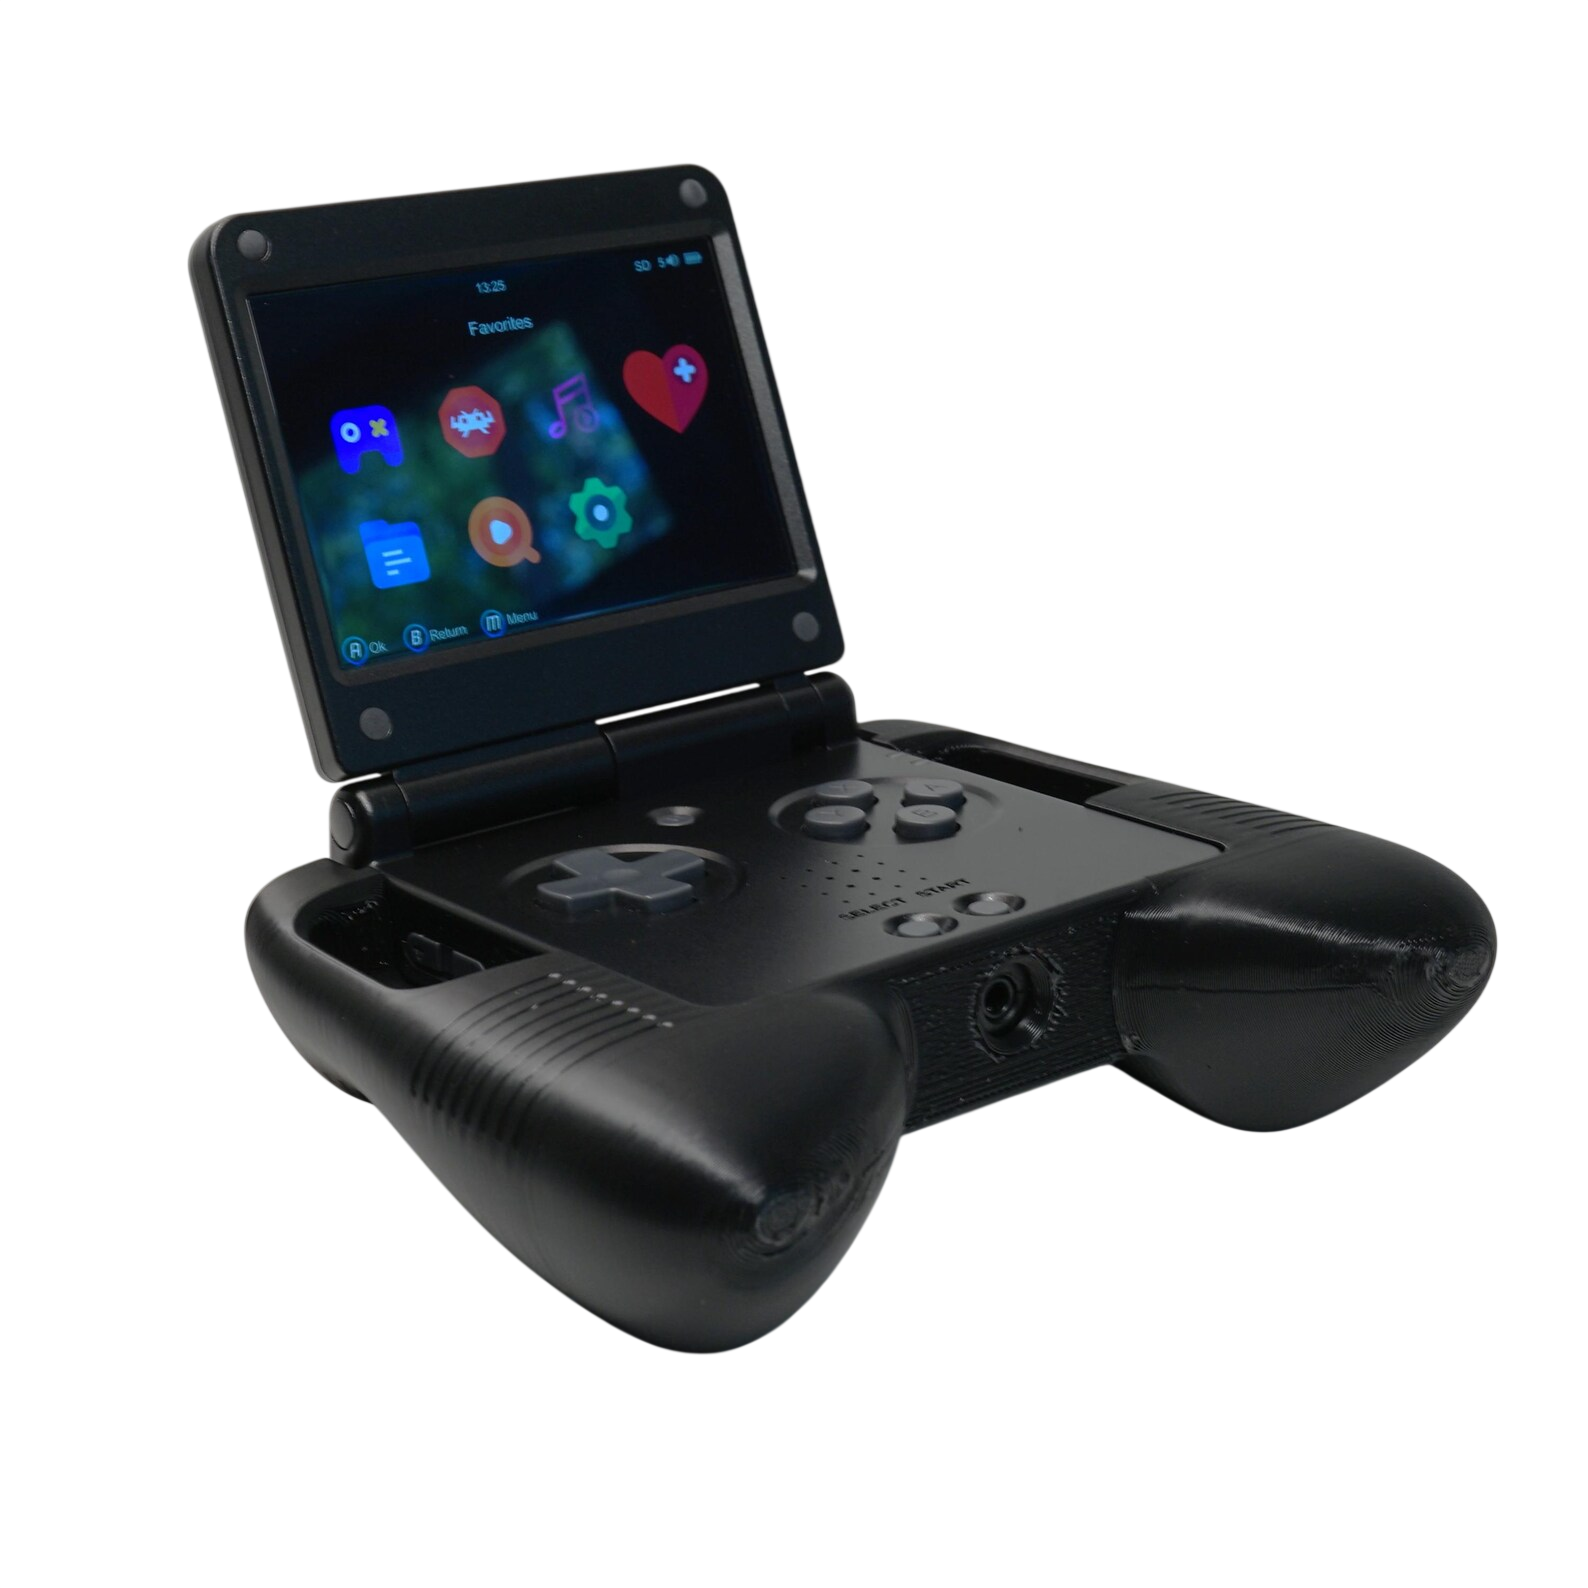
Grips
Anbernic RG SP Stock Firmware Settings
- Pre-installed Apps
- Music
- Video
- E-book
- File Manager
- Expert
- Apps
- Bezel Custom Manager
- Clock
- Image Browser
- Wiliwili
- Change RetroArch Settings
- Settings > RetroArch Settings > Start RetroArch
- Network Settings
- Settings > Network Settings
- Restart SSH Service
- Hotspot Settings
- Bluetooth Settings
- WiFi Settings
- Moonlight
- Settings > Network Settings
- Customize
- Settings > Icon Settings
- Style 1
- Style 2
- MU 1 Style
- MU 2 Style
- Settings > Background Settings
- Settings > Icon Settings
- Button Sound
- Settings > Button Sound > Off
Game Room or RA Game?
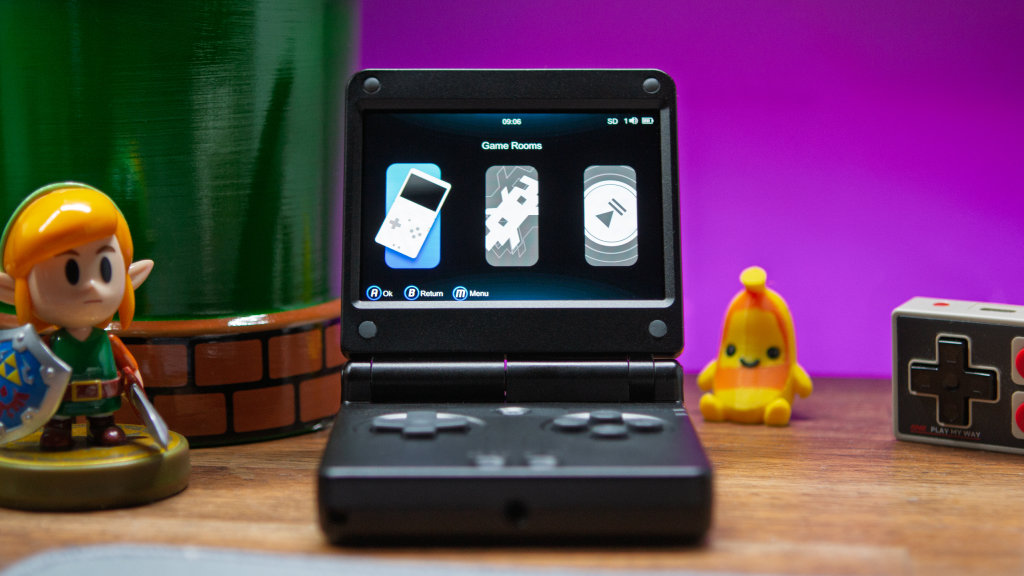
When it comes to emulation on retro handhelds, performance varies depending on the platform. This is why you see things like Game Room or RA Game on the RG SP.
But which should you choose?
To put it simply, Game Room is where all of the standalone emulators, such as PPSSPP for PSP or DraStic for Nintendo DS. Meanwhile, RA Game is where you’ll find all of the available RetroArch cores.
As for which one to choose, it depends on which system you’re trying to play. For the most part, RetroArch is the answer, but when it comes to those more powerful systems, then you’ll need to head into the Game Room.
Add a Second microSD Card
- Make sure that the microSD card that you want to use is already formatted.
- Turn off your RG SP.
- Insert the microSD card into the slot on the right.
- Turn the RG SP on again.
- Wait for it to finish booting.
- Turn off the RG SP.
- Remove the second microSD card and connect it to your computer.
- Drag and drop any ROMs or game files into their corresponding folders.
How to Update Stock Firmware
- Back up all of the existing files on your RG SP, such as ROMs, BIOS, Saves, etc.
- Download the latest version from Anbernic’s website.
- Extract the downloaded ZIP file.
- With your RG SP turned off, remove the microSD card and connect it to your PC.
- Use an app like Rufus or Balena Etcher to flash the updated firmware to your microSD card.
- Once complete, remove the microSD card, put it in your RG SP, and turn it on.
Custom Firmware






What You’ll Need
- Anbernic RG SP
- microSD card (Formatted)
- Windows, macOS, or Linux PC
- Package Manager (7-Zip for Windows)
- Wi-Fi connection
- Mostly used for on-device scraping of metadata and artwork, updates, or easier downloading of PortMaster titles.
BaseOS
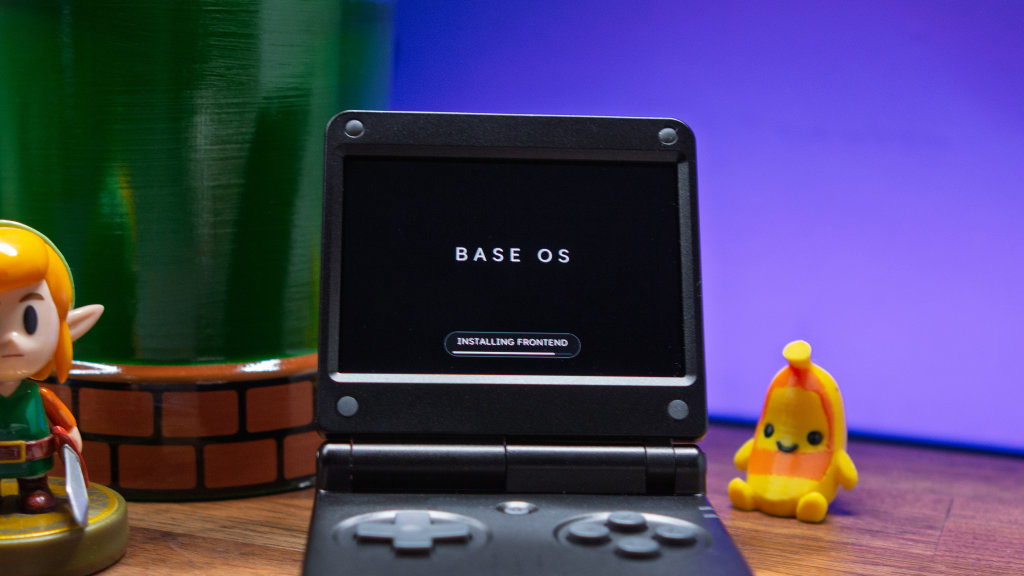
BaseOS is a newcomer to the custom firmware scene, arriving shortly before the RG SP began arriving to the masses. Unlike other firmware options here, doesn’t actually provide a frontend to interact with. Instead, it works in tandem with NextUI, laying the foundation for things like faster boot times, better battery life and more.
- Download the latest release of BaseOS from GitHub.
- Extract the downloaded ZIP file.
- Use your preferred disk image flashing tool (i.e. Raspberry Pi Imager / Rufus) to flash the BaseOS image to your microSD card.
- Once complete, safely eject the microSD card from your computer.
- Place it in the SD1 card slot (usually on the left side) on your handheld.
- Turn on your handheld.
- Wait for the installation to finish.
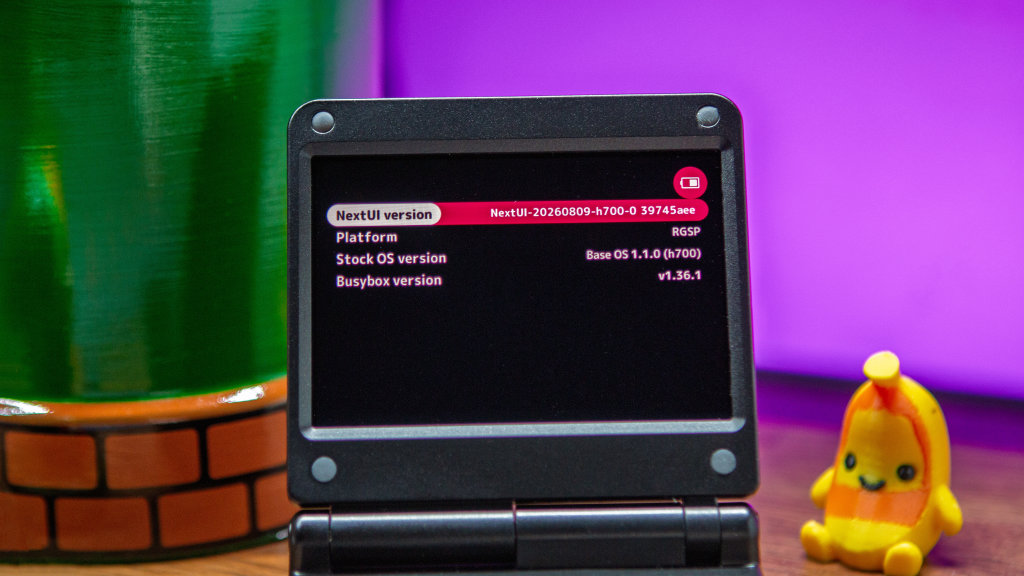
NextUI-H700
- Download the latest release of NextUI-H700 from GitHub.
- Make sure your microSD card is formatted (FAT32 or exFAT w/ MBR Partitioning).
- Extract the downloaded ZIP file.
- Copy and paste the files from the extracted folder to the formatted microSD card.
- If using Stock OS or Stock Mod OS, navigate to the
~/h700folder. - Copy the
.dmenu.binfile to theNONAMEorRomspartition of the Stock OS/Stock Mod OS card.- Do not place the file into the dedicated
Romsfolder.
- Do not place the file into the dedicated
- If using BaseOS, place the BaseOS card into the SD1 slot, and the NextUI card into the SD2 slot.
- Turn on your handheld.
- Wait for the NextUI installation to complete.
Anbernic RGXX StockOS Mod
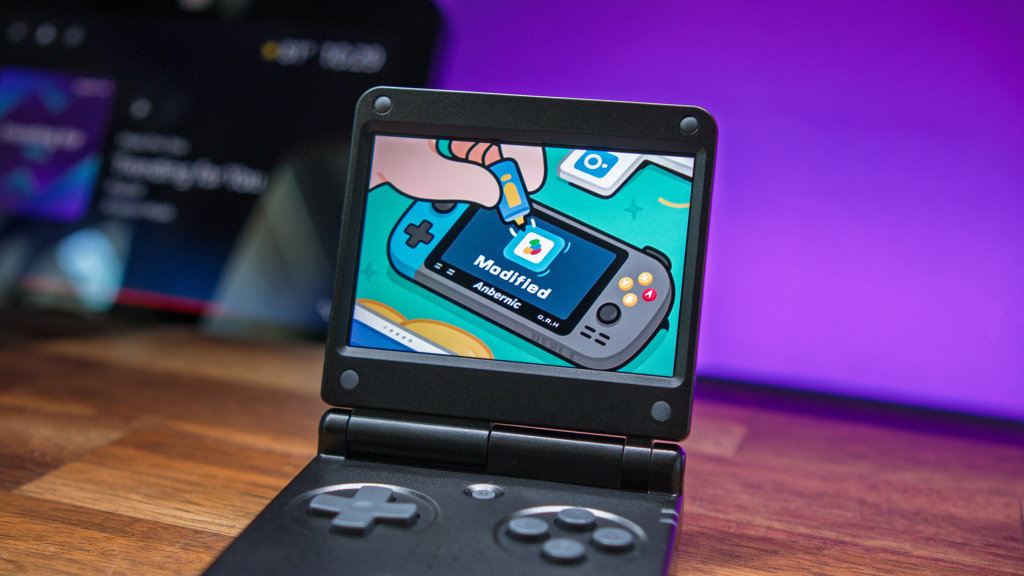
- Download the latest build of Anbernic StockOS Mod from GitHub.
- Extract the
.imgfrom the downloaded ZIP file. - Use your preferred disk image flashing tool (i.e. Raspberry Pi Imager / Rufus) to flash the StockOS Mod image to your microSD card.
- Safely eject the card from your PC and place it in your handheld.
- Turn on your RG SP and wait for the installation to finish.
slot.
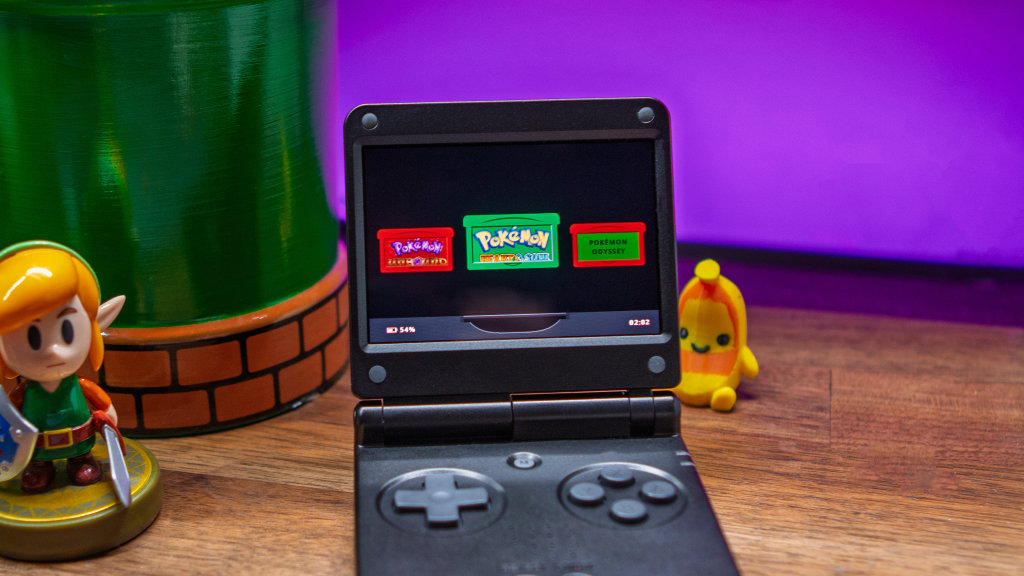
Like BaseOS, slot. is another new face in the custom firmware world. Instead of being inundated with thousands of games for a variety of different consoles, slot. is perfect for those who want to the Anbernic RG SP into a dedicated GBA handheld. The installation process is a bit different, as you’ll need to first flash a microSD card with “AGS-102,” which is a fork of the aforementioned BaseOS. Then, slot. provides the visual experience to bring everything together.
- Download the latest
AGS-102.imgrelease from GitHub. - Use your preferred disk image flashing tool (i.e. Raspberry Pi Imager / Rufus) to flash the
AGS-102.imgimage to your microSD card. - Eject the AGS-102 microSD card from your PC.
- Download the latest .slot release from GitHub.
- Unzip the downloaded .slot file.
- Copy and paste the contents of the extracted folder to a formatted, second microSD card.
- Once copied, eject the microSD card and place it into the SD2 slot.
- Turn on your RG SP and wait for the installation to finish.
KNULLI
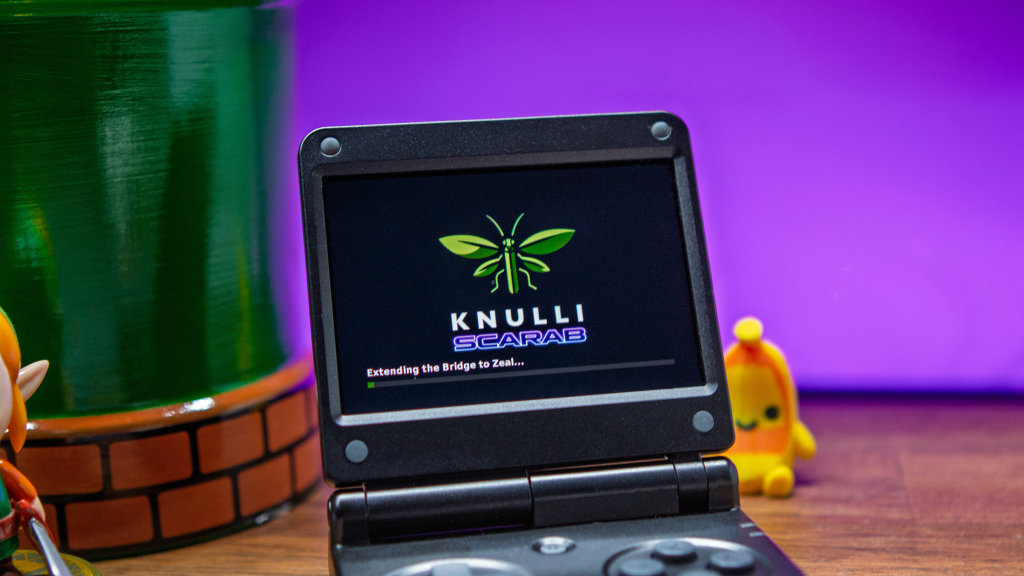
- Download the Knulli build from the GitHub page.
- Plug your microSD card into your PC.
- Extract the Knulli Build.
- Flash your microSD card by selecting the Knulli Disc Image that just extracted.
- After the card is finished being flashed, remove it from your PC.
- Insert the card into your Anbernic RG SP.
- Wait for it to finish booting.
muOS
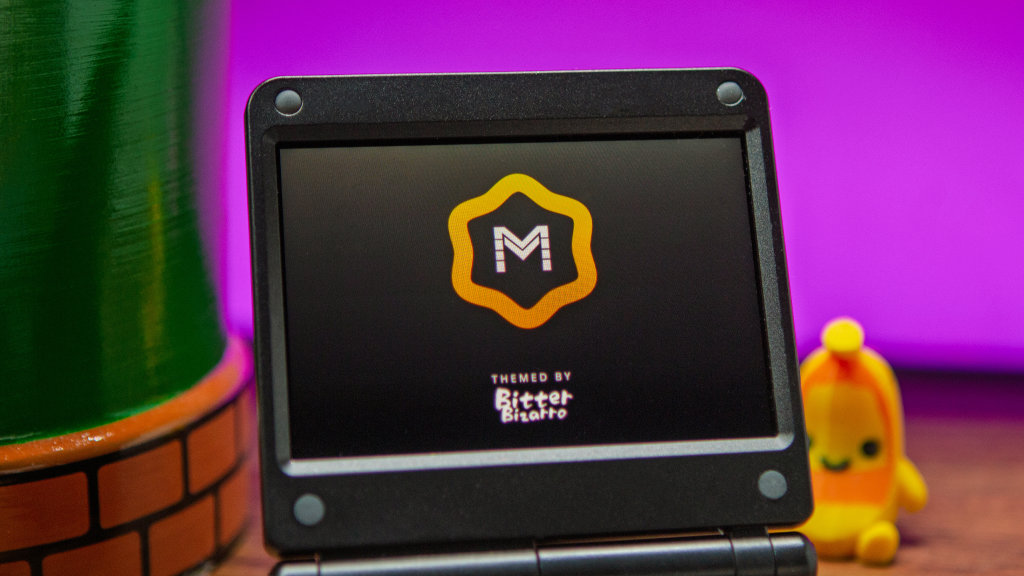
- Format a microSD card so that you’re starting with a blank slate.
- Download the latest build of muOS.
- Use your preferred disk image flashing tool (i.e. Raspberry Pi Imager / Rufus) to flash the muOS firmware to the microSD card.
- Safely eject the card from your computer and insert it into your RG SP.
- Turn it on and wait for the initial startup process to finish.
- Enjoy!
ROCKNIX
- Format a microSD card so that you’re starting with a blank slate.
- Download the latest build of ROCKNIX for the RG SP.
- Use your preferred disk image flashing tool (i.e. Balena Etcher / Rufus) to flash the KNULLI firmware to the microSD card.
- Safely eject the card from your computer and insert it into your RG SP.
- Wait for the initial startup process to finish.
- Enjoy!
GAFE
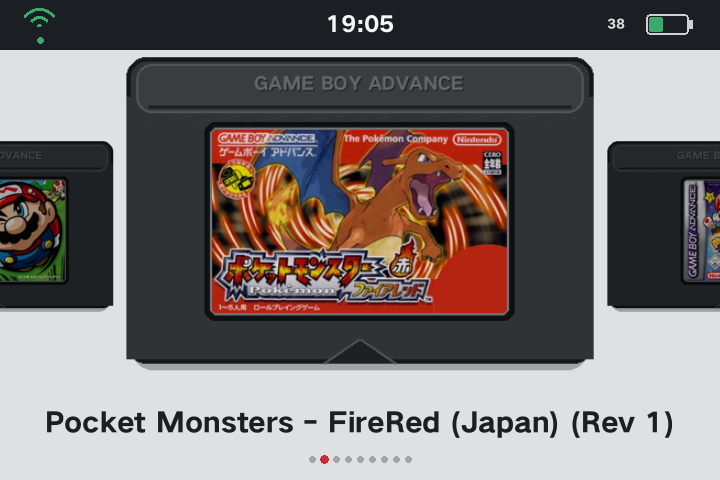
- Download and extract the latest
GAFE.ZIPrelease from GitHub. - Insert your stock microSD card into your PC.
- Copy the following files to the
Roms/PORTSdirectory:GAFE-ON.shGAFE-OFF.sh/GAFE(the entire directory)
- Eject the microSD card and place it back in your RG SP.
- Turn on your handheld.
- Once booted, open
RA Game>PORTS>GAFE-ON - Your handheld will automatically reboot into the GAFE interface.
spruceOS
- Download and extract the latest release from the spruceOS Nightlies GitHub.
- Make sure you have a FAT32-formatted microSD card.
- Copy and paste the entirety of the extracted folder to the formatted microSD card.
- Remove the hidden
tmp_updatefolder.
- Remove the hidden
- Eject the microSD card and place it into the RG SP.
- Boot your RG SP and wait for the installation to finish.
Where Do I Put BIOS Files and ROMs?
| Firmware | BIOS | ROMs |
|---|---|---|
| Stock | SDCARD/Bios | SDCARD/Roms |
| muOS | SDCARD/BIOS | SDCARD/Roms |
| KNULLI | userdata/bios | userdata/roms |
| NextUI-H700 | SDCARD_ROOT/Bios | SDCARD_ROOT/Roms |
| ROCKNIX | SDCARD/roms/bios | SDCARD/Roms |
| slot. | SDCARD/BIOS | SDCARD/Games |
| spruceOS | SDCARD/BIOS | SDCARD/Roms |
- BaseOS: BIOS and ROMs are placed on secondary microSD card according to accompanying CFW (i.e. NextUI)
- GAFE: BIOS and ROMs are placed in the appropriate StockOS/StockOS Mod folders.
More Anbernic RG SP From RH
Website
- Anbernic RG SP Review: Slimmer, Cheaper, and Better Than Expected
- Anbernic RG SP First Look: Not Much New, But If You Love GBA, It Might Be For You
