

I’m a tinkerer. Now, that’s a pretty broad label, but it’s easier than saying “I chase the high that is a new project because it gets the ‘ol ADHD synapses firing and gives me a sense of accomplishment I rarely get elsewhere”. Because that would be weird.
Wait, did I make it weird? Anyway, I like taking things apart and fiddling with them.
If you’re part of the Retro Handhelds community, you likely know the scenario well at this point. You get a shiny new device, spend hours setting it up with the ultimate ROM collection, flash the absolute newest custom firmware, and tweak every performance profile until every system runs like a dream. Everything is tuned perfectly. The device is ready to be the absolute best version of itself.
Then, if you’re anything like me, you look down at this newly perfected piece of tech and think: “Great! Now what?”
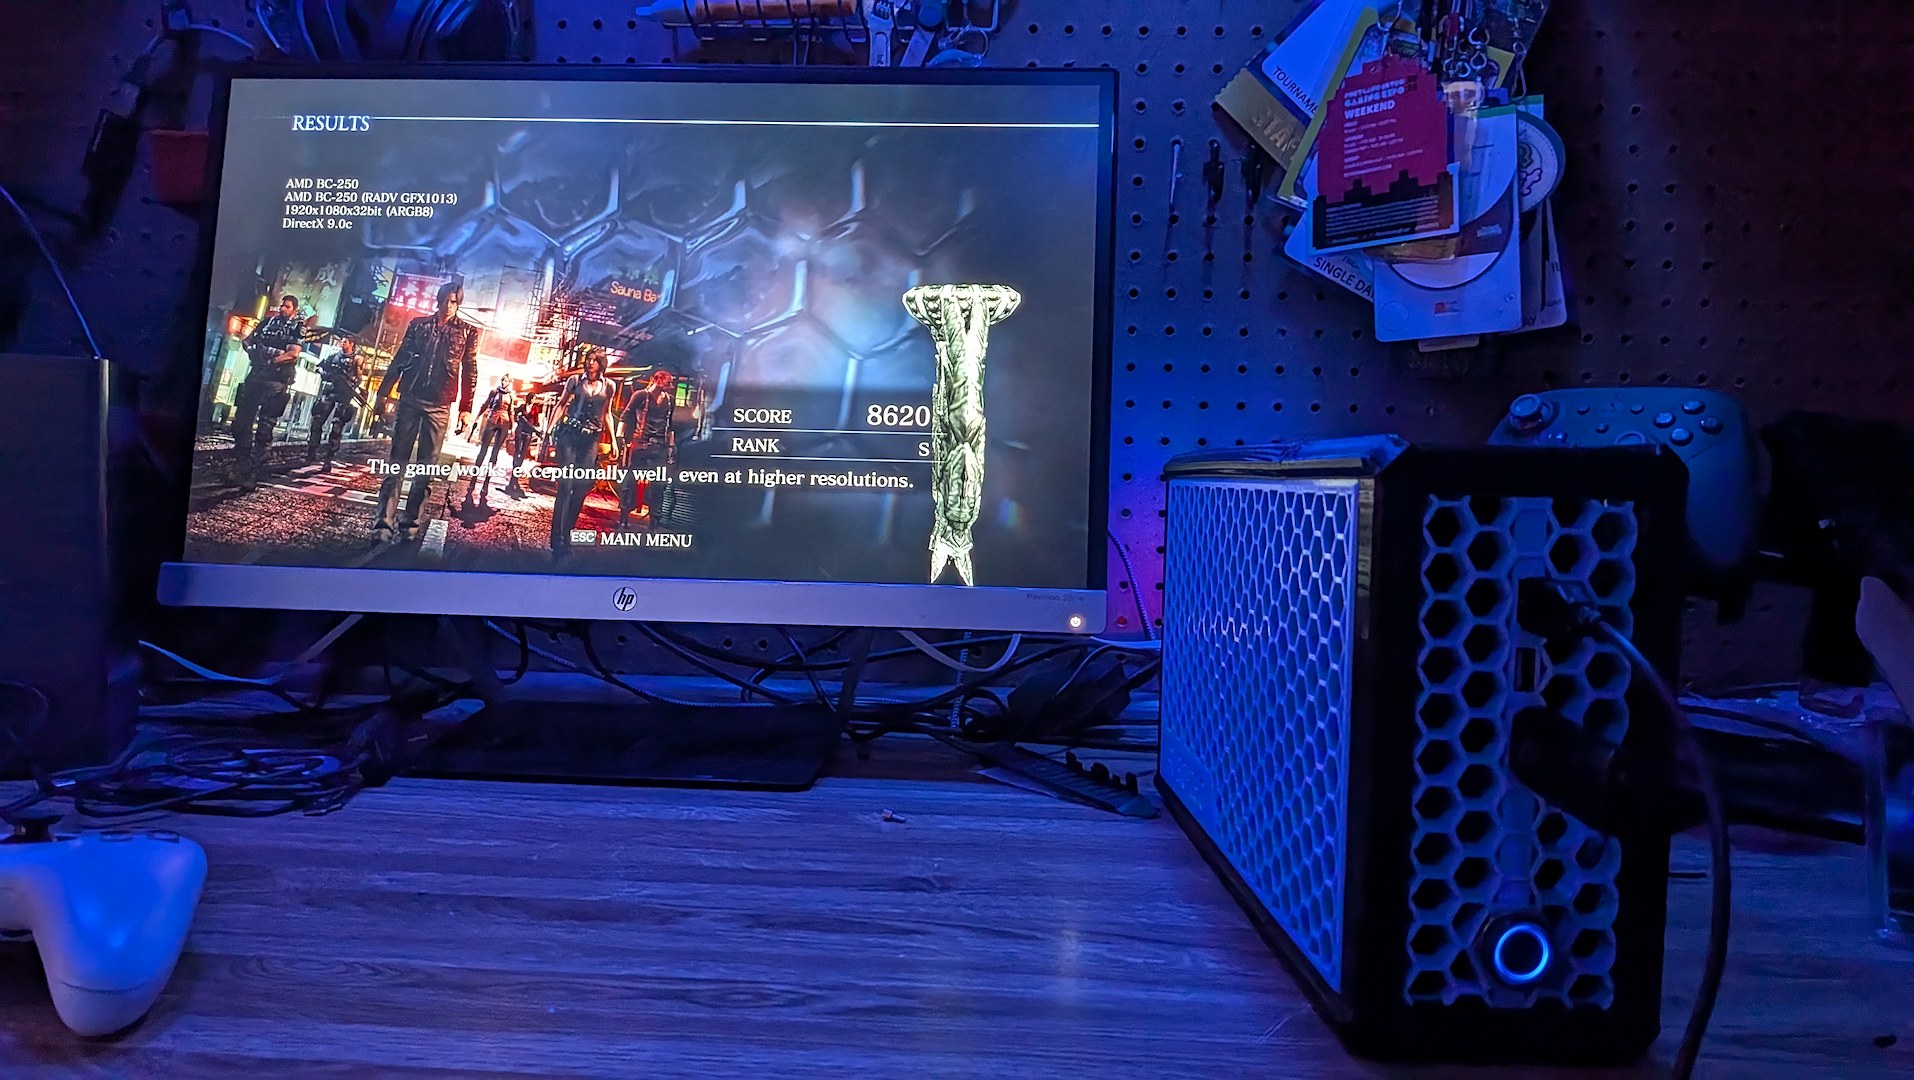
It’s an itch that can never really be scratched. Enter the latest project, inspired by others before me: the AMD BC-250 Steam Machine. This isn’t meant to be a tutorial. Just a project overview and my experiences along the way. If you’ve been considering a Steam Machine, but have been turned off by the cost, then maybe the BC-250 is just right for you.
Did I Build This Out of Spite? Yeah, I Guess I Kinda Did.
I get something of a stubborn satisfaction out of making things run in ways that were never intended.
Between corporate hardware price hikes and modern PC component costs creeping out of reach for normal consumers, there had to be a better way to build a living room setup. Even at the old, lower prices Valve originally envisioned for dedicated living room Steam Machines, I was never going to be the target audience for off-the-shelf hardware. I didn’t see the value in a SFF PC when I could just plug a tower into my TV. With today’s crazy-inflated pricing? Forget about it.
But if you tell me there’s a way to take scrap headed for the dump and turn it into a comparable product for around $300? I’m in just for the tinkering adventure, but there’s more to it than just that.
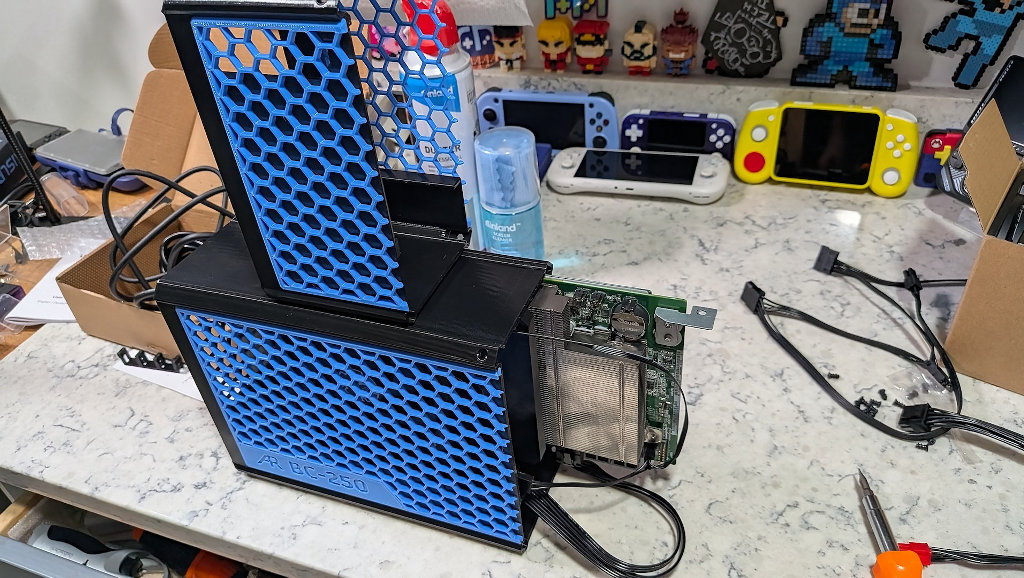
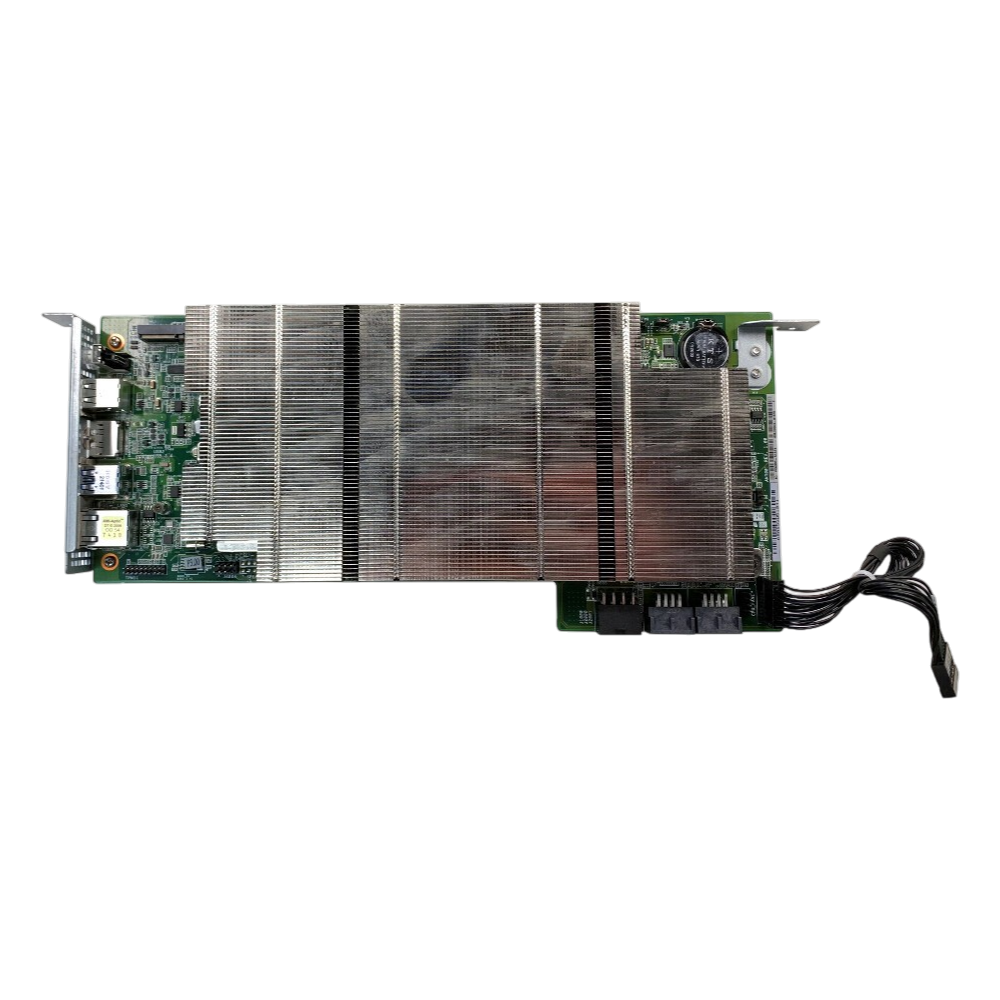
Originally built as an enterprise crypto-mining blade, the AMD BC-250 boards became unprofitable surplus when the mining boom ended. They were destined for an industrial electronic grave—despite housing a slightly cut-down variant of the same AMD silicon inside a PS5.
Projects like the BC-250 Steam Machine are the only power that we as consumers have left. By committing a little elbow grease, I get a finished product that I can proudly call my own, and I get to raise a middle finger to every company lining its pockets in this mess.
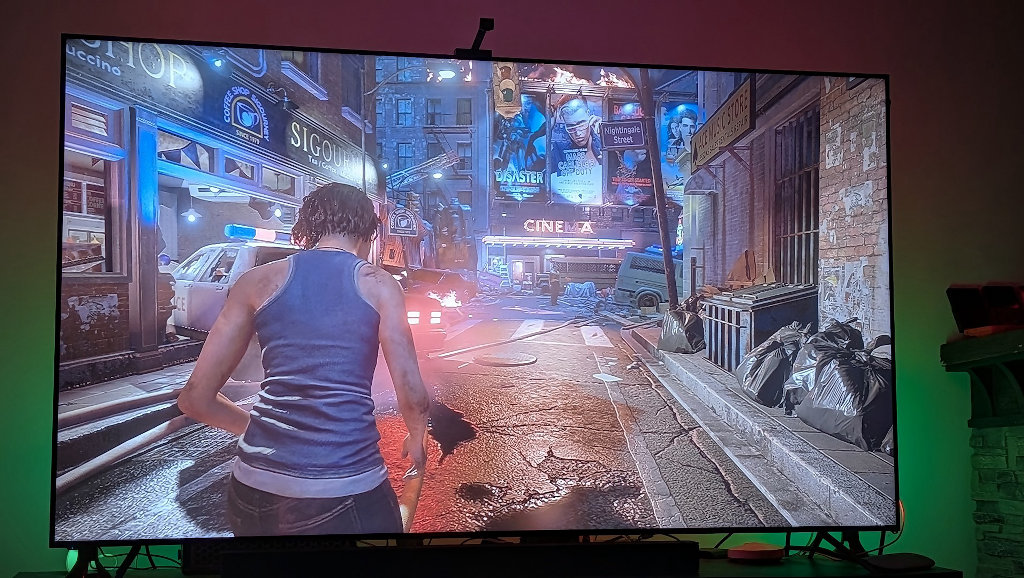
The result of the build is a sleek, quiet, console-sized Steam Machine for about $300 that can natively play AAA titles, hold its own in performance with modern consoles, and serve as an emulation and entertainment hub in my living room.
BC-250? What’s That?
Usually when we’re talking about e-waste here at RetroHandhelds, it’s me defending some clone console while shaking my cane and yelling about how the youngsters don’t know how good they have it with modern handhelds. The BC-250? Well, it’s literal e-waste in that it was intended for scrap, and despite the apt title, has a hell of a lot more under the hood than your standard RK3326. Okay, so what is this thing?
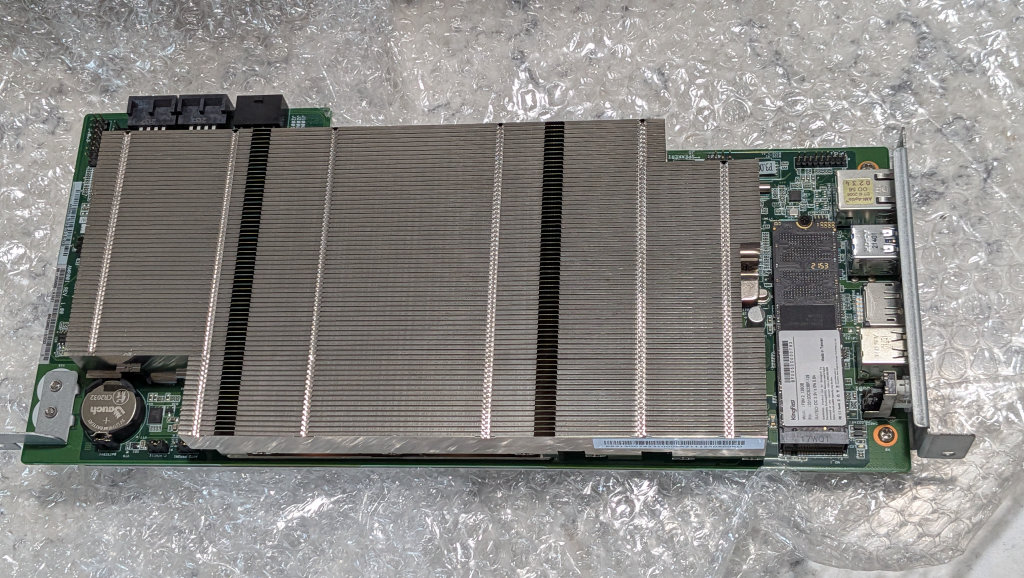
Powered by AMD’s “Cyan Skillfish” APU, the BC-250 shares a lot of internals with Sony’s PlayStation 5. The BC-250 sports a 6-core/12-thread Zen 2 CPU combined with an RDNA 2 GPU and 16GB of lightning-quick GDDR6 memory. All neatly contained on a single enterprise rack board.
| AMD BC-250 Specs | |
|---|---|
| Hardware | |
| CPU | 6-Core / 12-Thread AMD Zen 2 @ ~3.5 GHz |
| GPU | 24 Compute Units RDNA 2 @ ~2000 MHz |
| RAM | 16GB GDDR6 Unified RAM (256-bit bus, 448 GB/s) |
| Connectivity | |
| Ports | 1x DisplayPort 1.4, 1x GbE LAN, 2x USB 3.0, 2x USB 2.0 |
The Shopping List: Assembling the Parts for a $300 Steam Machine
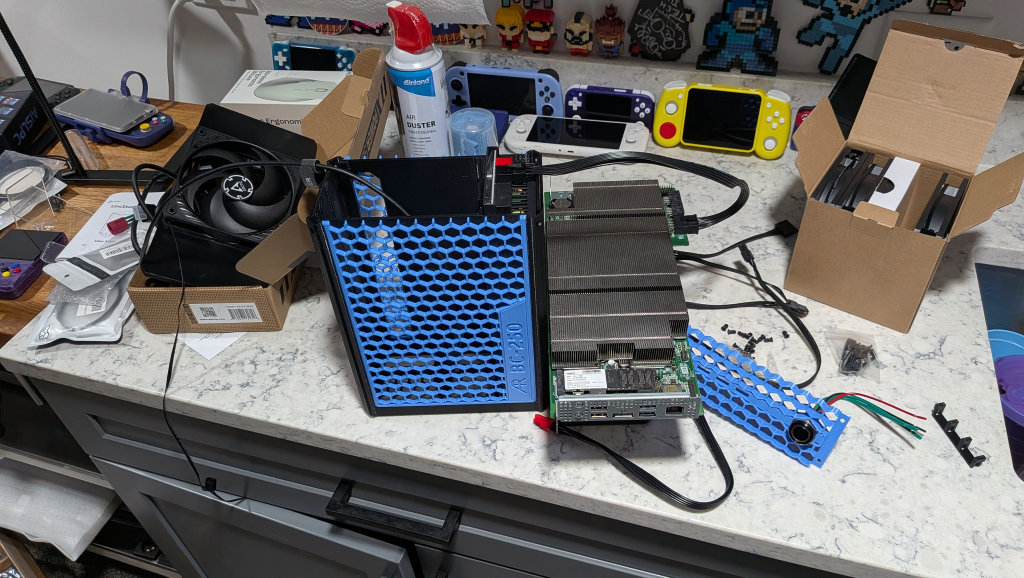
This is where you’re going to have some room to get creative. The BC-250 community has seen an explosion of designs and options for converting the once-enterprise rack monster into a home gaming machine. Below are the options that I chose, but there are a litany of options available. Browse designs and see what strikes your fancy.
- The Engine: Of course, the first thing you’ll need to start with is the board itself. Sellers on eBay have seen the demand spike for these boards, and nowhere is immune to cost inflation. What was selling for $100 a few months ago is around $200 today. Shop around; many sellers have already provided airflow mods to the board radiator (otherwise you may have to spread fins yourself for airways), and some even pre-flash the BIOS to save you time and headaches in setup.
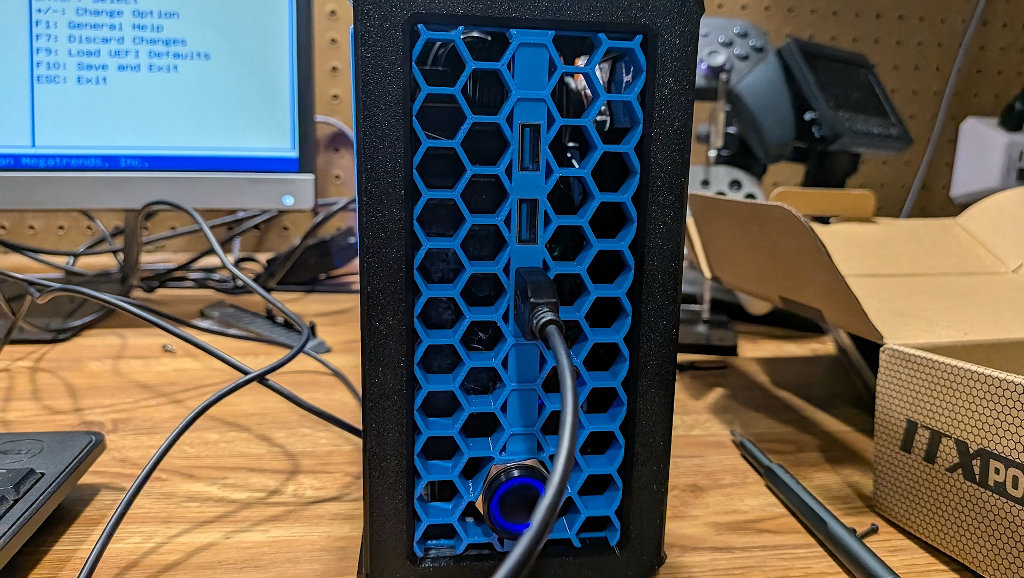
- The Case/Enclosure: This is where you’ll really be able to get custom. In the interest of simplicity, I opted for a community favorite Arthrimus case design. If you have a printer and the required PETG filament, you can print the design yourself. If not, there are plenty of print shops out there ready to sell you one. Some options even come with the PSU included to make sourcing even easier. My printer plate wasn’t large enough for the design, so I sent the files to my library’s (Yay for libraries!) print lab, and it cost me about $28.
- Power Supply: You’ll have some freedom of choice here as well, depending on what type of case design you’ve decided to go with, but I once again opted for the simplest community solution that others had already done the needed research on. The Apevia ITX-PFC400W Mini ITX/Flex ATX is a fully modular power supply with the perfect low-profile for this build. The space in my case was at a premium, and the last thing I’d want to be doing is having to find space for additional PSU cables.
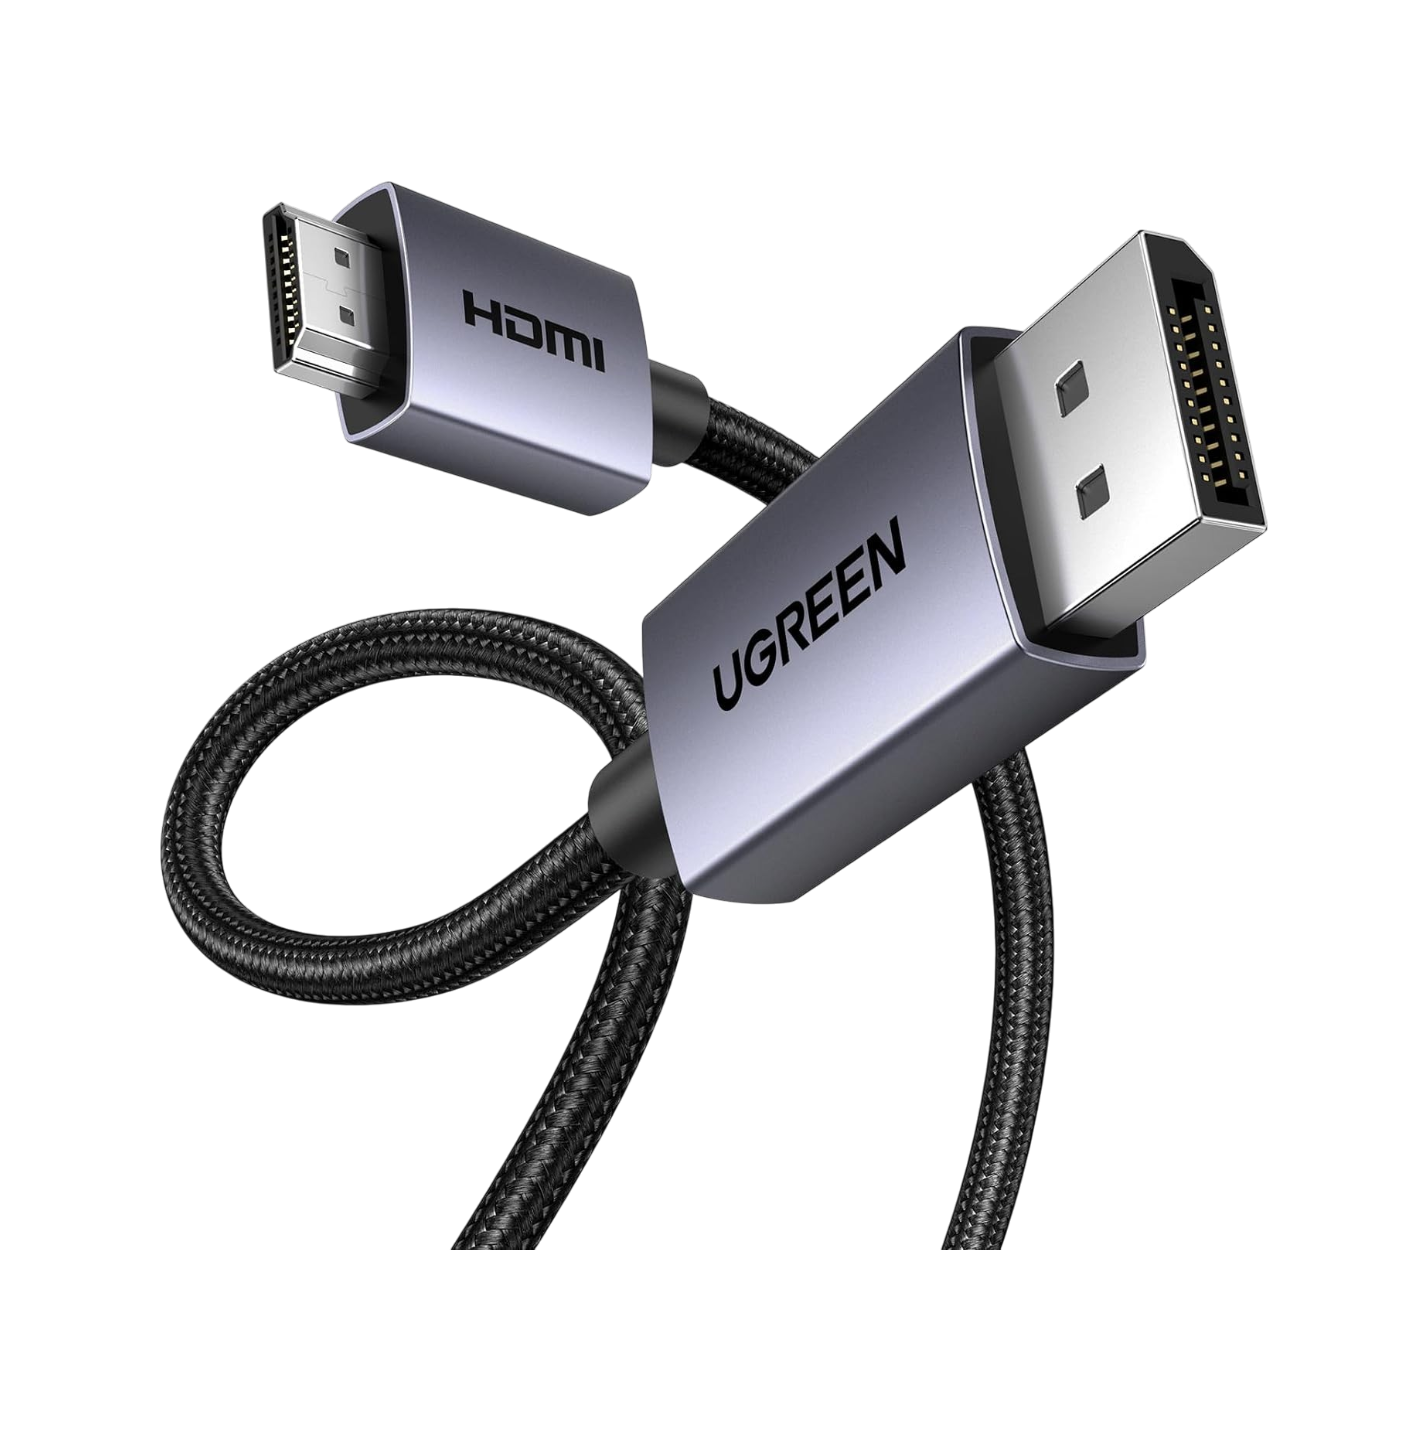
- Display Cable: Since you’re likely wanting this DIY Steam Machine to live somewhere in or around your TV entertainment center, you’re going to need the right cable to talk to it. Since the BC-250 only has DisplayPort out, and 99% of TVs don’t have a DP port, we’ll need a solution.
- The community were my savior once again, as they’ve already narrowed it down to a specific UGREEN DP to HDMI cable that can carry 4k/120 video + audio perfectly from the BC-250 to your TV. Other active adapters may work, but this one is guaranteed. I can vouch. I tried simple passive DP to HDMI adapters and ended up with an 800×600 display and no audio.was
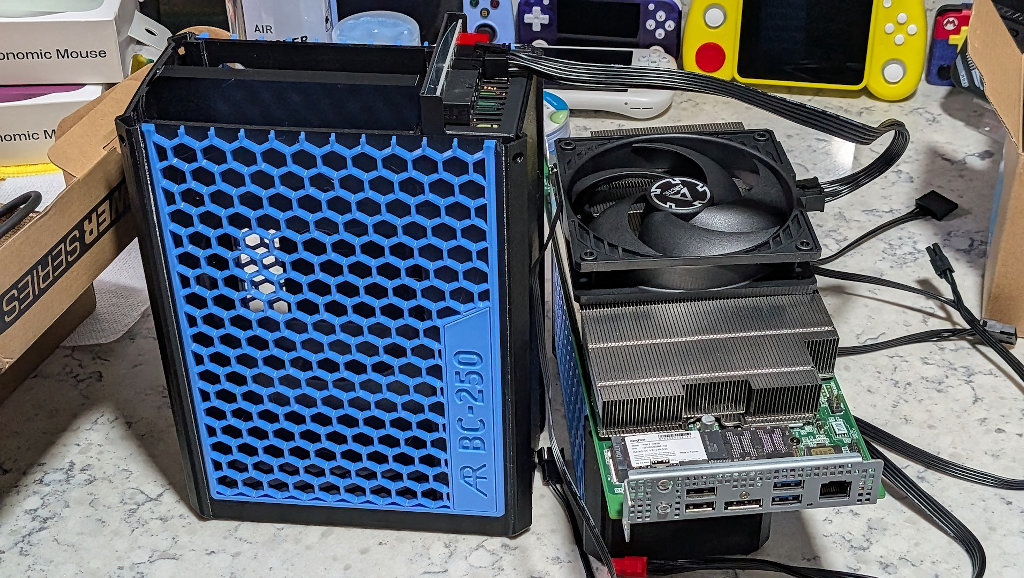
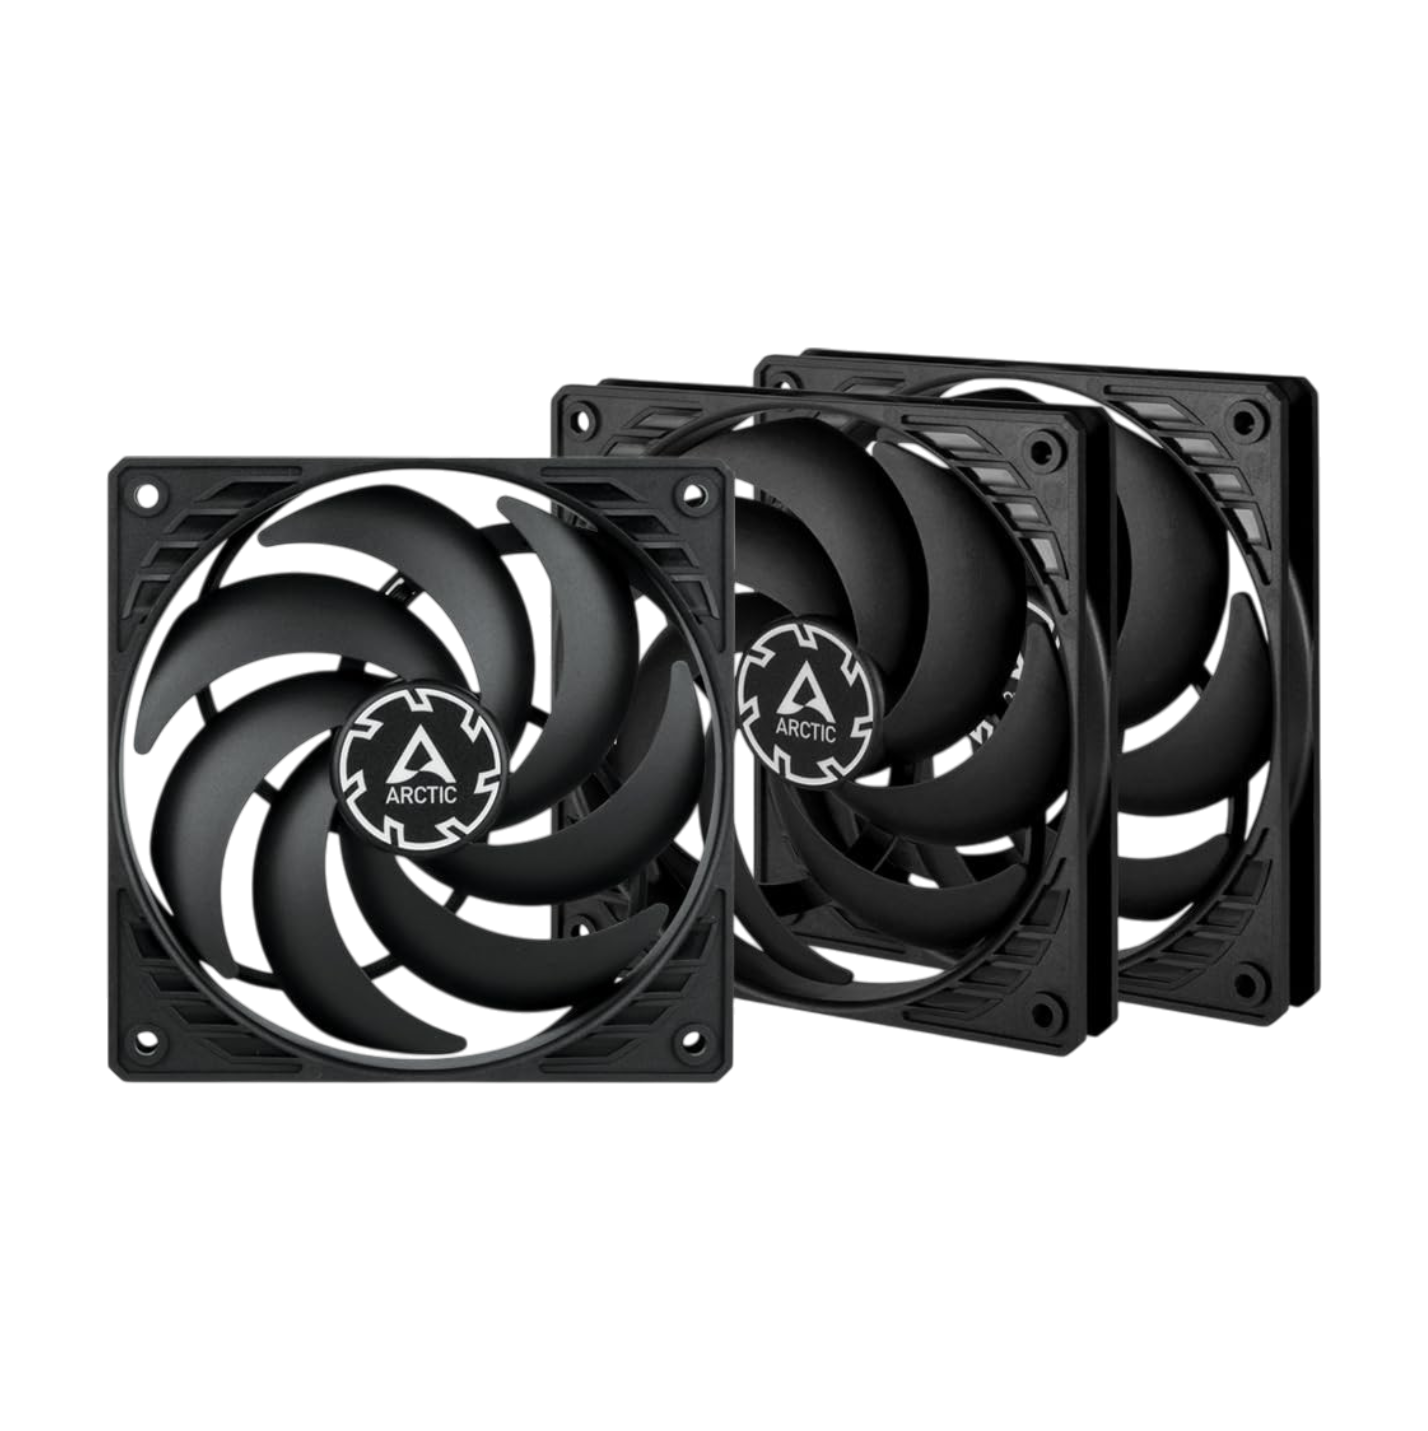
- Cooling: This is a big one with this build. Your cooling needs will depend heavily on the case design you select, but remember that this board is enterprise hardware that lived in a wind tunnel rack. It has nothing more than a large radiator to displace generated heat. The Arthrimus design I selected allows me to get by with one Arctic P12 PWM PST High Pressure Static Fan. This fan simulates the airflow found in a server room by forcing air through the radiator, onto the RAM and CPU, and out the front of the case.
- I’d questioned how this could be sufficient, but the Arthrimus case design is solid. I’ve run the machine for 8 hours filling my external hard drive with tons of active Steam Downloads (processor-heavy loads) and had several multi-hour AAA evening gaming sessions with the box this week. The temps have all been within the safe operating parameters for the hardware, and spikes don’t seem to be occurring. Science!
- Storage: The BC-250 board I ordered off of eBay came with a 128GB M.2 NVMe SSD pre-installed. I’ve opted to keep that modest drive for my main OS install, and maybe a few AAA games that need the extra read speeds, while storing everything else on a 2TB external USB 3 HDD that I already had. The choice is yours, but I opted to go cheap because storage costs are utterly insane at the moment.
- Odds & Ends: The final pieces of the puzzle get brought together with a few simple accessories.
- M3 Brass inserts will be needed for final case assembly and screws.
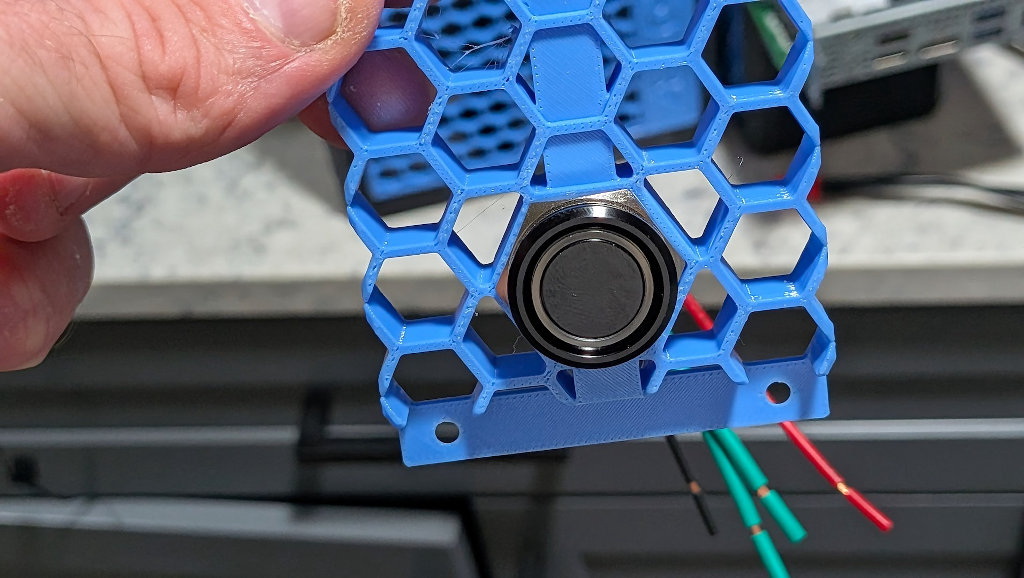
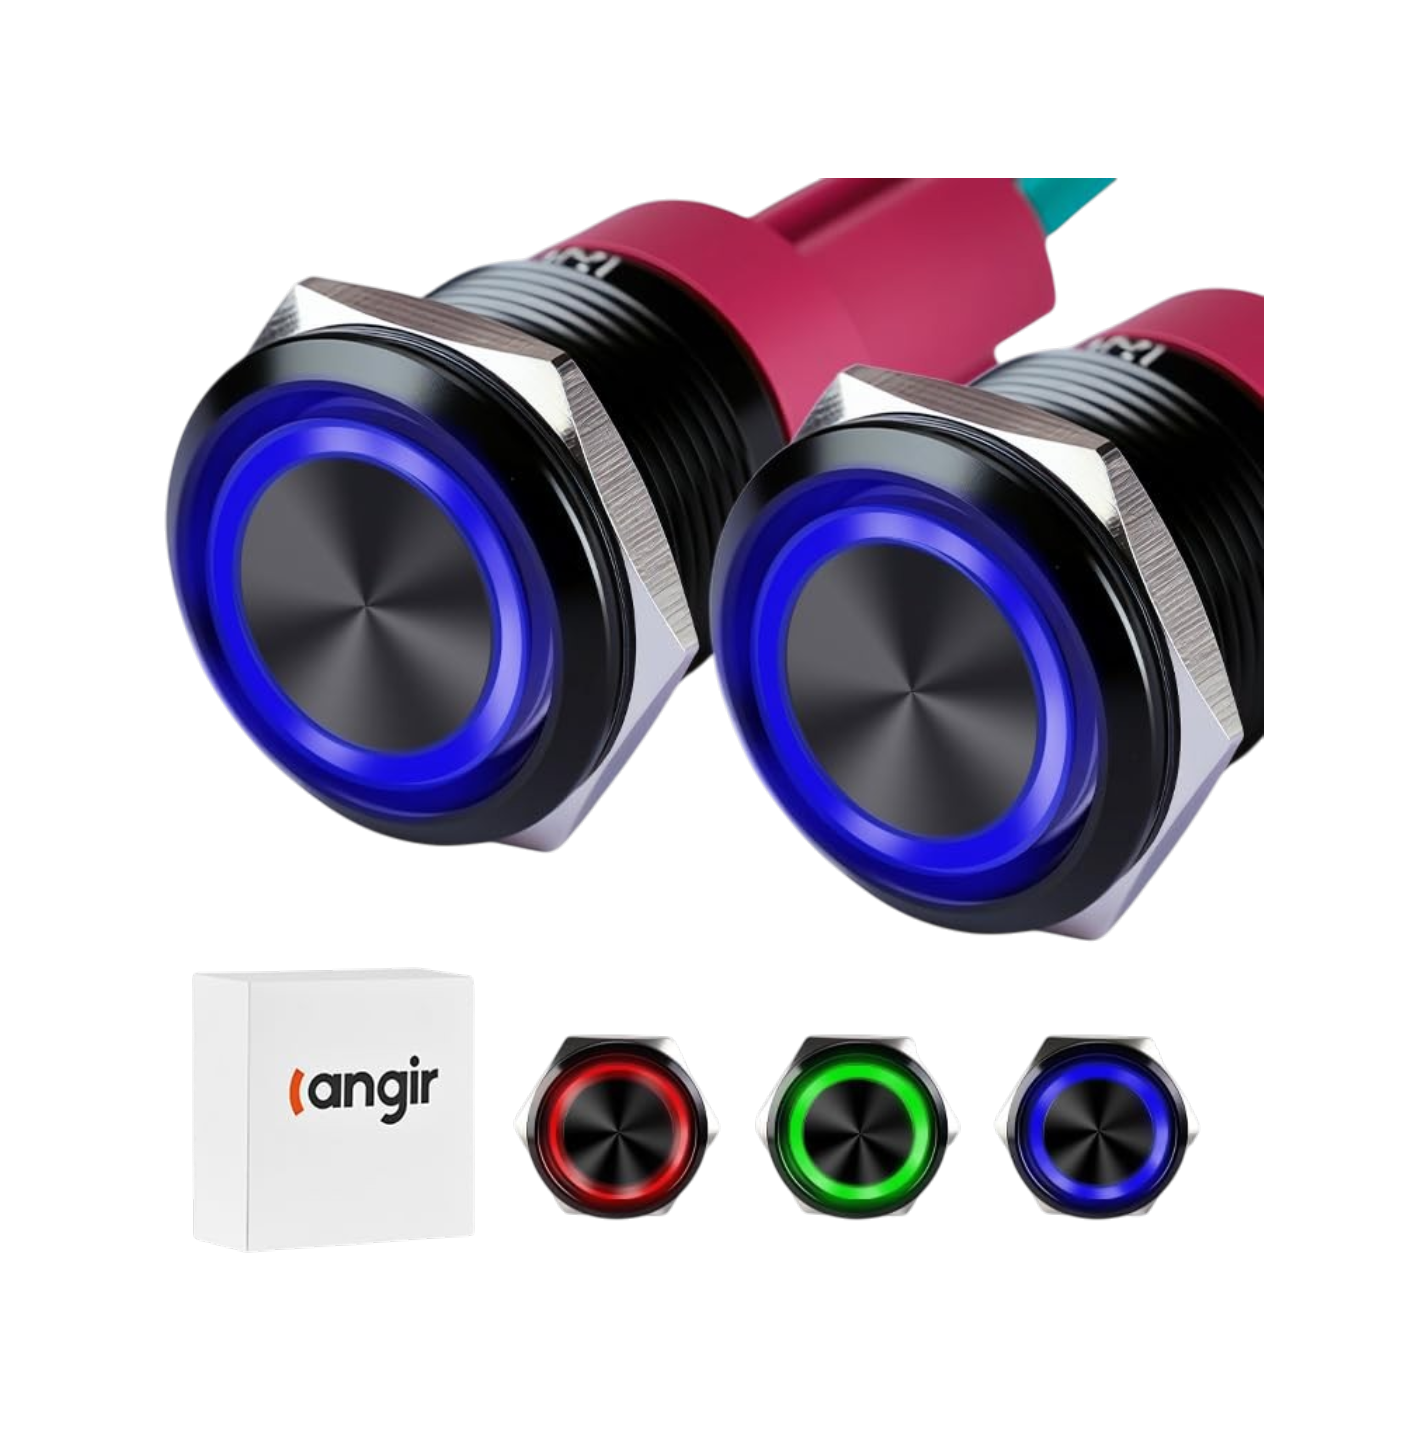
- A front power button will need to be wired either to the board connection or directly to the power supply. I opted for the latter, and used a latching push button I found on Amazon that fit the dimensions of my printed case perfectly.
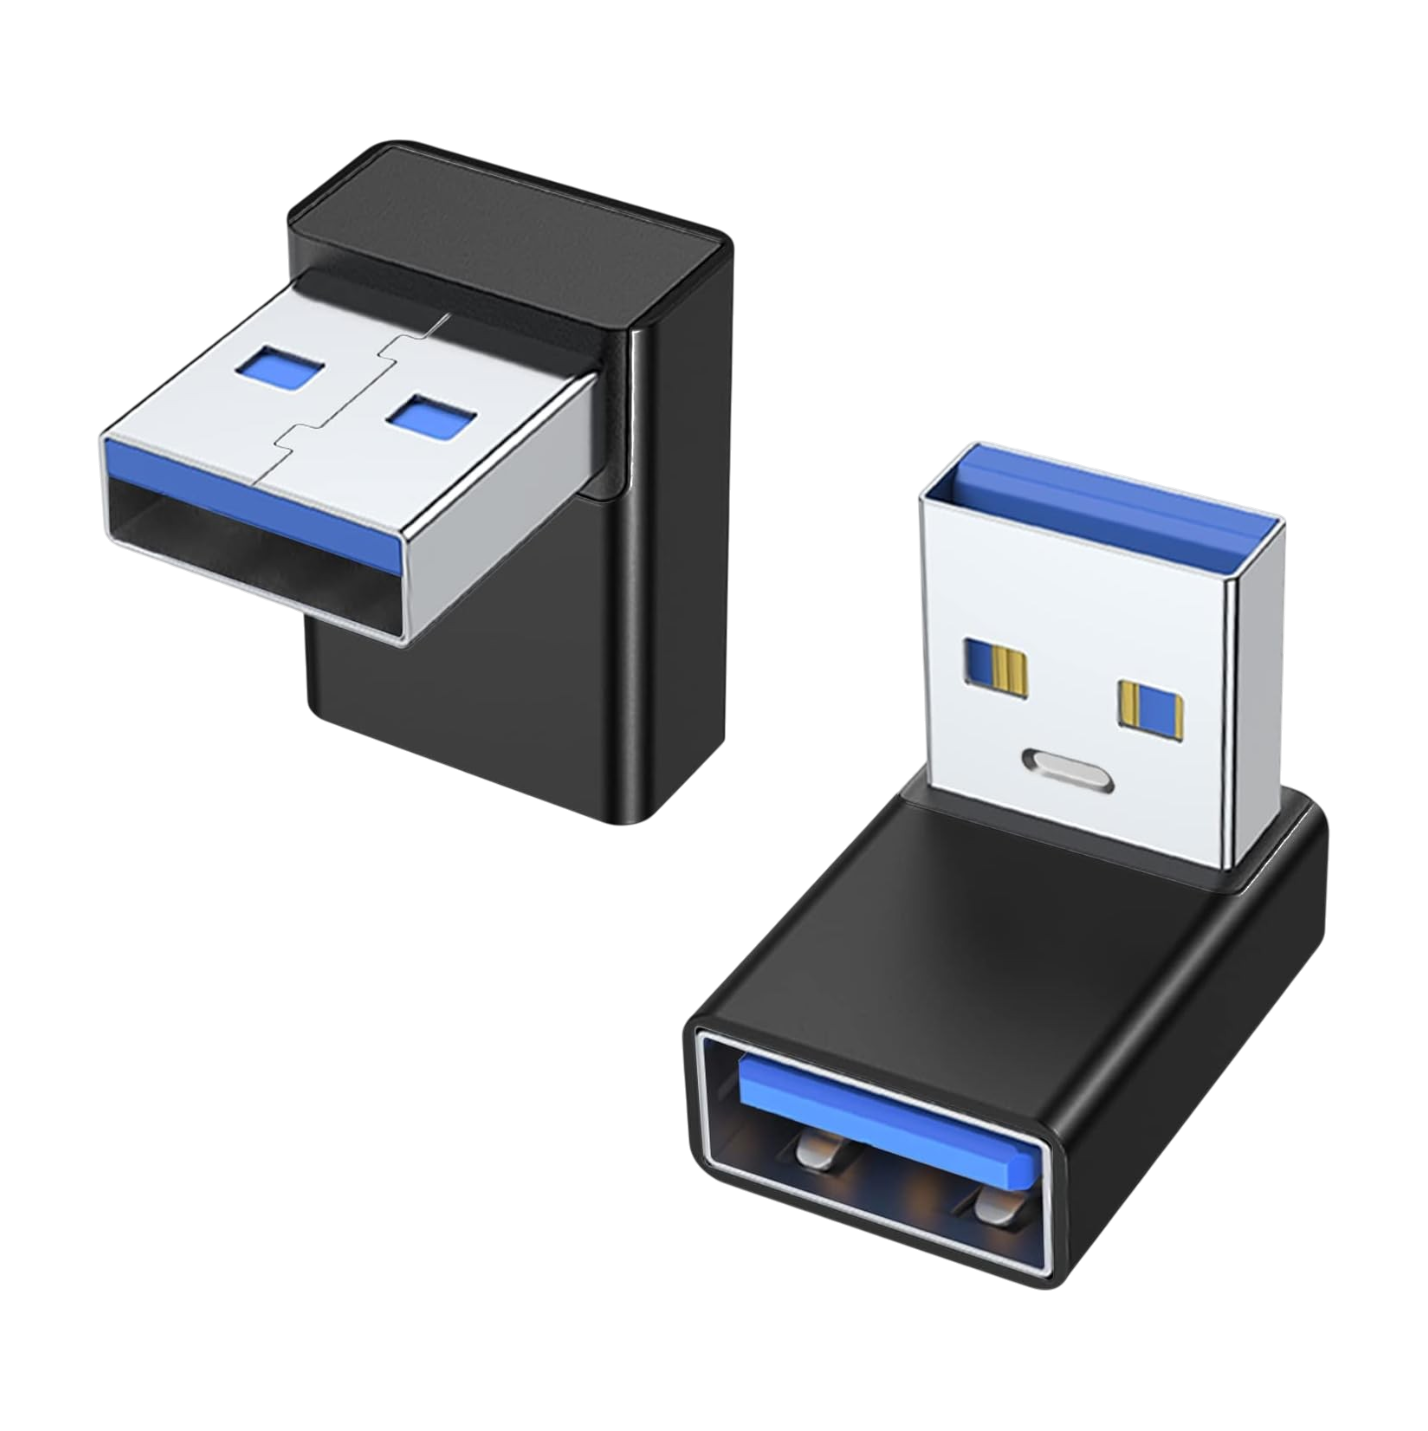
- A USB 3.0 Hub and right-angle adapters allow you to siphon off one USB 3.0 port on the rear of the BC-250, and route it through the case to provide 3 additional ports on the front of the unit. A genius design move so that users aren’t having to reach around the back of the console every time they want to plug something in.
| Product | Amazon | AliExpress |
|---|---|---|
|
— | $322.81 |
|
$22.19 $19.99 | — |
|
$6.49 $5.99 | — |
|
$9.99 | — |
|
$12.99 $9.99 | — |
OS & Software
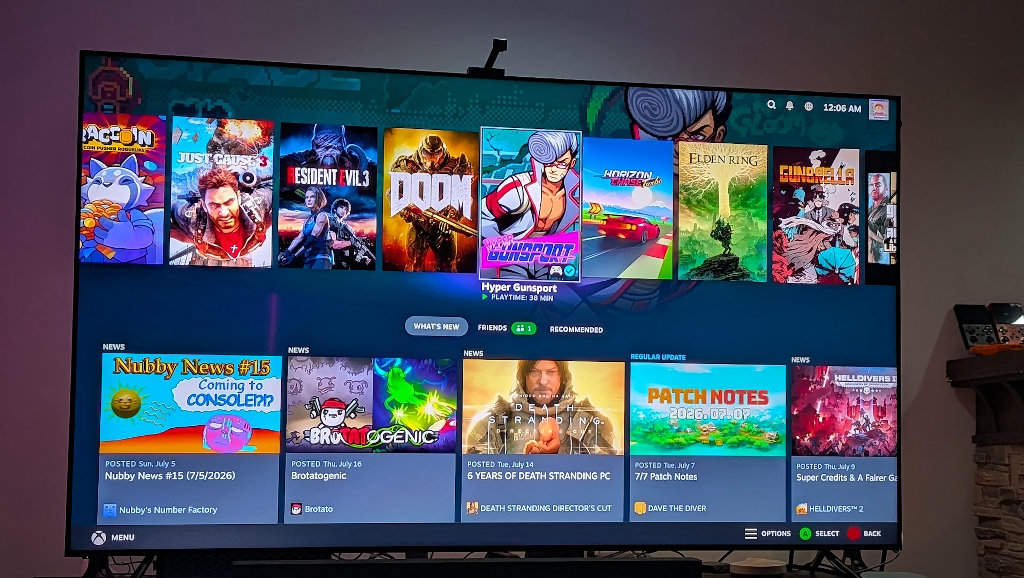
When it comes to the operating system on this DIY Steam Machine, there are options, but Windows ain’t one of them. Rid yourself of any idea of that notion right now because the driver packages simply don’t exist for this hardware.
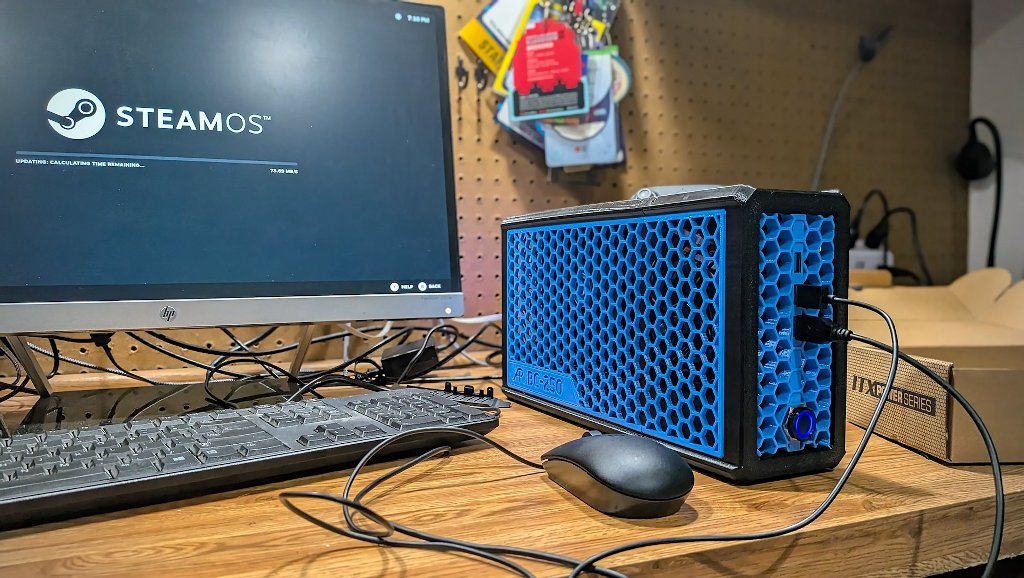
SteamOS proper is still in its infancy, and has only really been developed up to this point with specific hardware in mind. Bazzite, despite also being an immutable Linux distribution, has had longer to bake for projects like this. It’s unlikely you’ll ever notice the difference in any major way, as the entire OS still presents as if it were SteamOS anyway.
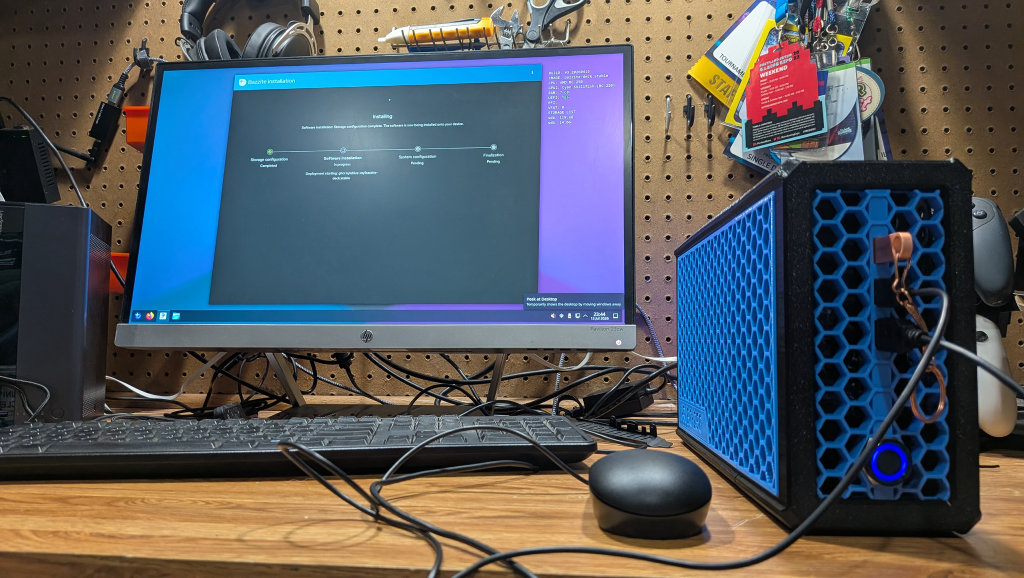
Much like setting up a new Steam Deck, I finished things off with some quality of life additions. ES-DE, Decky Loader, and SteamGridDB round out the package with quality of life improvements and access to the entire history of gaming, which this hardware is more than capable of running in impressive ways. So let’s go get it hooked up in the living room.
Final Thoughts – Would I do it Again? Should You?
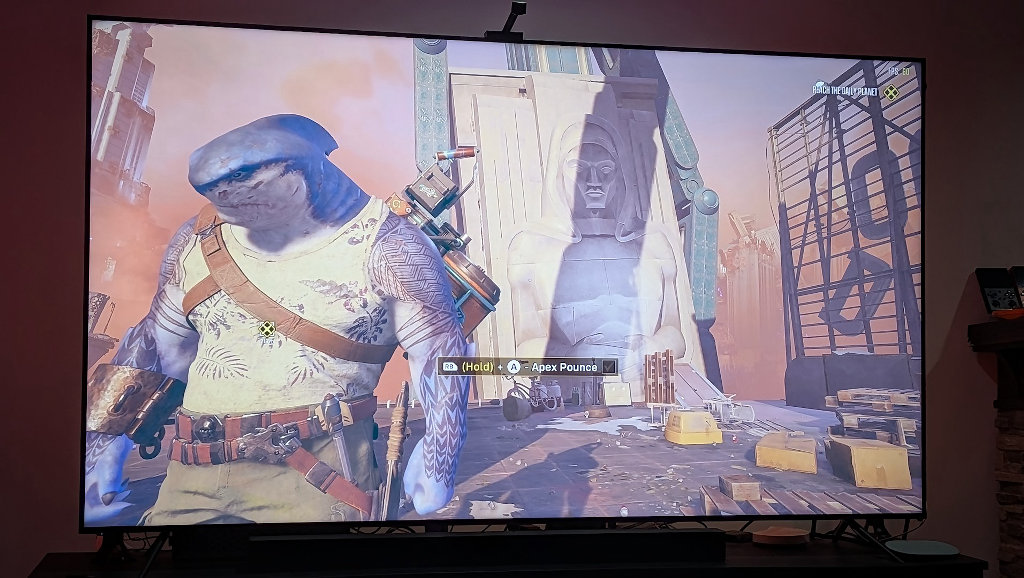
Sitting behind my TV (max airflow), the BC-250 feels like I’m getting away with something. You’ll have to be a little patient at startup, as server-board POST and custom drive initialization can take up to a minute on boot, but past that it’s onto the Steam interface and the smoothest of sailing.
If you’re worried about the difficulty of the build, there’s really very little reason for concern. If you can handle assembling a PC, you can handle this. Any speed bumps along the way were the result of me trying to barrel through and failing to read the directions.
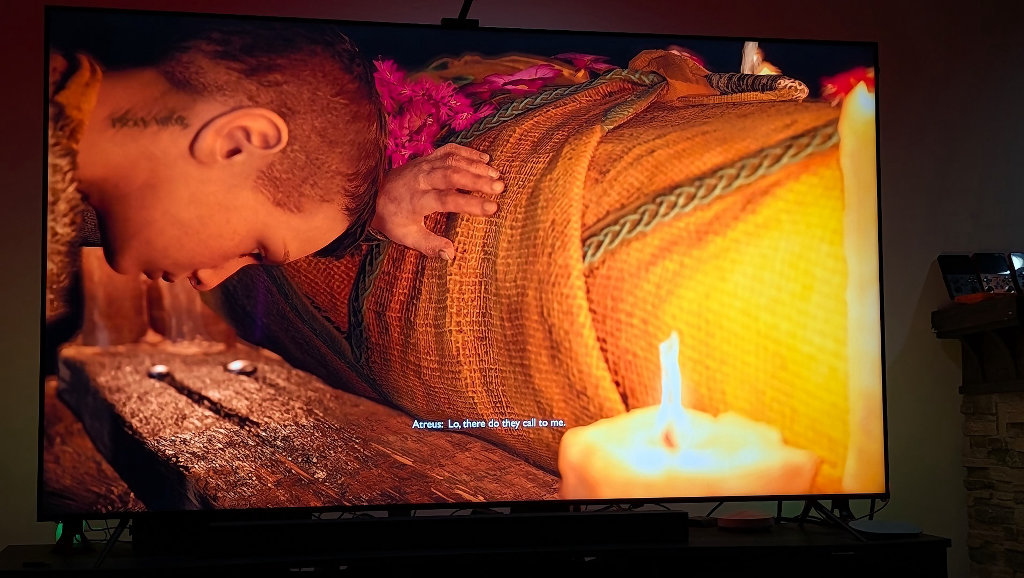
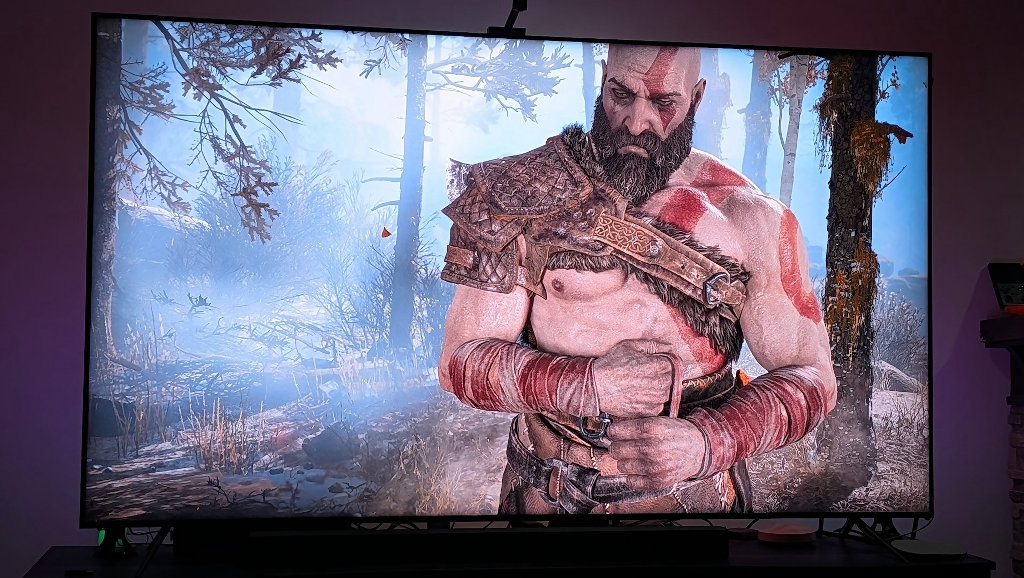
The BC-250 is now the most powerful gaming PC in my house. Up until last week, my main gaming rig was sporting an i9-9700k with an old MSI 5600XT, and it honestly worked fine for my humble 1080 needs. Now though? Now I feel like I understand some of what the graphics junkies are chasing. Games like God of War on PC look stunning when compared to my memories on PS4, where I thought it looked fantastic at the time.
The BC-250 is everything I love about being a tech enthusiast. The industry has delivered costs that are simply moving beyond the budgets of your everyday consumer, and the community has answered that they can do just fine all by themselves, for much less. All it takes is a little tinkering, and one miner’s trash could be your gaming treasure too.

2 Comments
Hey friend thought you should know Valve SteamOS is working great on these boards.
Especially as of 3.8.x stable release we have all required kernel and drivers.
Also we can now unlock all 40 CU using a script and no longer need a custom kernel.
I also see some performance gains with SteamOS.
Yes unlock it if you can!!