

Epomaker makes a lot of keyboards. They’ve managed to cover just about every angle from cheap wired options up through higher end, all aluminum build boards that feel like you could hurt yourself with if you dropped it on your foot. But one that they’ve been attempting to come after for a bit now has been the “high end gaming focused” scene that’s been covered by boards from companies like Wooting.
Enter the HE75 V2, a TMR Magnetic keyboard that not only attempts to go after those “high speed rapid trigger” keyboards, but also manages to do it while retaining compatibility for standard mechanical switches. So is it worth the $129? Well that’s what I’m here to figure out.
Disclosure:
The keyboard reviewed was provided as a review sample by Epomaker. This had no bearing on the conclusion of the review, nor did Epomaker have the opportunity to make edits or changes to the review before publishing.
Affiliate links might be present where applicable, and we may earn a commission on product purchases using those links at no extra cost to you.
Epomaker HE75 V2 Specs
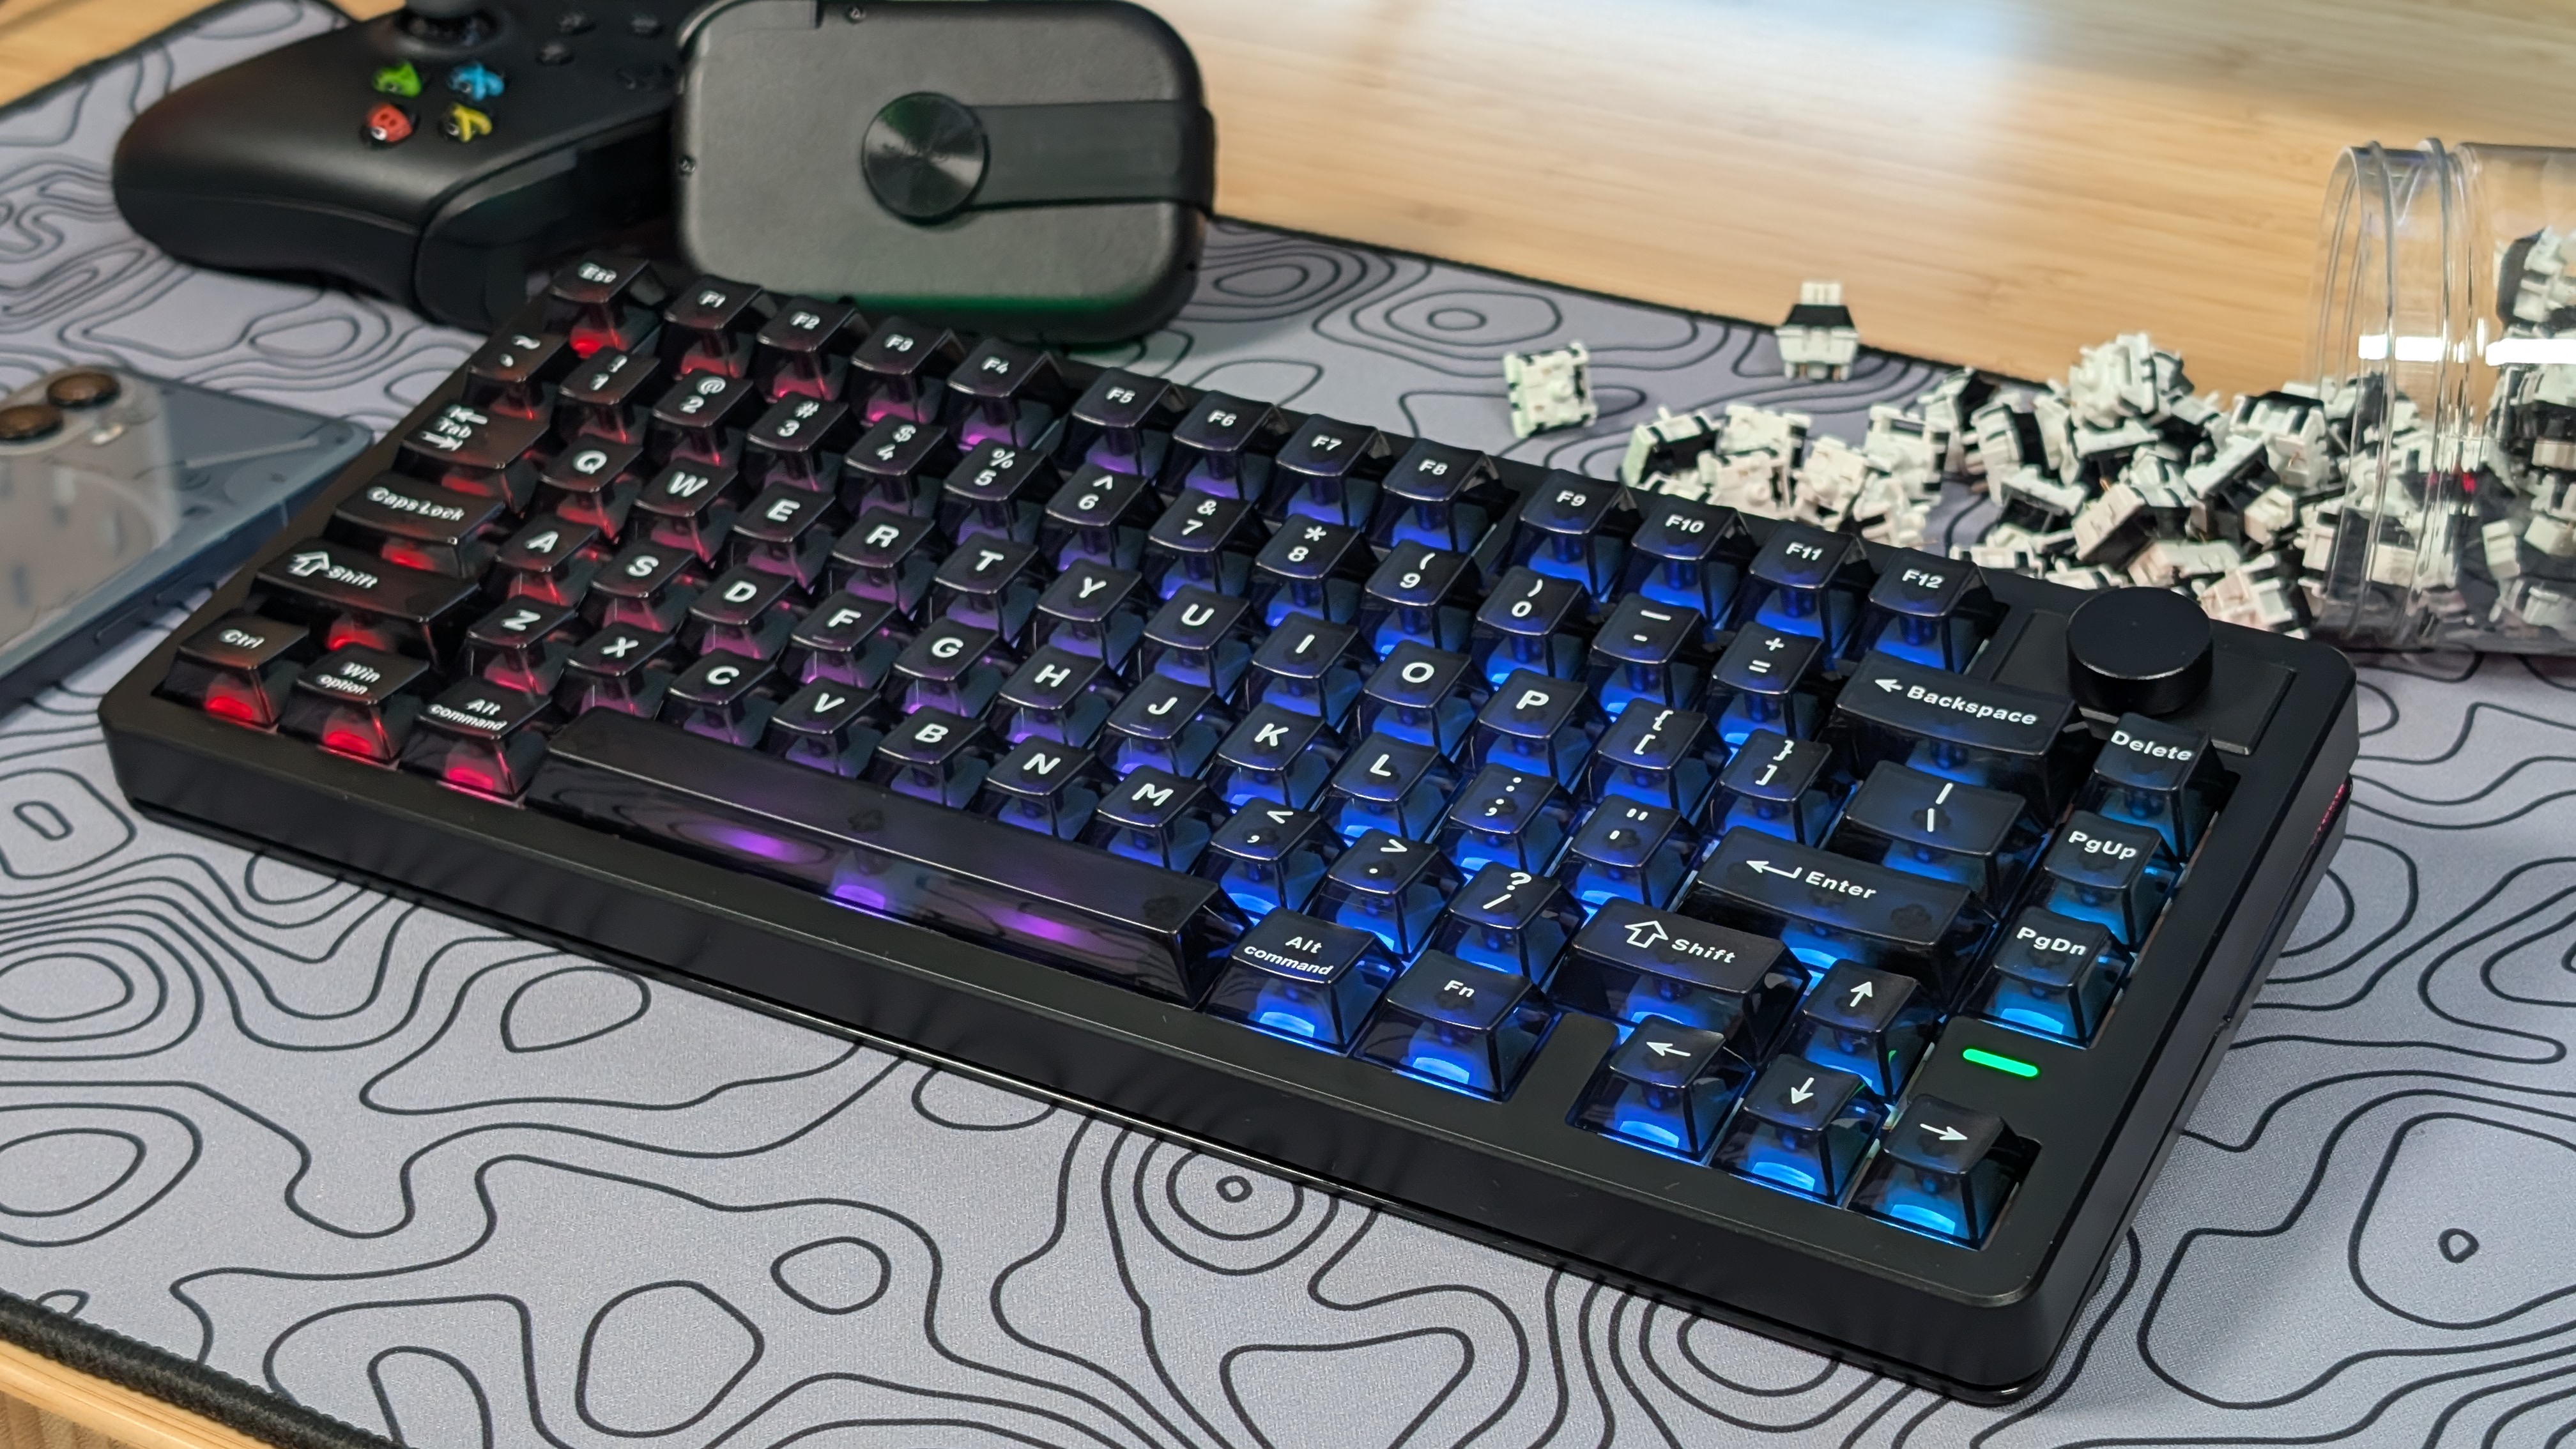
There’s two things worth mentioning when it comes to the HE75 V2. First off, there’s a standard V2 for $89, and this TMR edition for $129. Their images make the two boards look identical, but there are certainly differences under the hood that display the cost. But as for where to get them, your options are really the Epomaker website directly, or over on Amazon, where they’re both currently $129 at the time of writing. But what about the specs?
| Hardware | |
| Switches | Epomaker Creamy Jade Linear Magnetic Switch |
|---|---|
| Switch Specs | 55gf Bottom Out, 3.5mm Total Travel, Pre-Lubricated, 2-pin Switch |
| Keycaps | PC Plastic |
| Case Material | ABS Plastic |
| Layout | 75% (Knob is listed as swappable for 2 additional keys) |
| Dampening | 5-layer Sound Dampening |
| Battery | |
| Capacity | 8000mAh |
| Connectivity | |
| Wired | USB-C |
| Wireless | 2.4GHz |
| Bluetooth | Bluetooth 5.0 |
| Polling/Refresh Rate | Up to 8,000Hz (125Hz via Bluetooth) |
| Compatibility | macOS, x86, Android |
| Extra Features | |
| PCB | Hot-Swappable (TMR and Mechanical Switches) |
| Backlighting | Custom RGB |
| Physical | |
| Weight | 978g |
| Dimensions | 324 x 138 x 43mm |
| Software | |
| OEM | EPOMAKER 3.0 Software |
Build Quality and Layout
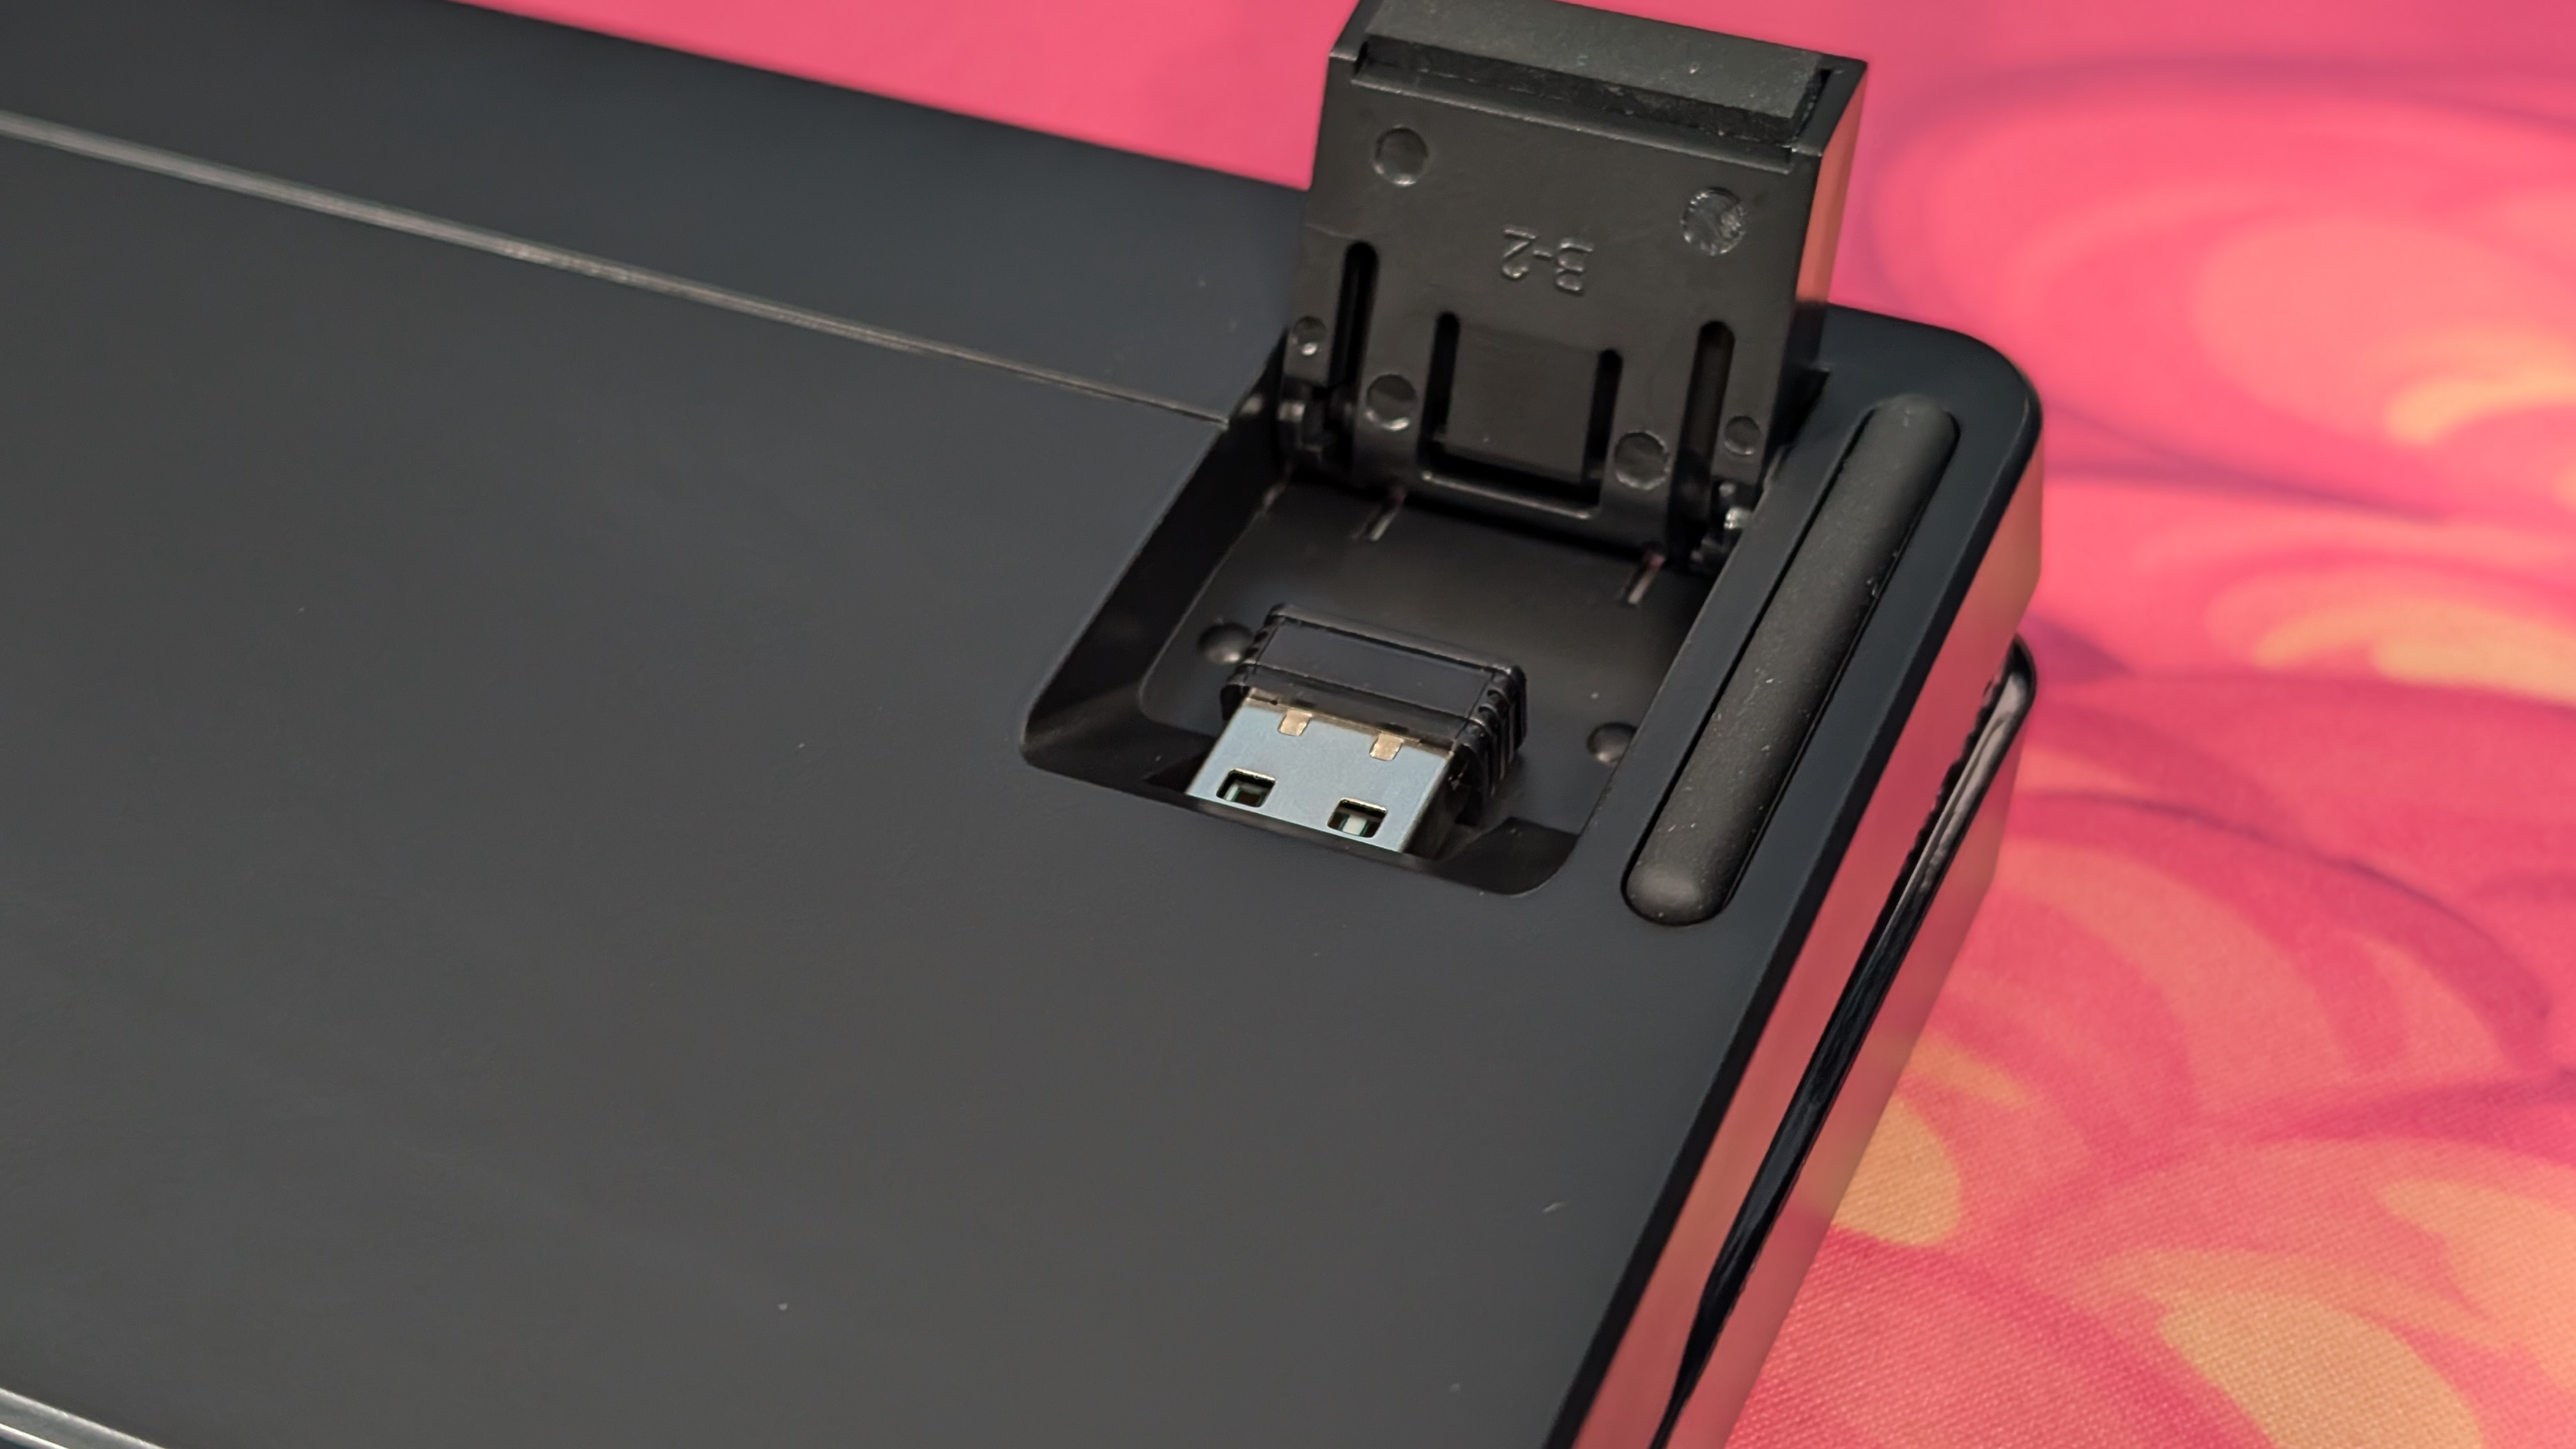
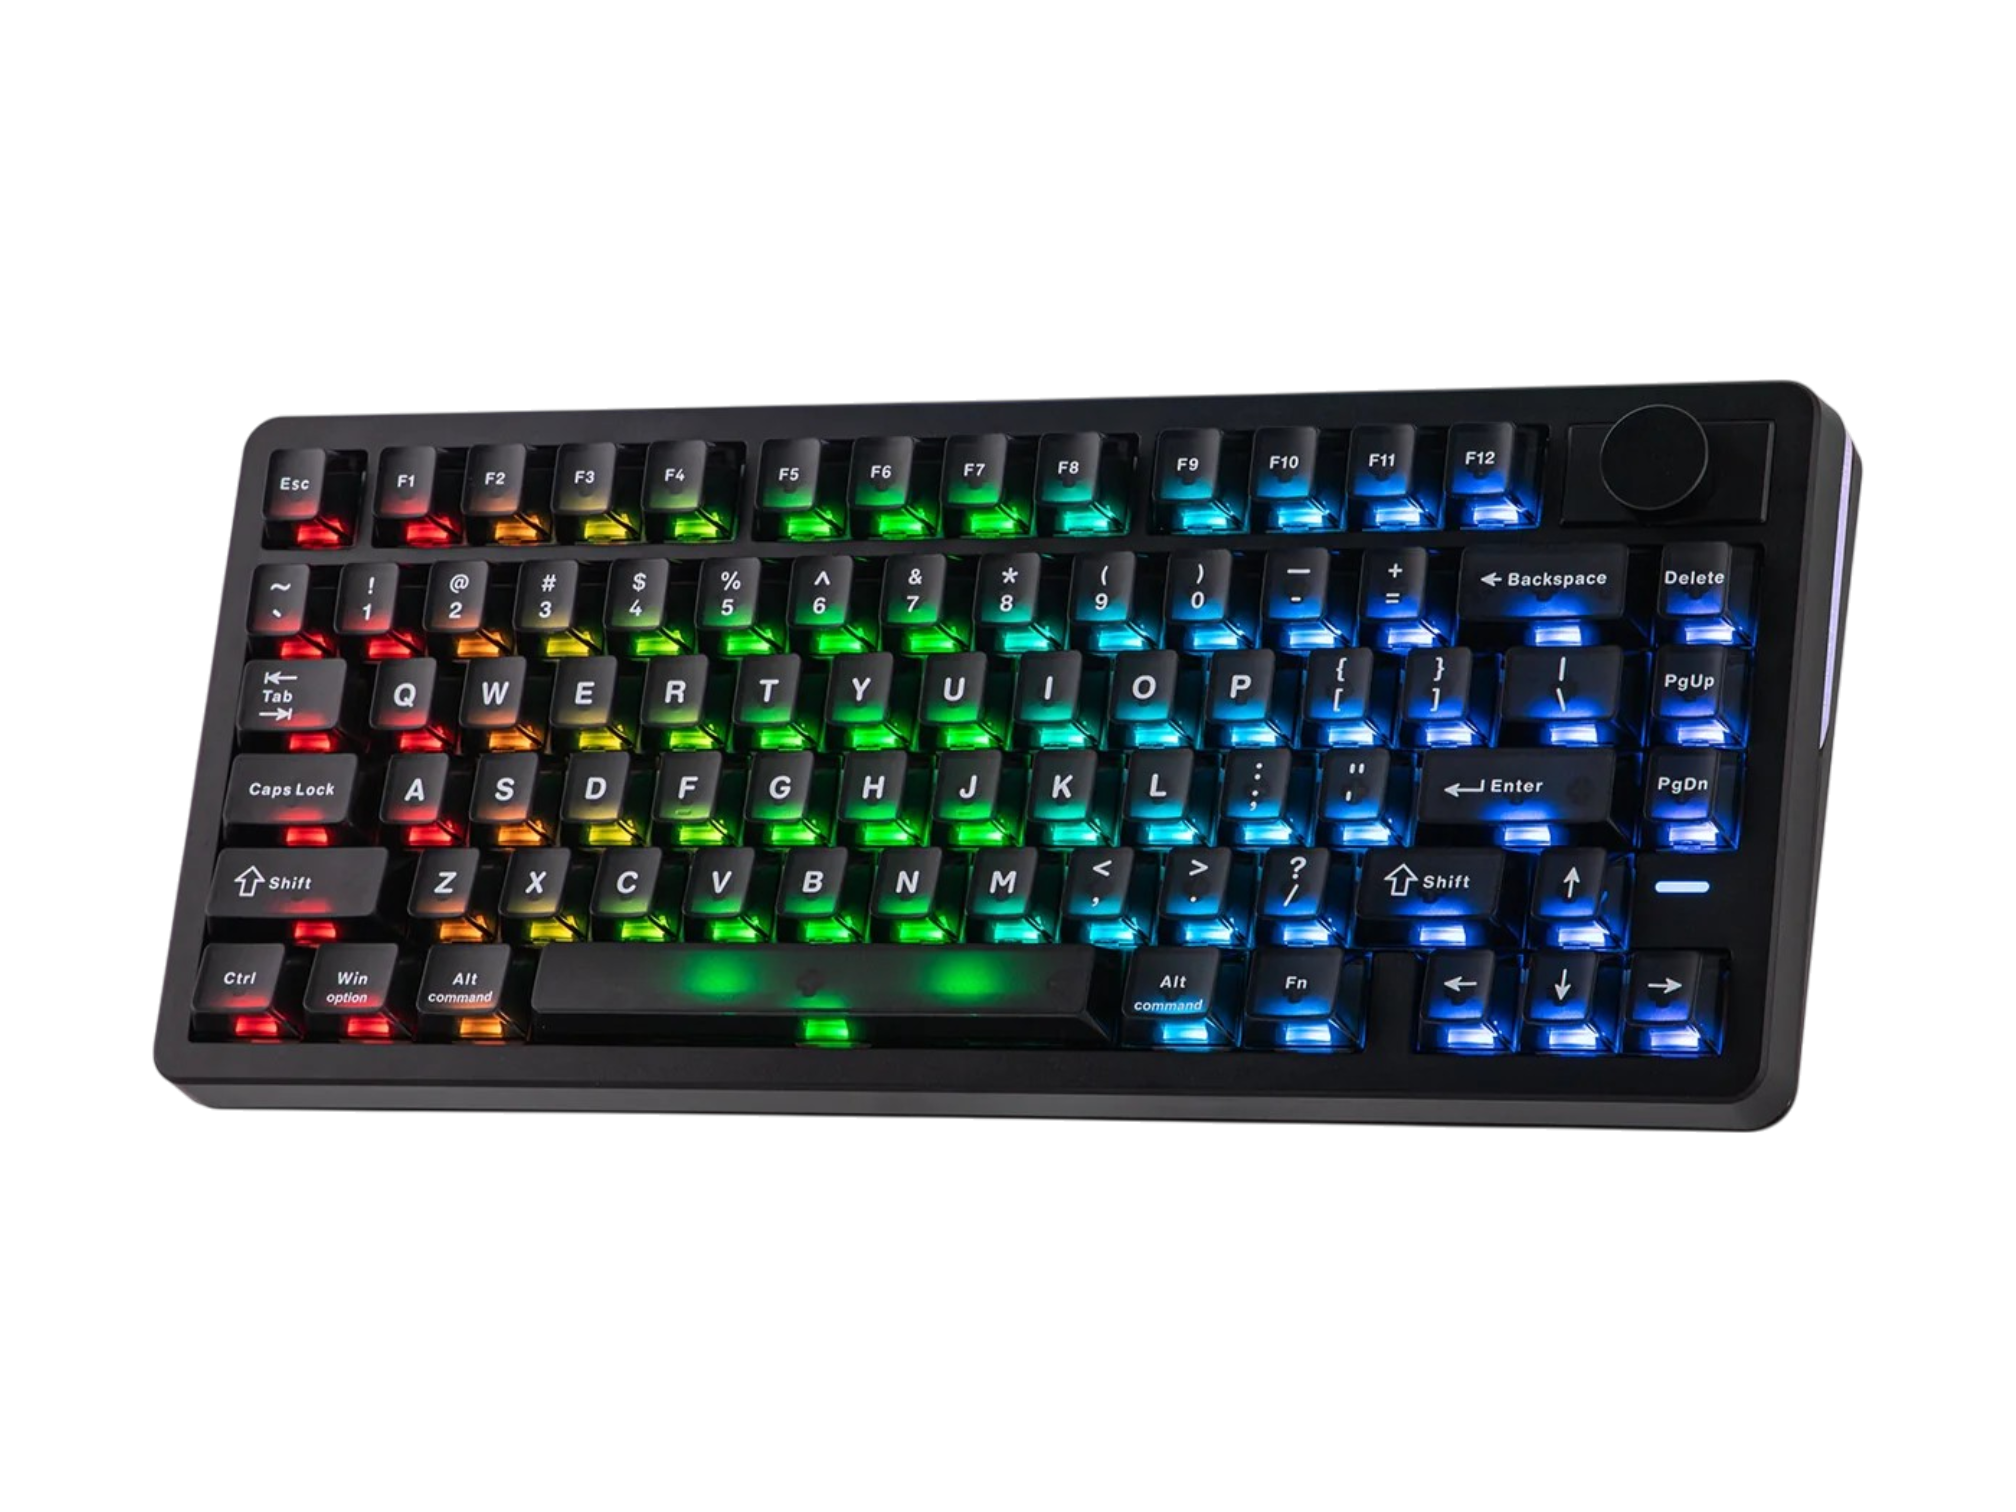
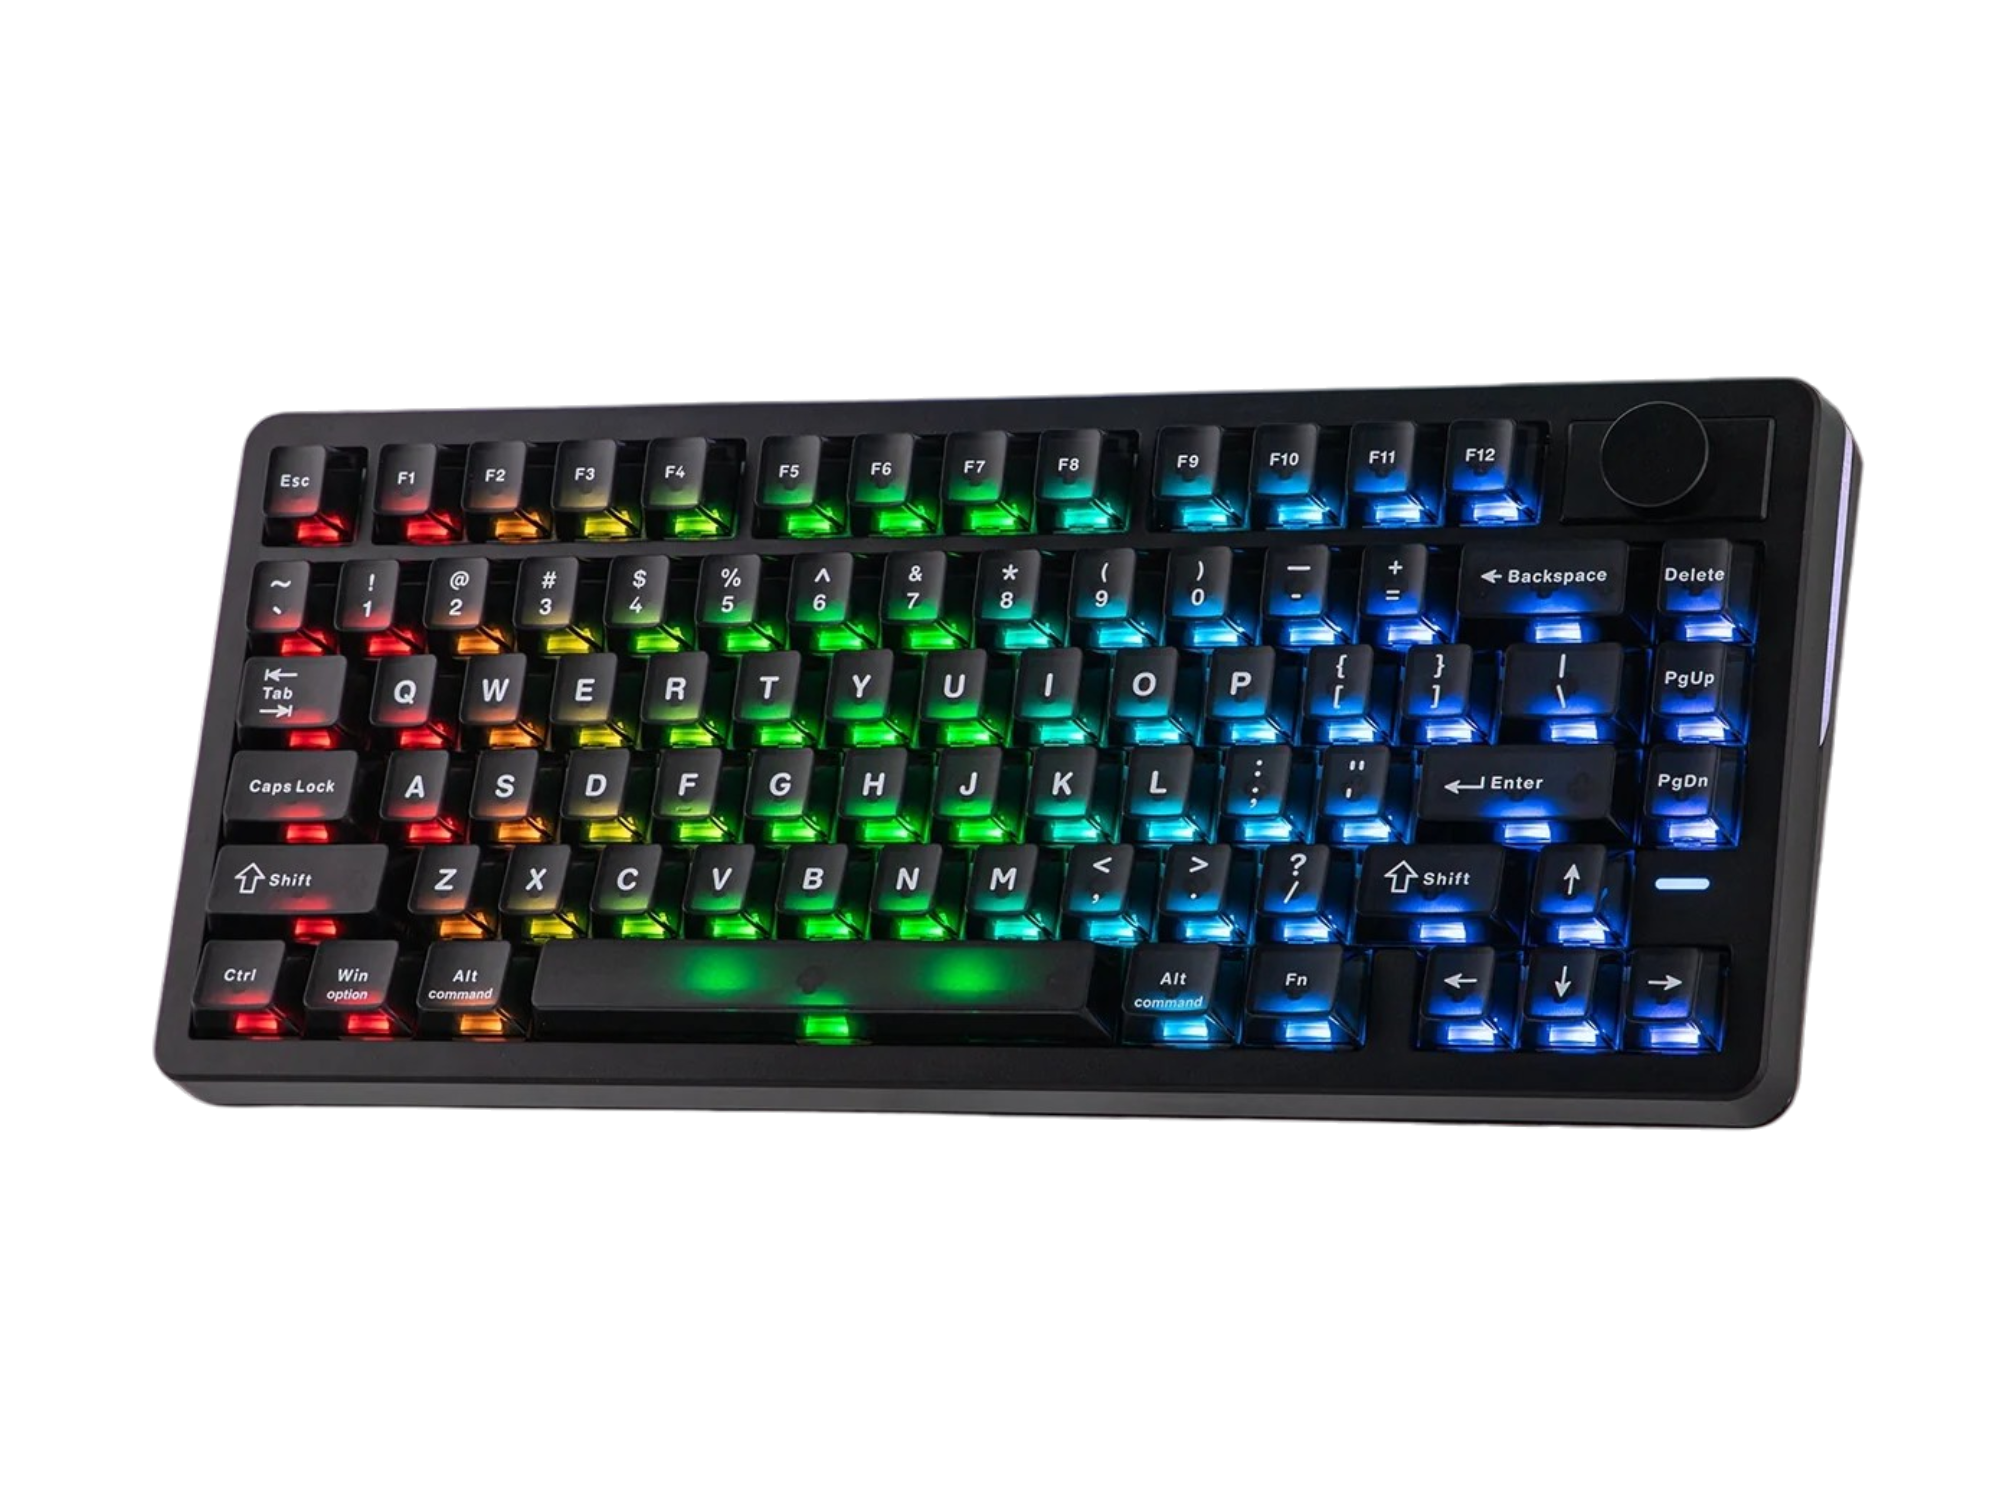
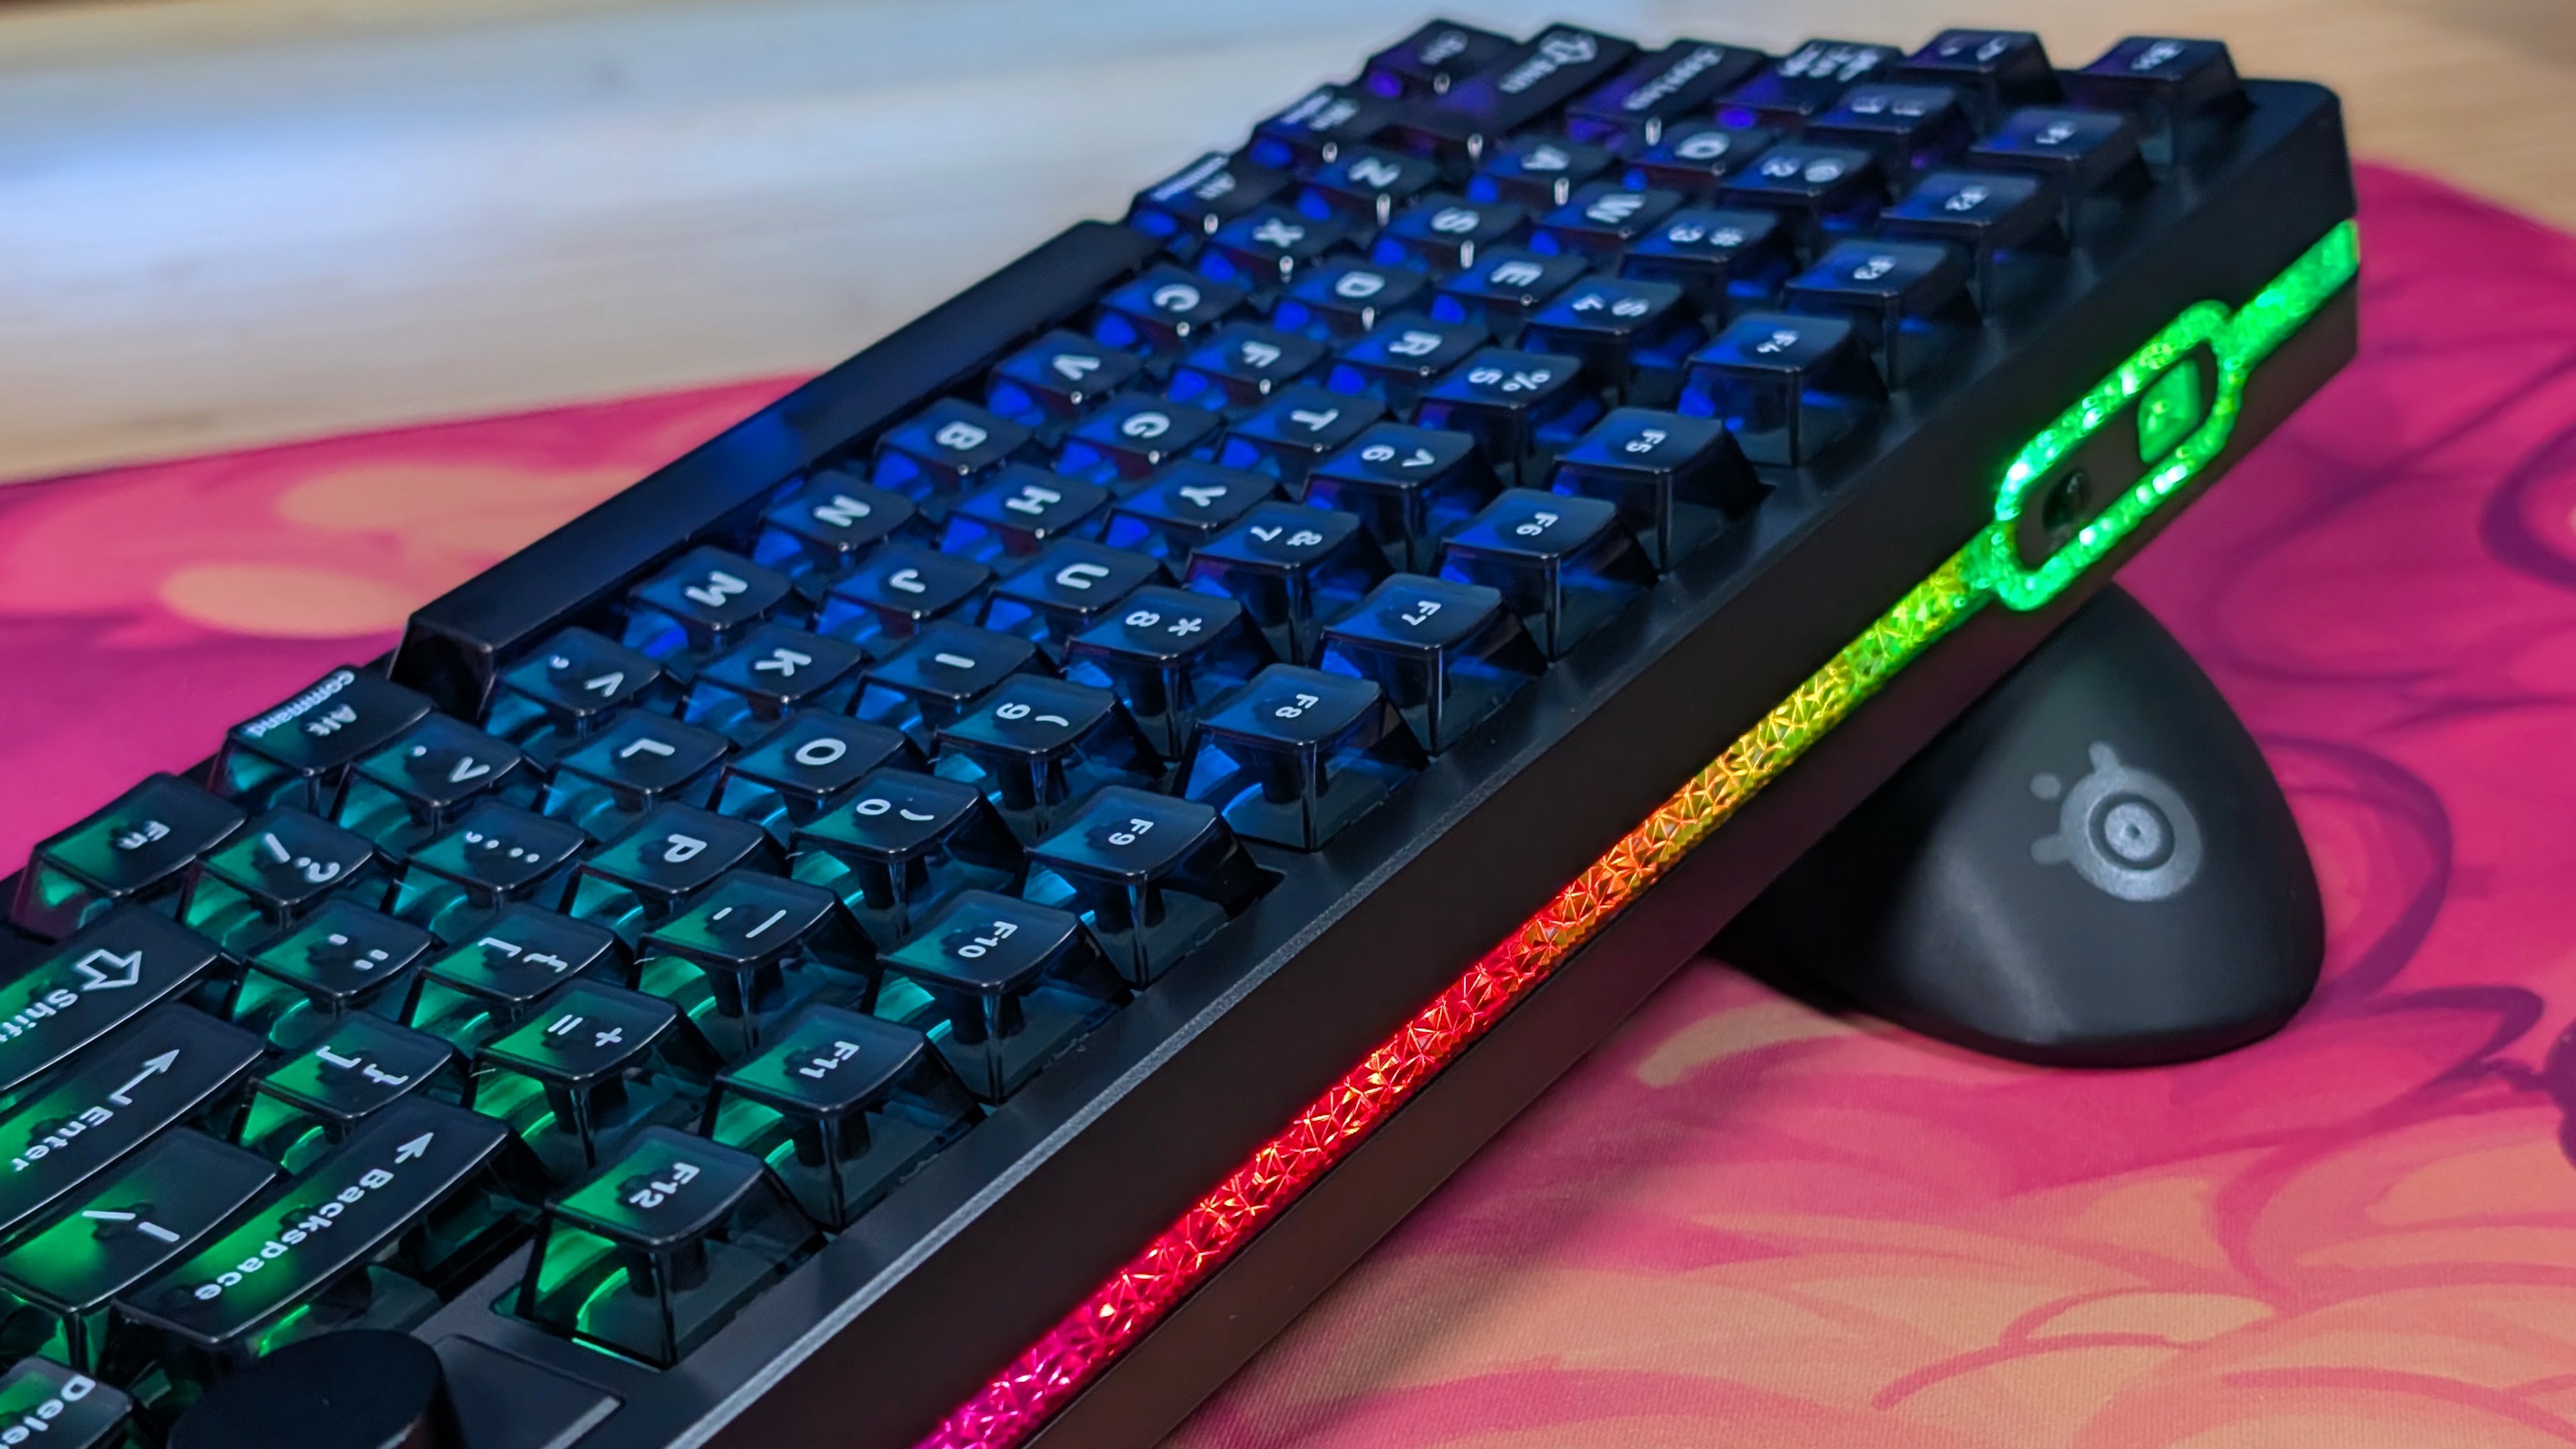
At this point it shouldn’t be a shock when I say that this keyboard is built well. The plastics used are rigid, and the board only really has the flex you’d expect from bottoming out keys like a caveman. Or if you’re me. The only build choice I have to wonder about are the rhinestone, crystalline look along the back of the board that houses the RGB lighting.
Since I never have to look at that part of the board, I’m pretty okay with it being there, but in my personal opinion, I find it to be a bit gaudy. I’d have preferred just a standard light bar, or similar, but as I usually turn these lights off to preserve battery, it’s a non-issue in the end.
As for the layout, 75% is my favorite. My main keyboard is a Rainy75 that stays at my work desk usually, and the secondary keyboard is a Keychron K2 HE Sylvan Hollow Special edition. Both of those are 75%, but the Rainy75 more closely aligns to the HE75 V2 TMR as they’re both expanded 75% boards.
Meaning there are space gaps between the main keys and the F row. Because of that, I fully swapped out my main board for the entire duration of the review, simply due to it being so familiar. And honestly, outside of a few small details, I wouldn’t be able to tell the difference.
Switches and Keycaps

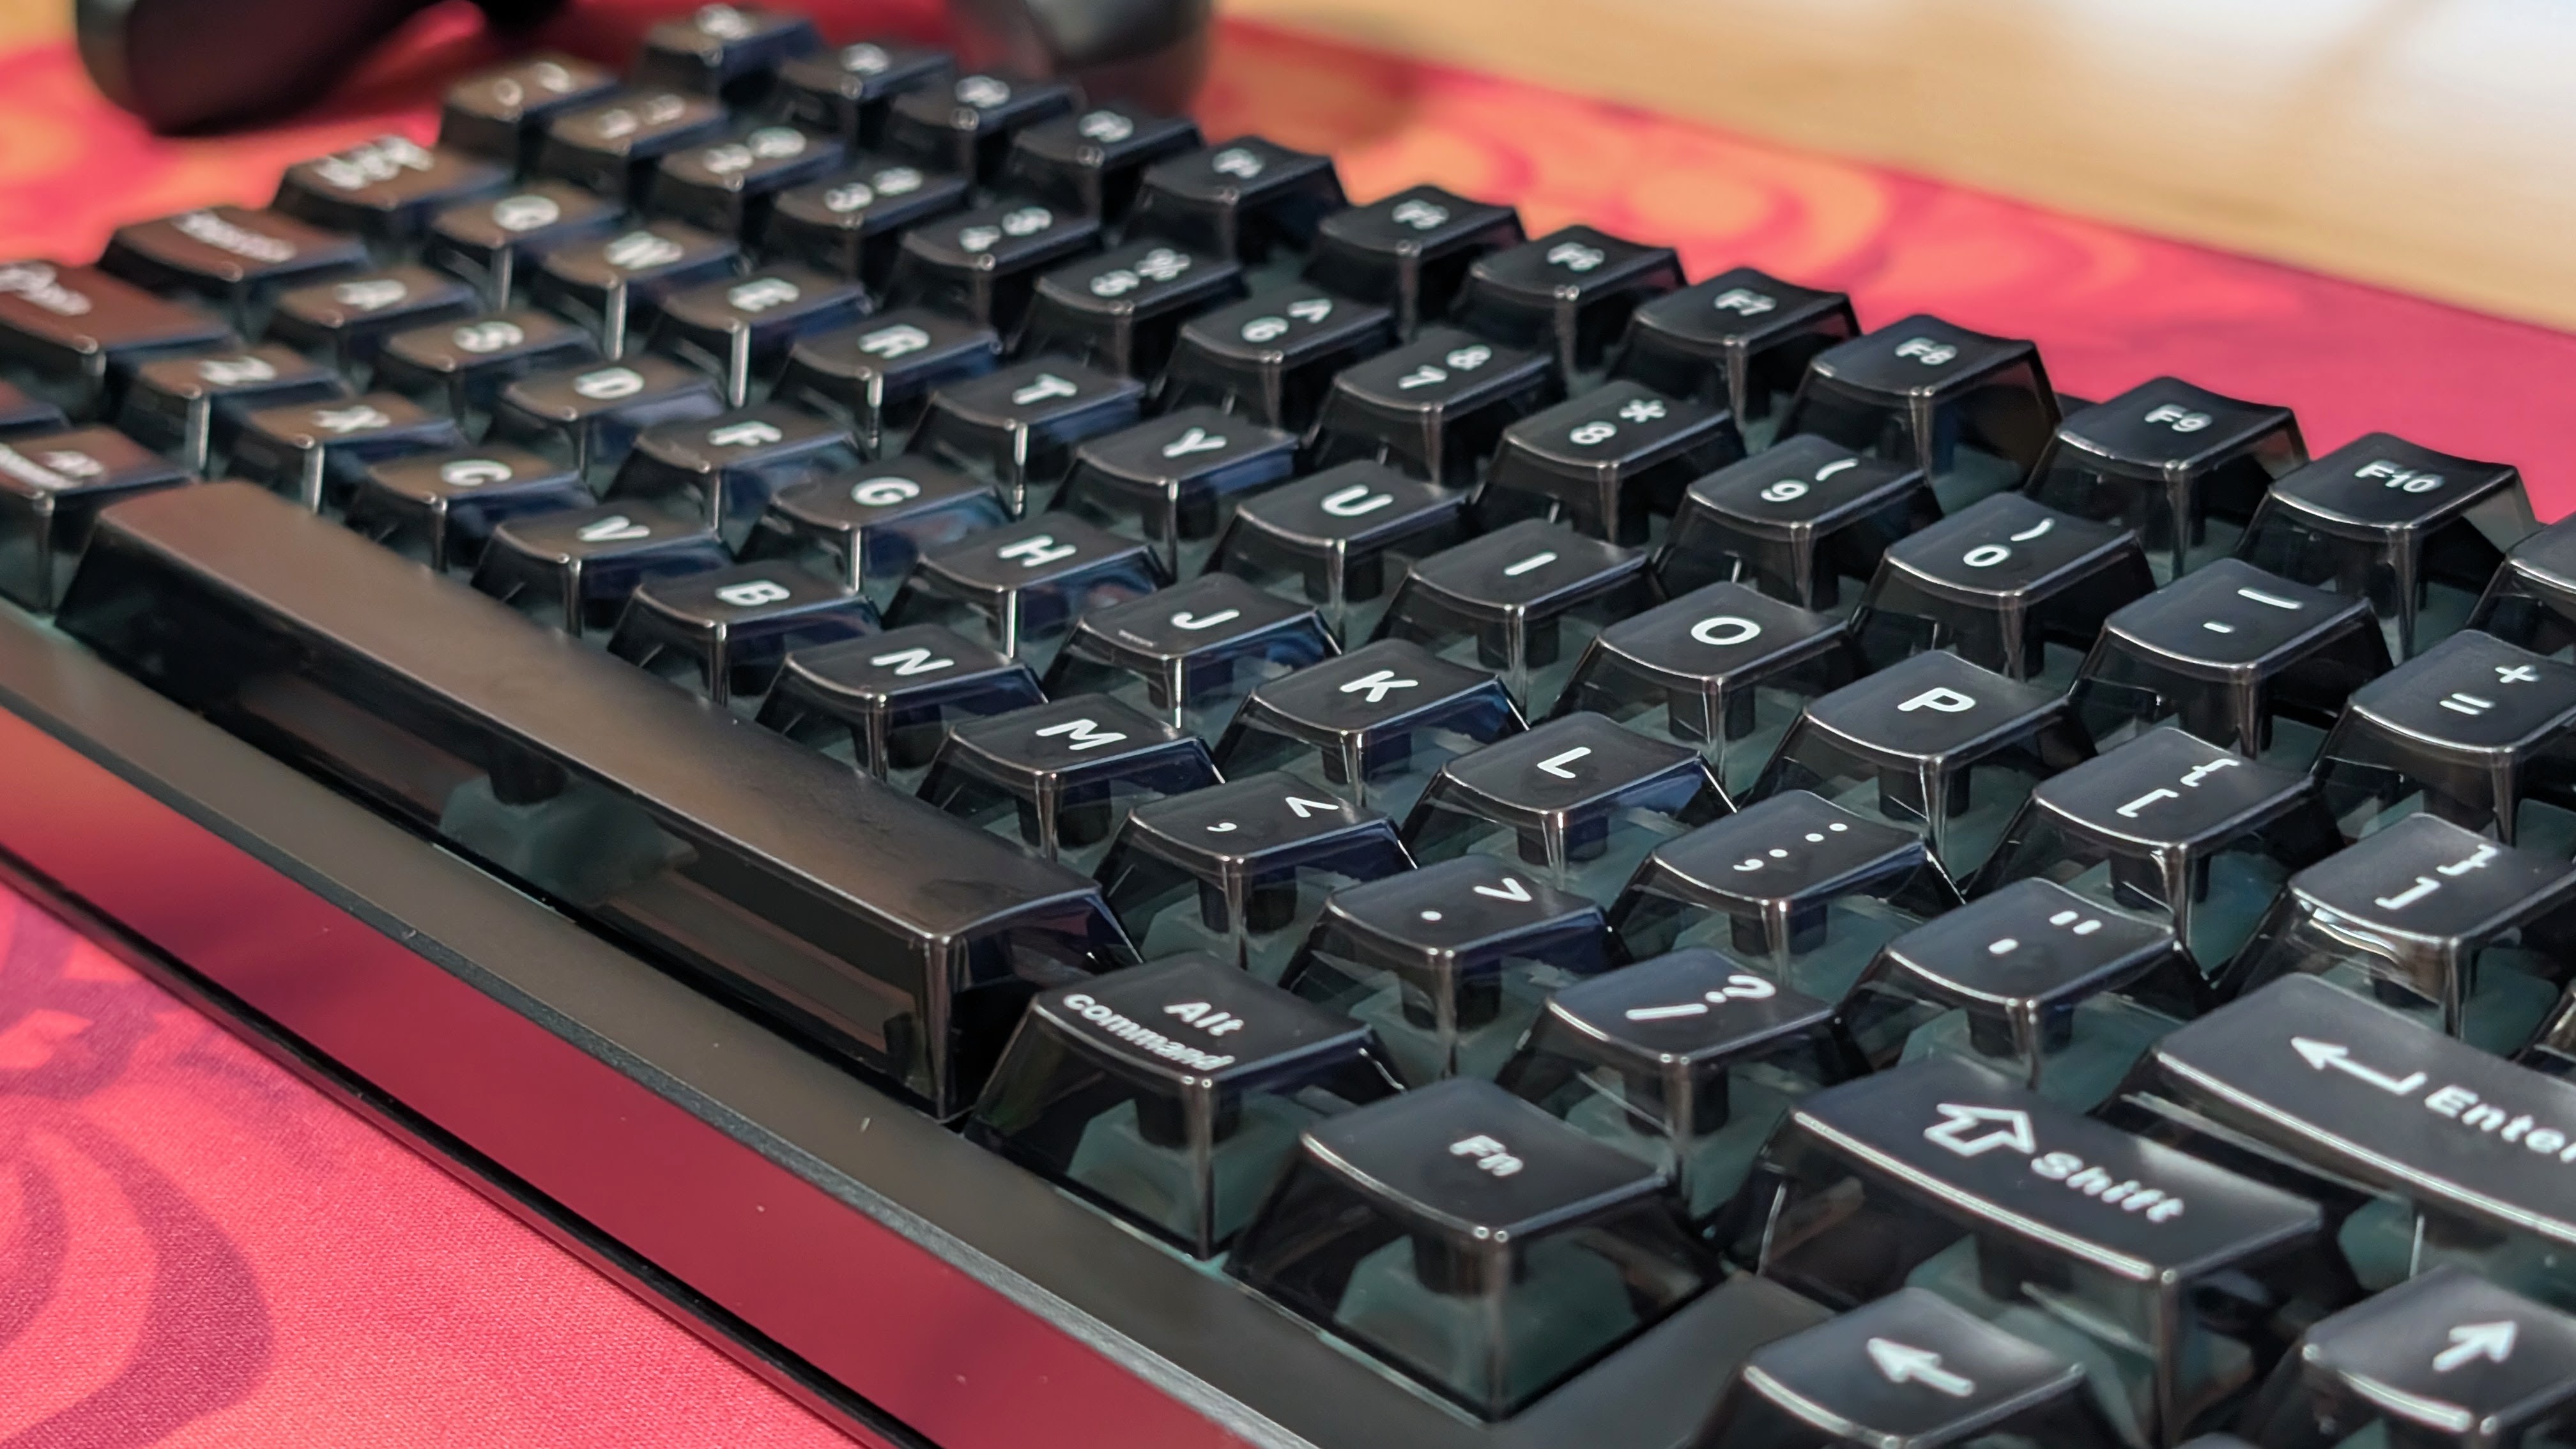
The keycaps are a bit interesting. Rather than your standard ABS or PBT keycaps, these ones are PC, or what I assume to be polycarbonate. They feature your traditional typing profile, Cherry or OEM heights, and are mostly matte on top. What’s interesting is the sides are transparent, which helps the RGB shine through quite a bit more. I think it’s a neat look, and this would be even better on a keyboard that was also transparent. But I dig it.
Switches
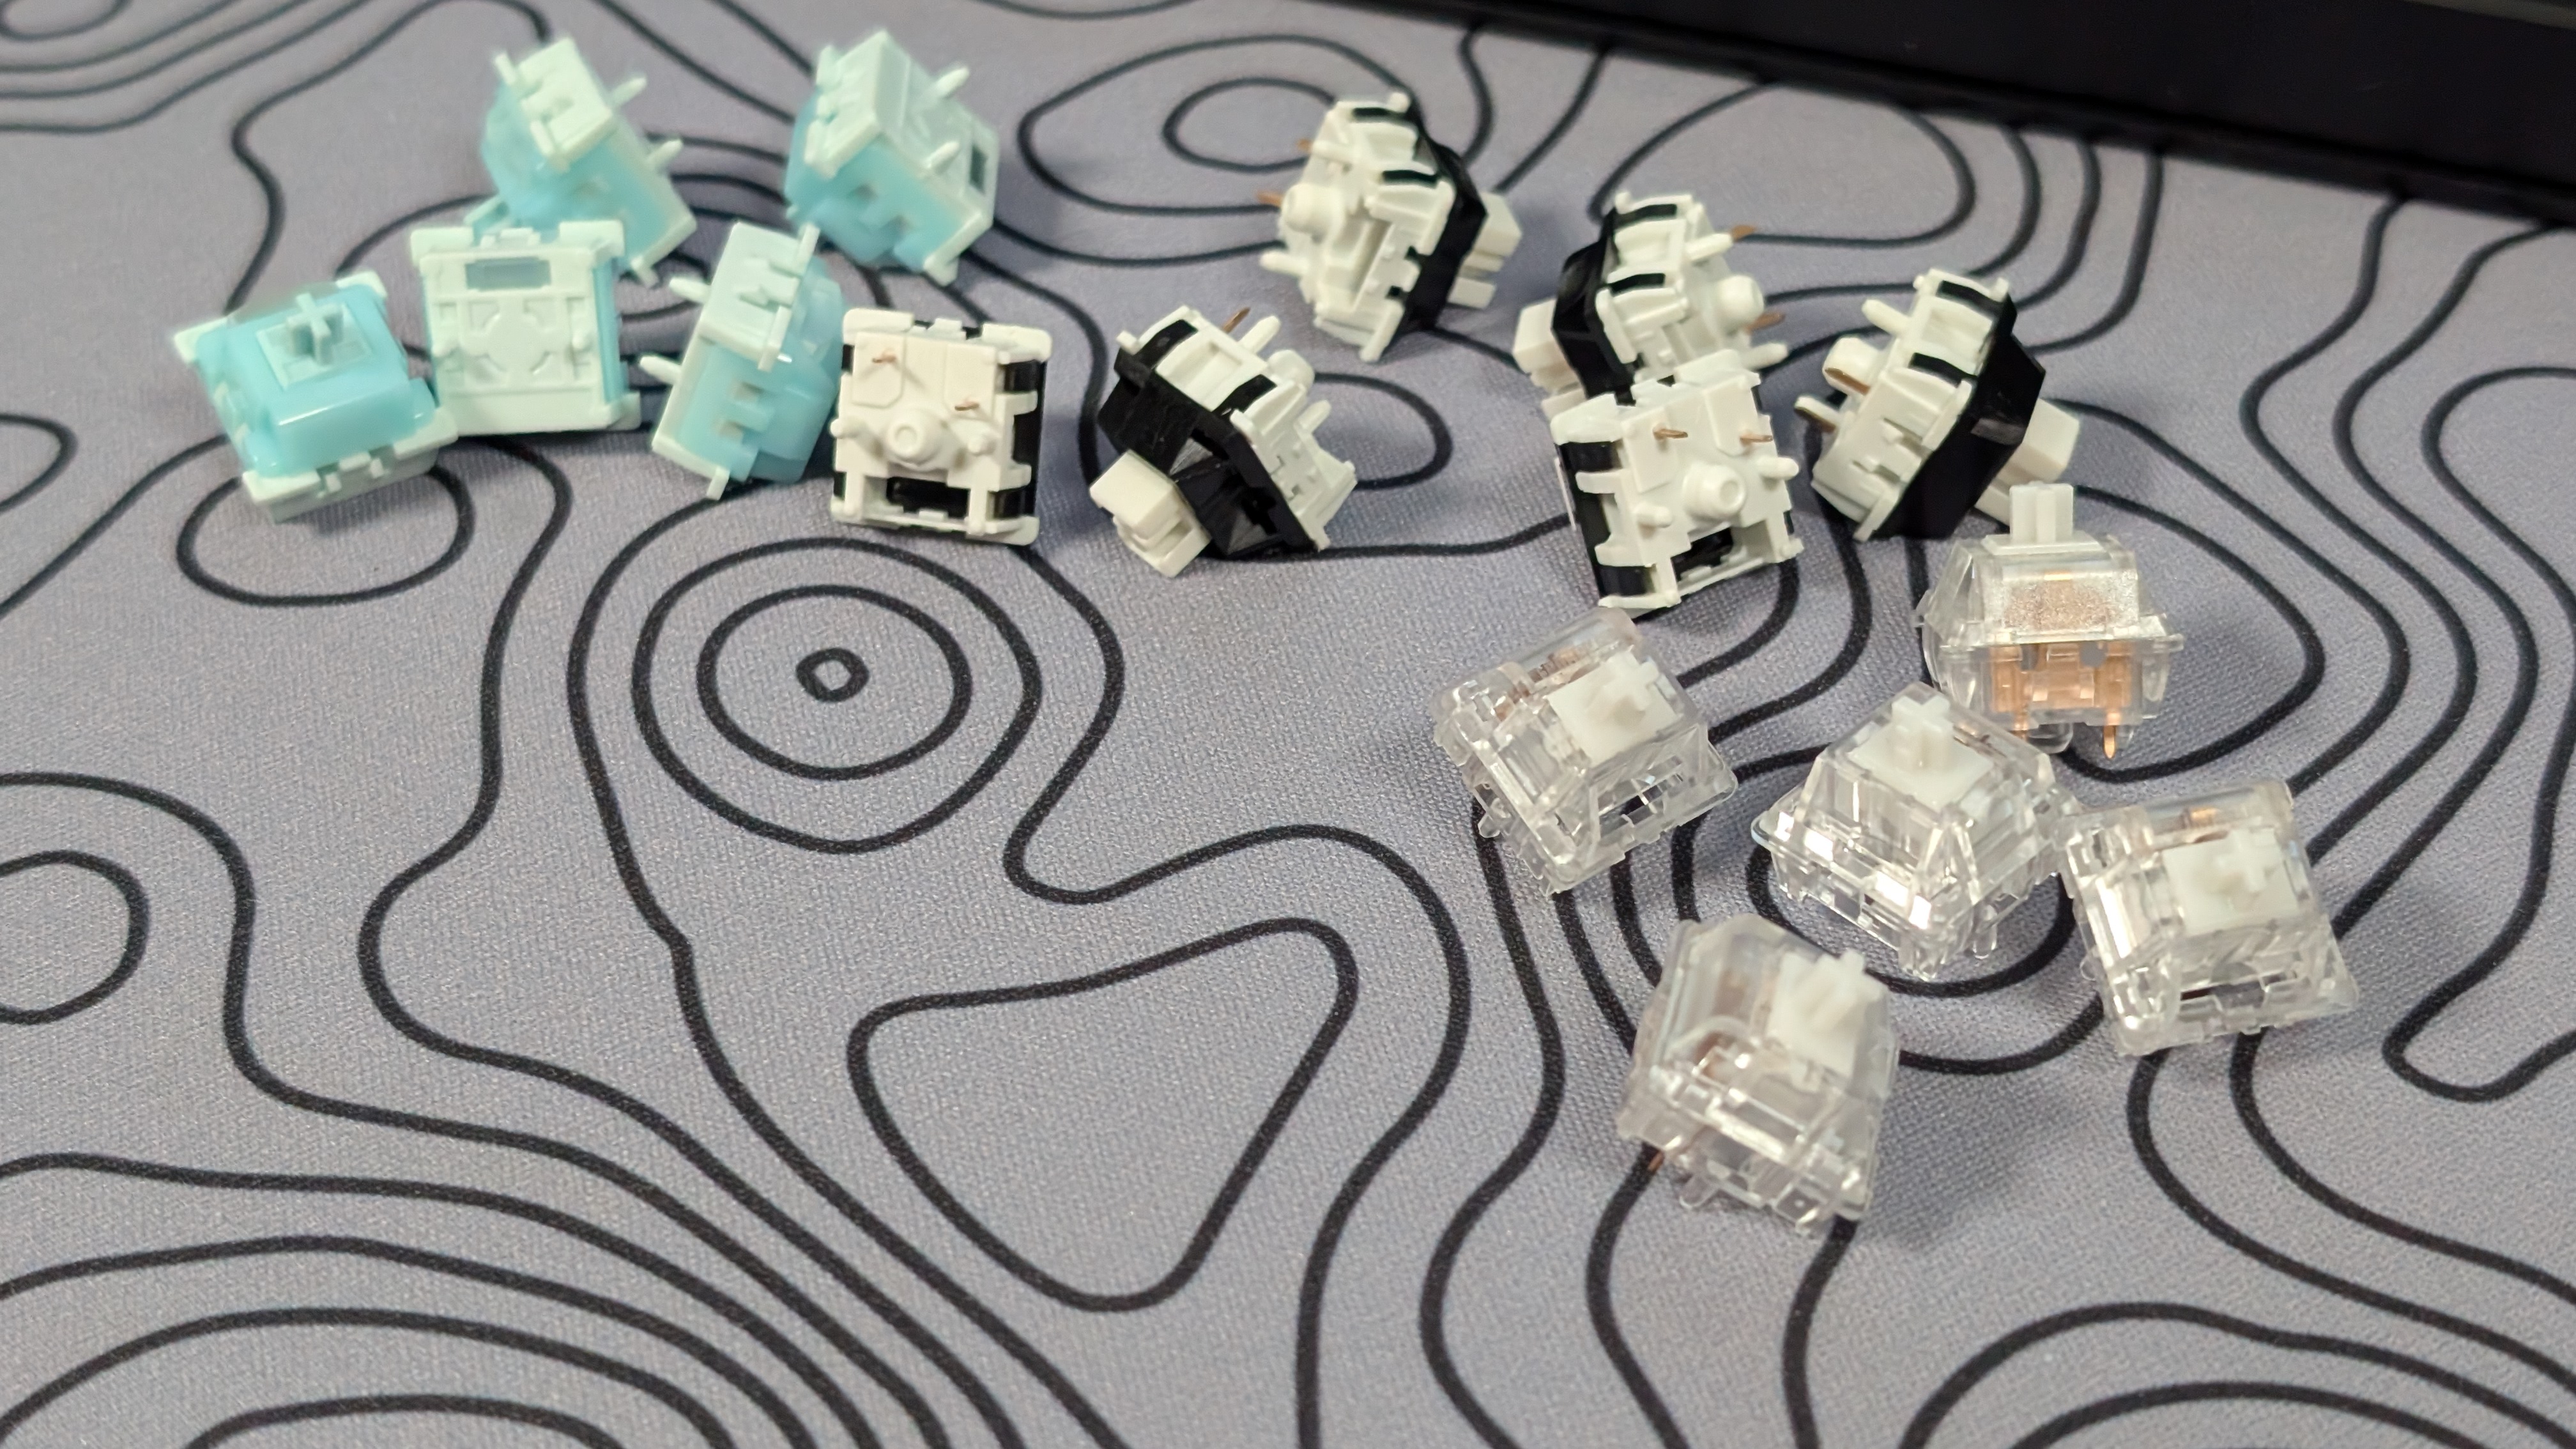
Going on a short aside, the Epomaker Creamy Jade switches were included with the board, but because this is compatible with Mechanical switches as well, they sent me their Zebra, and Crystal switches as well to test on the board. The Creamy Jade switches are the TMR, lubricated Linear switches, and they are ridiculously smooth.
They travel well, actuate how you’d expect them to, and overall feel great. The Zebra switches are very similar. Lubricated with a Polycarbonate shell, and POM stem, but are a bit heavier on the actuation at 40 grams of force. I personally found to enjoy these just a bit more as, alongside the additional force, they also had a bit extra clack that I just enjoyed more. Though neither are bad options.
The only switches I’d personally skip are the Crystal Switches. Advertised as a “Tactile Silent Switch” they don’t personally accomplish anything good for me. The tactile bump is there, and is apparent. But that only matters if you’re focused enough on your typing to stop once you know the switch has activated.
Aside from that they are super silent, but in general use feel unsatisfying. If you want more of my thoughts on Silent Switches, check out my Epomaker RT98 review. Personally speaking, I’d pass on the Crystal Switches. Part of the experience that makes a mechanical keyboard good is the sound. This just ain’t it.
Software and RGB
The mixed bag continues. The RGB on this board is bright, vibrant, and shines through the keycaps and crystal back with ease. I like how it looks, and if you’re someone who enjoys the rainbow vomit on your desk, I think this is going to be a great option for you. That being said, I’m someone who prefers to focus on battery life when it comes to a wireless keyboard. RGB on just about every keyboard seriously drains the battery, and because of that, after a few days I just end up turning the lights back off. It is great. Just not my cup of tea.
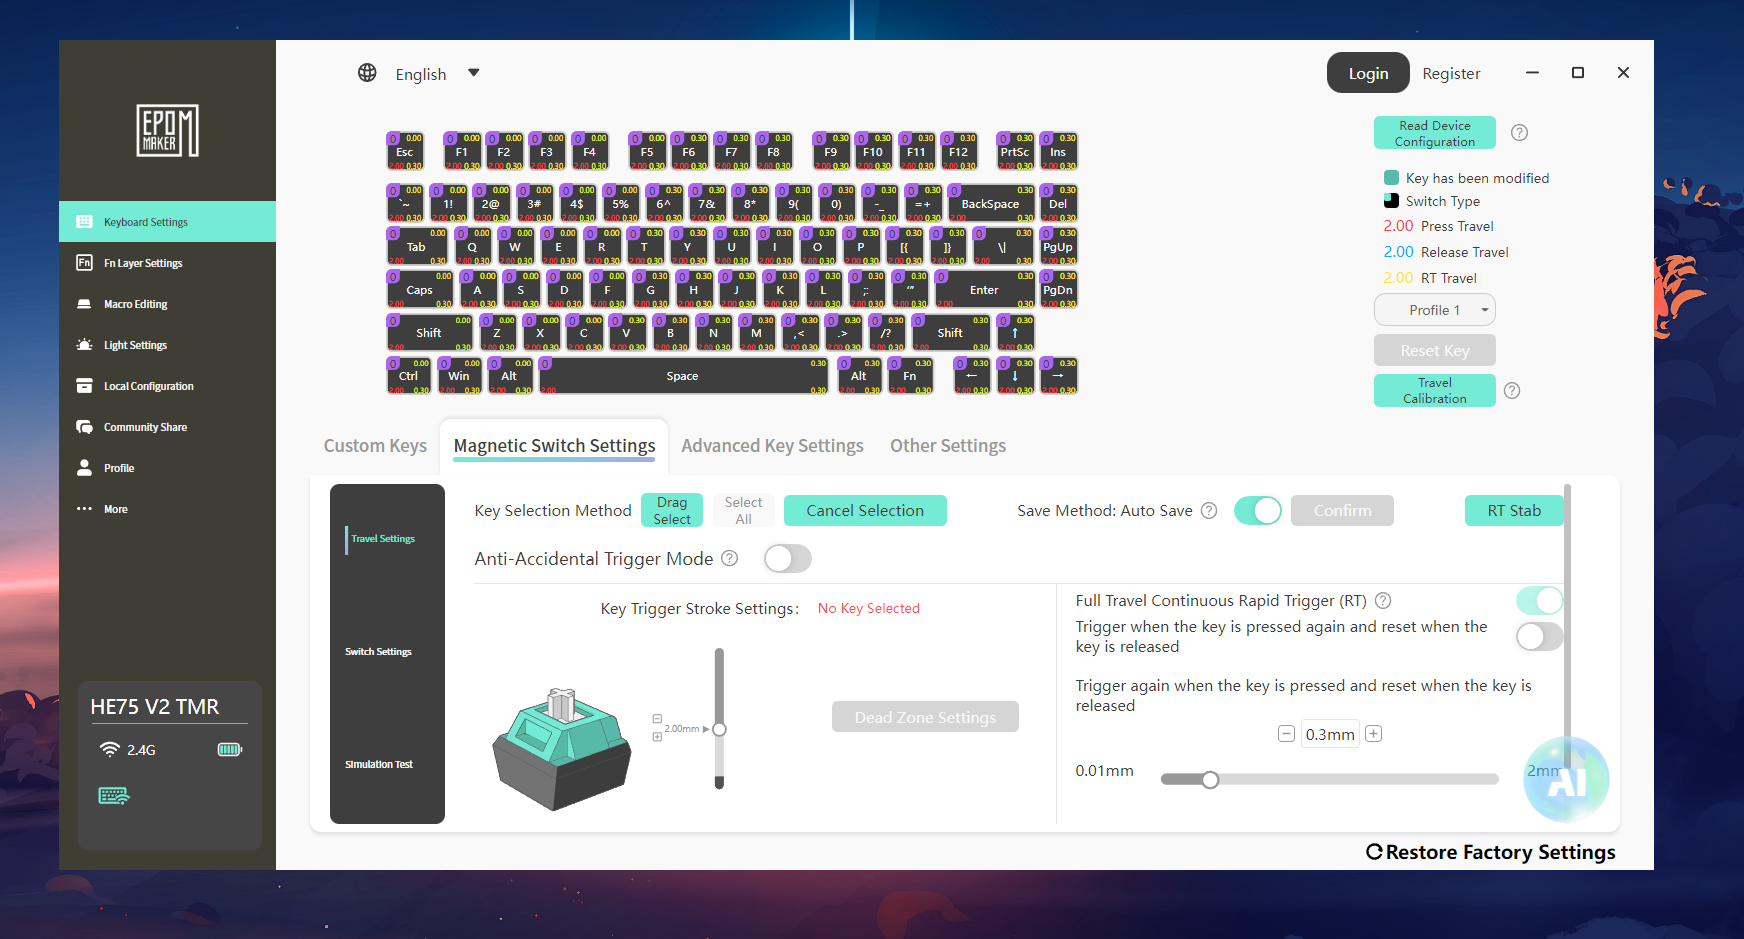
As for the software, the first thing that I want to say is it’s great to see Epomaker standardizing their software across multiple devices. In the past I’ve complained about them using web software for some boards and standalone software for others. But when you go to download the Epomaker 3.0 software, you get a full list of all the boards using it now. Great.
What’s not so great is the unpolished design of their software. Everything you need is there, and it’s fairly easy to access, but in my case, I’ve run into loading issues on the software that made it a bit harder than I’d like to use. In any case you can get everything you need with this board done, and then never open the software again. Personally, I turned RGB off, turned the polling rate down to 1000Hz, and left the rapid trigger alone. If you want to set and forget, this will do perfectly fine with that. Just be prepared for the bright white and blue design language.
Typing Experience
Last but certainly not least, how was it to actually use? Well, during my testing I used it connected to two PC’s, a laptop, and at least one handheld over OTG, and for the most part, I had no connectivity issues with it. The only time I did have any problems was when my board’s battery was close to dying out. It was giving me warnings, but I wasn’t listening and paid the price when it started to stutter due to being on its last few minutes of life. When the board is properly charged though, connectivity was never an issue.
As for gaming, it’s good. I’m not a hardcore gamer. I bottom out my keys, I focus more on typing and that experience. So my time with the board was never deadset on gaming. I could be that nerd and say it was utterly good in games like Minecraft, Deadlock, or Classic CS Source. But that shouldn’t be a surprise given the focus Epomaker put into its gaming capabilities. Otherwise, it’s been great for writing this article among others, and is a great sounding board when you have anything but the Crystal switches in it.
Final thoughts
Consensus time right? For $129, if you’re someone who can focus hard enough to understand how far you need to push a switch down, this is absolutely one worth looking at. If you’re hardcore about gaming, and pushing yourself and the board to the limits, you’ll find yourself a great experience. If you’re someone who wants a no-frills, solid board that can do what you need. Might I recommend the non-TMR version? It’s $40 less, and the only downside is that you sacrifice traditional mechanical switch compatibility.
I really do like the HE75 V2 TMR. I like it to the point that, now that I’ve swapped out the switches for the Zebra Linears, I think I’m going to leave it on my desk for a bit longer before making my next move. It may not be aluminum, or heavy enough to break your toe. But it’s well built, and it does exactly what I need it to. So why not give it a try yourself?
Plus yeah, the battery life is just great too, and unlike my Rainy75 the power switch is on the back. Not under my caps lock key.
