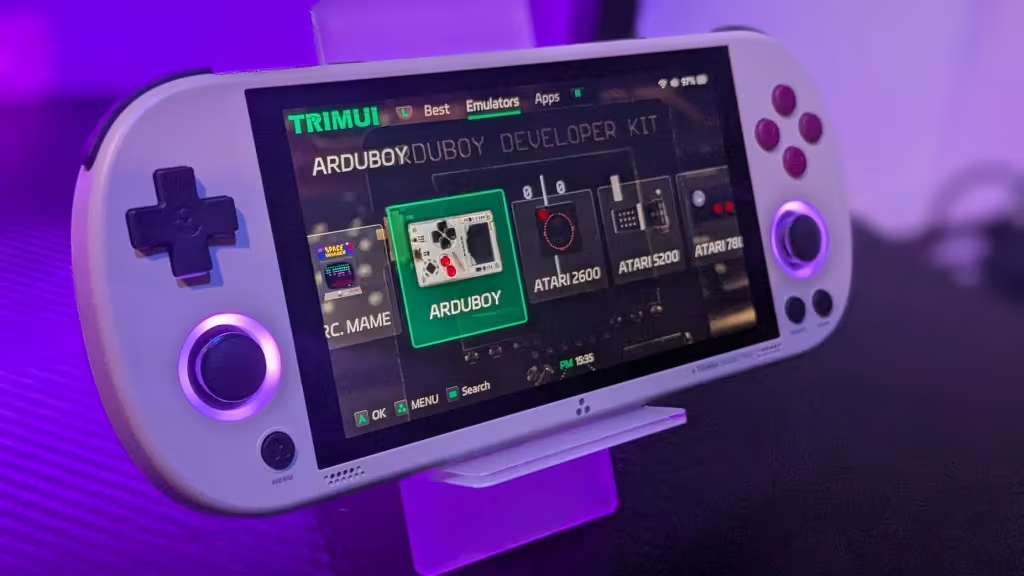
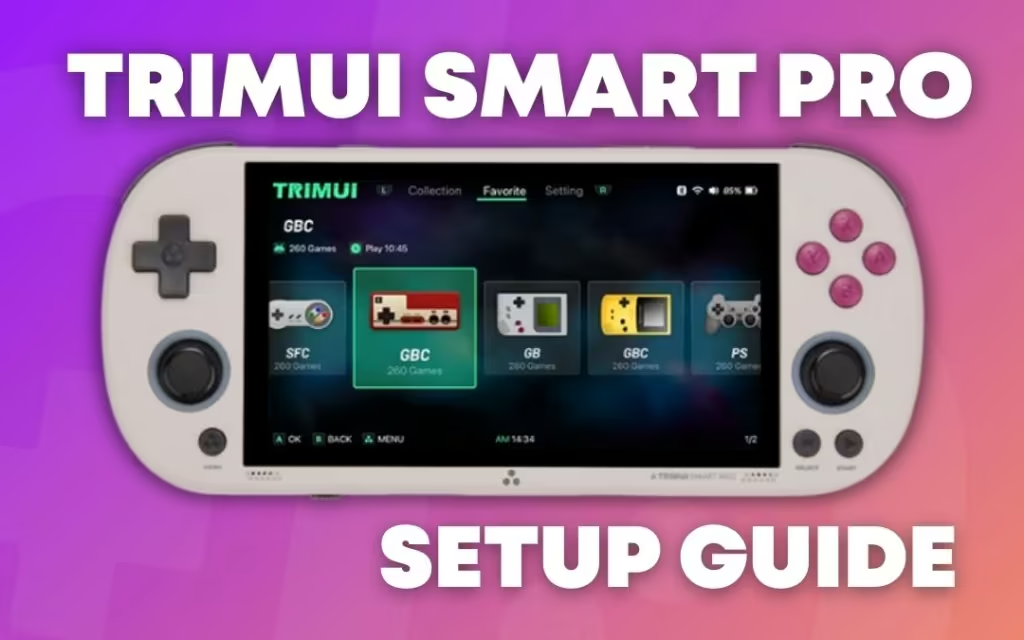
So you’ve shopped around and wisely decided that the TrimUI Smart Pro is the budget device for you, now what? The Smart Pro arrived in 2022 and has maintained a loyal fan base ever since. Multiple CFW options along with some very nice hardware and design choices make this an attractive bargain that can regularly be had for $50 or less.
Table of Contents
- Specs
- Required Materials
- Firmware Download Options
- Installation Process
- Post-Installation Setup
- Troubleshooting
- Resources
- Conclusion
I’m going to do my darndest to provide step-by-step instructions for all of the options myself and catch any snags. So, follow me as we jump into the firmware, tweaks, and all-around community goodness that make this such a hot device.
TrimUI Smart Pro Specs
| Feature | Description |
|---|---|
| Display | 4.96-inch IPS screen, 720×1280 resolution |
| CPU | Allwinner A133 Plus quad-core, 1.8GHz |
| GPU | PowerVR GE8300, 660MHz |
| Operating System | Stock Linux Firmware OS, Various CFWs |
| Battery | 5000mAh |
| Storage | MicroSD card slot (up to 256GB) |
| Connectivity | WiFi 4, Bluetooth, USB-C OTG, USB-C for charging |
| Audio | Two 1W speakers, 3.5mm headphone jack |
| Dimensions | 7.08″L x 3.14″W x 0.66″H |
| Weight | 8.16 ounces |
| Color Options | Black, White, Retro NES Grey |
Required Materials
- TrimUI Smart Pro
- microSD card (Size is dependent on how much you want to keep on the device, but 64G up to 256G should work great)
- microSD Card Reader
- PC with internet access
- Firmware downloads for the desired custom firmware
Firmware Download Options
- Stock Firmware: The default firmware that comes pre-installed with the TrimUI Smart Pro.
- Knulli Firmware: This is a fork development of Batocera Linux that is available for a number of Anbernic products and the TrimUI Smart Pro.
- MinUI: An OS choice that describes itself as “a minimal launcher for theTrimui Smart (and Pro), the Miyoo Mini (and Plus) and A30, the Powkiddy RGB30, the M17, the MagicX XU Mini M, and the Anbernic RG*XX family–all from the same SD card. Why? Why not?”
- Tomato OS: This option takes the TrimUI stock firmware and builds on it with a collection of additional emulators, apps, and quality-of-life enhancements.
- CrossMix OS: Another enhanced version of the stock firmware. “CrossMix-OS uses TrimUI Stock user interface with refined configurations, new features, new emulators, and new apps. There are so many differences that CrossMix can be considered a dedicated OS in its own right.”
Installation Process
Knulli

- Download Firmware Files: Grab the latest version of Knulli from the Github repository.
- Prepare the MicroSD Card: Insert the MicroSD card into your computer’s card reader. In Windows, right-click on the desired drive and click Format. Under “File System” select FAT32. You can choose a quick format to speed things along, as we don’t need DoD levels of drive cleaning. Click “Start” to begin formatting the drive. This step isn’t 100% necessary when writing an image, but in my experience, it does help alleviate any unexpected issues.
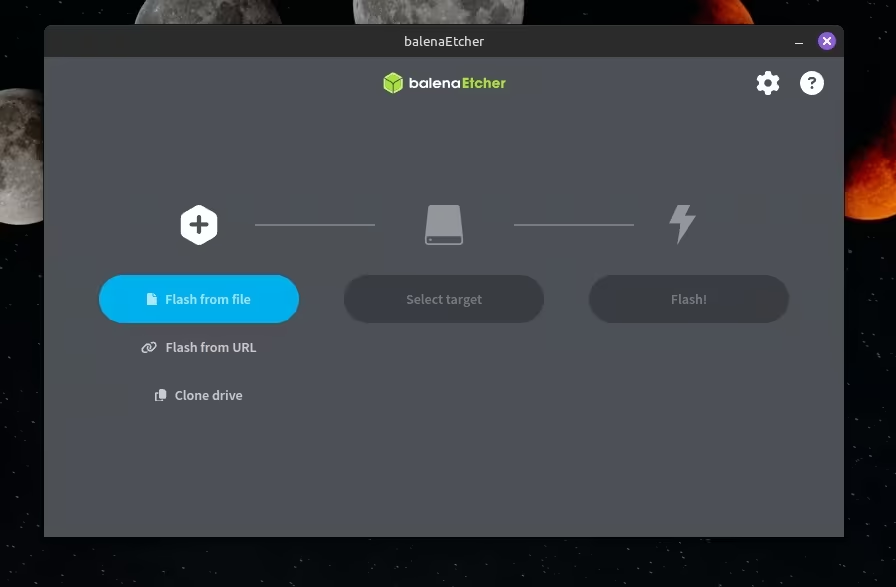
- Write the Image: We will write the image here using Balena Etcher, but most image writers will work. Other options include Raspberry Pi Imager, Win32DiskImager, etc. Linux users can format directly from the Disks application.
- Choose “Flash From File” and navigate to your downloads folder, which contains the Knulli .img file.

-
- Click on “Select Target” and choose your desired SD card location for the image file to be written. *Take care in this step as you can potentially erase unintended drives if you’re not paying attention.

Choose your SD card destination Flash away! Once you click the “flash” button Balena Etcher will begin writing the image to the SD Card.

Congrats Youre now writing CFW
- Click on “Select Target” and choose your desired SD card location for the image file to be written. *Take care in this step as you can potentially erase unintended drives if you’re not paying attention.
- Insert MicroSD Card: Once the image has finished writing in Balena Etcher, eject the MicroSD card from your computer and insert it into the TrimUI Smart Pro.
- Allow Firmware to Install: Power on the TrimUI and you should be greeted with the Knulli logo and a progress dialogue at the bottom of the screen. The OS is currently installing.
- Complete Installation: Once the CFW firmware install process completes, the device should reboot and load into the Knulli OS. You’ll even be greeted with some fun menu music to let you know you’ve been successful in your CFW journey.
MinUI

- Download Firmware Files: Grab the latest version of MinUI from the Github repository.
- Prepare the MicroSD Card: Insert the MicroSD card into your computer’s card reader. In Windows, right-click on the desired drive and click Format. Under “File System” select FAT32. You can choose quick format to speed things along, as we don’t need DoD levels of drive cleaning. Click “Start” to begin formatting the drive.
- Unpack the Zip Files: Open up the MinUI zip archive and locate the MinUI.zip and the folder for the TrimUI.
- Copy Files: Copy the “trimui” folder and “MinUI.zip” (without unzipping) to the root of the SD card. *DO NOT unpack the MinUI.zip to the SD. Copy the whole archive.

Find the MinUIzip and TrimUI folder to copy to your SD card - The root of your SD card should only contain the TrimUI folder and MinUI.zip as seen below……

This is how the root of your SD should appear prior to removal - Allow Firmware to Install: Power on the TrimUI and you should be greeted with a dialogue that MinUI is being installed.
- Load Up the SD Card: Now, remove the SD card from the device and re-insert it into your PC. You should now be greeted with a root of the SD card that contains three directories. Bios, Roms, and Saves. Drag and drop the desired files into their appropriate folders within the Roms/Bios directories (We cannot tell you where to find Roms or system Bios). Load up the card, put it back in the device, and game on.

A place for everything and everything in its place
CrossMix OS

- Download Firmware Files: Grab the latest version of Crossmix OS from the Github repository.
- Prepare the MicroSD Card: Insert the MicroSD card into your computer’s card reader. In Windows, right-click on the desired drive and click Format. Under “File System” select FAT32. You can choose quick format to speed things along, as we don’t need DoD levels of drive cleaning. Click “Start” to begin formatting the drive.
- Unpack the Archive: Extract the downloaded Crossmix zip in full to the root of your freshly formatted FAT32 SD card. Unlike MinUI, here we want to copy everything to the SD card. The archive contains tens of thousands of individual files, so don’t be alarmed in the unpacking process takes some time.

Unzip the entire contents of the Crossmixzip to your SD card root - BIOS and ROMS: Crossmix allows you to load everything over to your SD card now. You don’t have to insert it into the device for an installation procedure first. Everybody goes in the pool at once.
Tomato OS
- Download Firmware Files: Tomato OS is currently on the dev Google Drive for download. Download both files listed. These steps mostly mimic what is seen above for Crossmix, but you can use Zu’s helpful guide video below if you run into any issues.
- Prepare the MicroSD Card: Insert the MicroSD card into your computer’s card reader. In Windows, right-click on the desired drive and click Format. Under “File System” select FAT32. You can choose quick format to speed things along, as we don’t need DoD levels of drive cleaning. Click “Start” to begin formatting the drive.
- Unpack the Archive: Just like in Crossmix, we will now unpack the entire zip file to the root of the SD card.
- Overwrite: Take the trimui_tg5040.awimg file you downloaded and place it in the root of the SD card. Overwrite any existing files already there as this is a fix.
- Boot: Insert the SD card back into the TrimUI and power it on by holding the “Power” and “Volume -” buttons at the same time until you see a progress bar pop up.
NextUI (Formerly MinUI Next)

This recent MinUI fork promises improvements with latency and efficiency over the base MinUI package. Thankfully, the install process is just as simple as it is on the standard version of MinUI.
- Download the latest stable NextUI release from the project GitHub.
- Format a fresh SD card to FAT32 using Rufus or the program of your choice
- Open the MinUI-base package to view the files and directories within
- Extract the MinUI.zip file, the directory appropriate for your device (in this case TrimUI) along with the Bios, Roms, and Saves folders (these aren’t even entirely neccessary, but they aren’t hurting anything).
- Pre-load any ROM or Bios files from your library to the card. Place games in their respective system directories. Bios files can be loose dumped in the Bios directory.
- Remove the SD card from your PC.
- Insert into the handheld and power-on. You should see the MinUI or NextUI logo before booting into the main menu.
- Enjoy!

Post-Installation Setup

- Add ROMs & BIOS: Drag and drop your BIOS files from your collection into the corresponding BIOS directory on your OS SD card. ROMs for each system will have to go in their respective directories.
- Tweaks & Customization:
- Customize Themes: Change the look of your chosen OS experience by exploring the “themes” menu under settings.
- Customize Controls: Remap the buttons and controls to your preference. This can be done by navigating to Settings –> Remap Controls
- Recalibrate Analog Sticks: Navigate to Settings –> System –> Calibrate Joysticks
- Enable Gamepad Support: If you have a Bluetooth gamepad, you can enable Bluetooth gamepad support if you want to play with friends.
- Streaming:
- One area where I didn’t expect to get so much use out of my Smart Plus was streaming. The console runs Moonlight very competently and has become my go-to for quick sessions of various games from my Steam library with all the horsepower of a full gaming PC behind it. If you’re interested in this function, I’d probably go with Crossmix as it has worked the best in my testing.
Troubleshooting
- Firmware Not Installing: Ensure the MicroSD card is properly formatted and the firmware files are correctly placed in the root directory.
- Device Not Booting or Powering On: Remove the SD card and hold down power on the TrimUI without anything in it. It should default back to stock. You can then try again.
- Issues with Controls: Navigate to Settings –> System –> Calibrate Joystick to recalibrate the sticks on the device to your liking.
Resources
- CrossMix-OS GitHub Repository: CrossMix-OS GitHub
- Tomato OS GitHub Repository: Tomato OS GitHub
- Knulli Firmware Community Forum: Knulli Firmware Forum
Conclusion
With the TrimUI Smart Pro, you have a range of custom firmware options to enhance your retro gaming experience. Follow this guide to install your preferred firmware and enjoy your device to the fullest.
What did you think of this article? Let us know in the comments below, and chat with us in our Discord!
This page may contain affiliate links, by purchasing something through a link, Retro Handhelds may earn a small commission on the sale at no additional cost to you.


5 Comments
Decided the TrimUI Smart Pro will be my first retro handheld device, on account of the sheer value for money equation and what I want to play.
This guide will be super helpful once it arrives in the next week or so 🙂
Any preference for OS choice on a performance front or is it purely cosmetic?
Accidentally deleted all games. Is there anyway to get them back?
lol
Bonjour
Merci pour ce tutoriel très utile
J’ai acquis la trimui smart pro sans carte.
J’ai donc créé la mienne avec crossmix.
Mais il nya pas de dossier créé lors de l’installation concernant les jeux shoot em up en vertical shooter.
Je souhaite le faire moi même ou existe t il un outil permettant de le faire ou peut un être un ficher existant à télécharger ?
Sinon un tutoriel afin d’expliquer les étapes à suivre.
Comment créer un dossier avec les raccourcis vers mes jeux préférés et surtout, comment faire un réglage générique pour tout les jeux que on y ajoute.
Merci pour votre travail et surtout pour votre aide.
Bien cordialement
Jougleu
I found this “Unofficial TrimUI Smart Pro Guide” Have you seen it? Might be helpful for beginners.
https://www.amazon.es/dp/B0FRXK989X/
Thanks