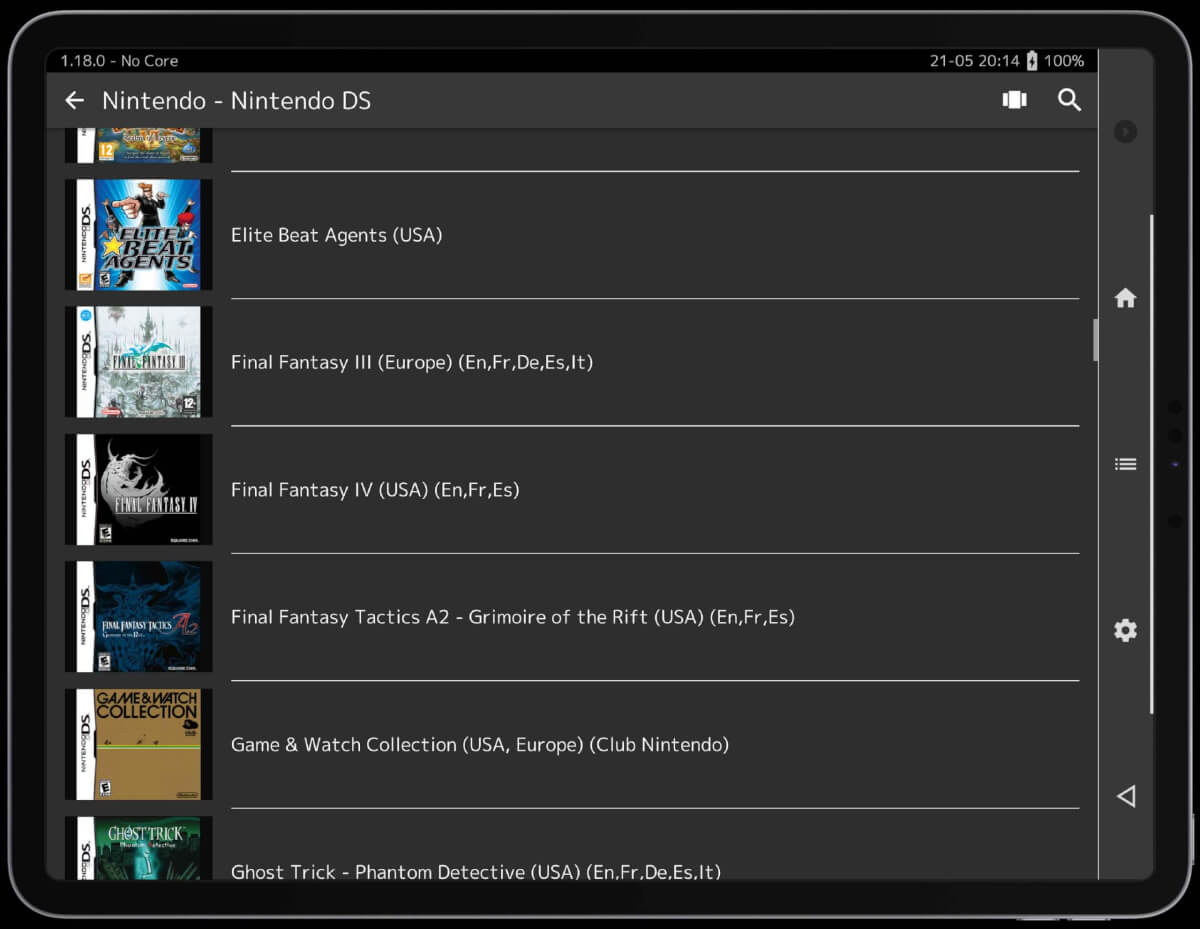
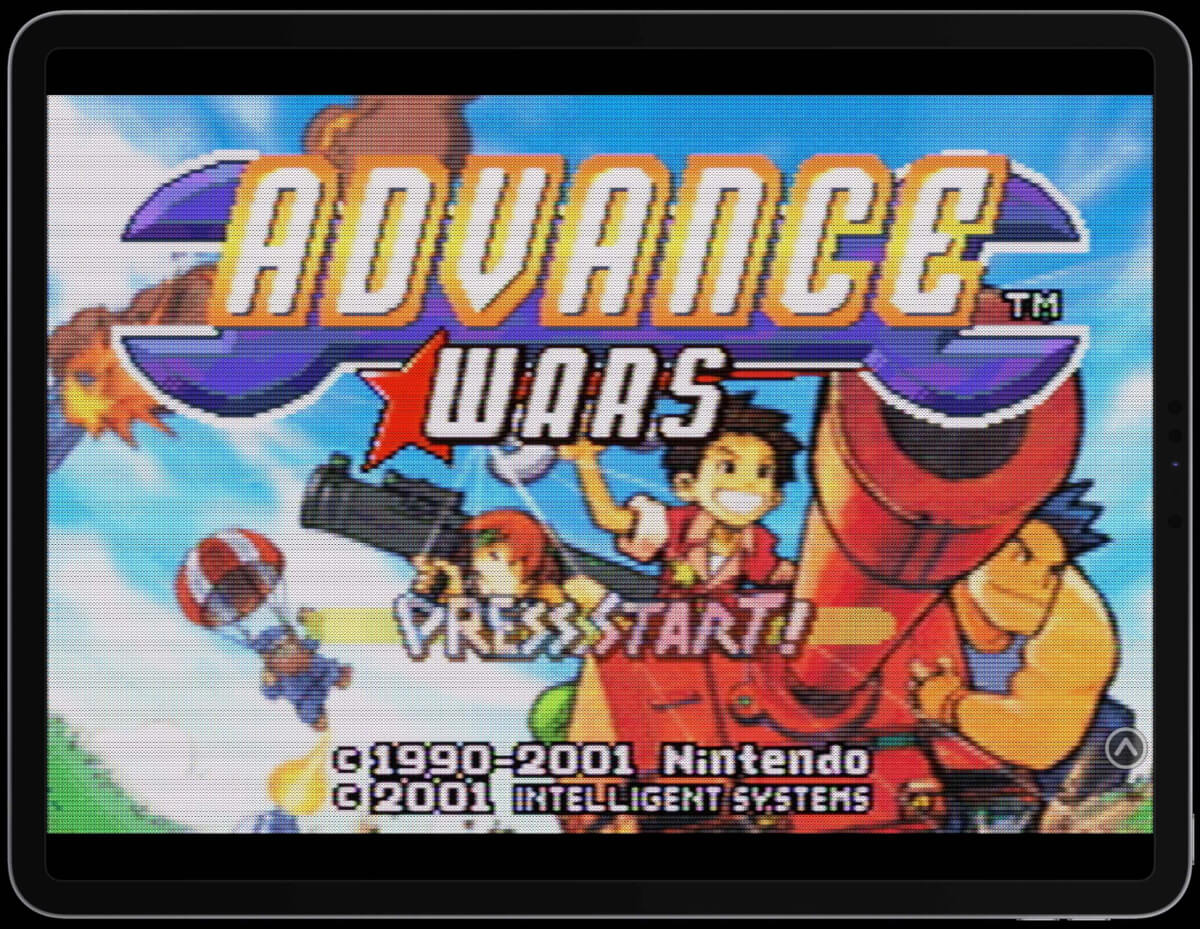
We never thought that we would see the day when you could just download an emulator from the App Store and fire up your favorite games. Not to mention that we’re not limited to just one or two consoles, thanks to the introduction of RetroArch on iPhone and iPad.
This popular emulator can be used on pretty much any device and is well-known across the retro handheld space. It arrived shortly after the Delta emulator landed on the App Store, which is fantastic in its own right. But with RetroArch on iPhone and iPad, you can play even more of your favorite retro games. If you’re wondering where to start and how to get everything set up, you’ve come to the right place.
First Things to Do With RetroArch on iPhone and iPad

Obviously, the very first thing that you’ll need to do is actually download and install RetroArch on iPhone and iPad. The app is free to download and can be found just by searching the App Store. Or, if you’re reading this from your device, you can grab it via the button below:
[button link=”https://apps.apple.com/us/app/retroarch/id6499539433″ newwindow=”yes”] Download RetroArch[/button]
There are a few things that you’ll first need to do in order to use RetroArch on iPhone and iPad. The next step is making sure that all of the necessary files are updated. Thankfully, it’s mostly handled from within the RetroArch app.
- Open the RetroArch app on your iPhone or iPad.
- Tap Online Updater.
- Scroll down and tap each of the following:
- Update Core Info Files
- Update Assets
- Update Controller Profiles
- Update Cheats
- Update Databases
- Update Overlays
- Update Slang Shaders
When tapping each of the aforementioned options, a progress bar appears in the bottom left corner. Once the bar reaches 100%, the update is complete as all of the necessary files will be downloaded to the RetroArch app.
How to Add Games to RetroArch

With everything appropriately updated, the next step you’ll want to take is to actually get your ROM files and games added to RetroArch. The process can feel a bit messy considering the software limitations of both the iPhone and iPad. However, we’ll walk you through each step of the process to get things up and running.
Transfer Games to Your iPhone or iPad
Naturally, you won’t be able to play games with RetroArch on iPhone or iPad without transferring them over. There are a few different ways for you to actually transfer the files, but before that, you’ll want to gather all of the pertinent games and put them into one folder.
On the bright side, RetroArch isn’t very picky when it comes to recognizing ROMs. So we recommend creating a folder named “ROMs,” and then adding sub-folders for each console that you want to play. Then, copy the appropriate files into the newly-created folder, and then you’ll be ready for the next step.
It’s worth mentioning that there are a few different ways that you could actually use to transfer files between your iPhone or iPad and computer. One such example is using AirDrop, but that only applies if you’re using a Mac.
Transfer Games to iPhone or iPad Using Windows
- Download and install the Apple Devices app onto your Windows PC.
- Unlock your iPhone or iPad.
- Plug your iPhone or iPad into your Windows PC.
- When prompted, tap the Trust button.
- Enter your device’s passcode.
- With the Apple Devices app open, select your iPhone or iPad.
- Under the Settings section, select Files.
- Scroll through your list of installed apps and select RetroArch.
- Open File Explorer and navigate to where your ROMs folder is.
- Drag and drop the folder from File Explorer to the RetroArch folder in the Apple Devices app.
- After the files are finished transferring, disconnect your iPhone or iPad from your computer.
Transfer Games to iPhone or iPad Using Mac
- Unlock your iPhone or iPad.
- Plug your iPhone or iPad into your Mac.
- When prompted, tap the Trust button.
- Enter your device’s passcode.
- Open the Finder app.
- Select your iPhone or iPad in the sidebar under the Locations section.
- In the toolbar, click Files.
- Open another Finder window and navigate to where your ROMs folder is.
- Drag and drop the folder from the new window to the first Finder window you opened.
- After the files are finished transferring, disconnect your iPhone or iPad from your computer.
Import Games to RetroArch

Now that all of your games are locally stored on your iPhone or iPad, you’ll want to import them into RetroArch. You could skip this section if you wanted to and just select Load Content then pick your game from the main screen. By importing the games, RetroArch automatically creates playlists for each console that has a game you’ve imported.
- With the RetroArch app open, tap the Playlist button in the middle of the bottom toolbar.
- Select Import Content.
- Tap Scan Directory.
- From the built-in File Manager, navigate to the folder location for your ROMs.
- Tap <Scan This Directory>.
Depending on the size of the folder (or directory) that you are scanning, this might take a bit of time. Just make sure your iPhone or iPad doesn’t automatically go to sleep
Add Your PS1 BIOS

One thing that separates RetroArch from the pack is its ability to also emulate PS1 games. However, unlike the other retro consoles, you’ll need to provide your own BIOS files. We can’t tell you where to find them, but if you have an old PS1 hidden in a closet, you can dump the files yourself. Then, follow these steps to add the BIOS to RetroArch.
- Copy and transfer your PS1 BIOS files to your iPhone or iPad.
- Open the Files app.
- Under the Locations section, tap On My iPhone or On My iPad.
- Locate the PS1 BIOS folder or file that you added.
- Long-press on the file.
- From the drop-down menu, tap Move.
- In the window that appears, navigate to the system folder within RetroArch.
- Locations > On My iPhone / On My iPad
- RetroArch
- RetroArch
- system
- Once you are in the system folder, tap the Move button in the top right corner.
After just a moment or two, the BIOS files will be moved into the appropriate folder. In doing so, you can now fire up RetroArch and enjoy your favorite PS1 games on an iPhone or iPad.
Set RetroArch Core Associations

What makes RetroArch so special is that it relies on various “Cores” to provide an all-in-one solution. You can think of Cores as individual emulators with RetroArch operating as the brains of the operation.
However, there are different “Cores” for each console, with some working better than others. Because of this, we recommend setting a specific “Core Association” for the games you’re going to play. It can be a rather tedious process, but it’ll definitely pay dividends in the long run.
- With RetroArch open, tap the Playlist button.
- Select the console and game that you want to play.
- Before starting the game, tap Set Core Association.
- Select the core that you want to use.
- Tap Run to start the game.
If you try to play a game and something isn’t working correctly, you can go through the steps again, picking a different core.
RetroArch Core Suggestions
- NES
- Mesen
- FCEUmm
- SNES
- Snes9x
- bsnes
- Nintendo 64
- Mupen64Plus-Next
- Nintendo DS
- DeSmuME
- Game Boy & Game Boy Color
- Gambatte
- Game Boy Advance
- mGBA
- Sega MS/GG/MD/CD
- Genesis Plus GX
- Sega Saturn
- Beetle Saturn
- Sony PlayStation
- Beetle PSX
- Sony PlayStation Portable
- PPSSPP
Get RetroAchievements in RetroArch

Another fun aspect of playing retro games is being able to use RetroAchievements. For the uninitiated, this is a service that lets you earn achievements for many retro games. You won’t earn these brownie points for every game out there, but you can still climb the leaderboard rather quickly. And the best part of it all is that RetroAchievements is built right into RetroArch.
- Open the RetroArch app.
- Tap the Gear icon.
- Scroll down and tap Achievements.
- Tap the toggle.
- Enter your username and password.
- Make any other necessary changes or adjustments.
If you want to learn more about what RetroAchievements has to offer, check out the FAQ.
Setup and Configure Your Controllers

While it’s definitely possible to play games using the on-screen touch controls, it’s not exactly an enjoyable experience. Provided that you have a Bluetooth controller on-hand, just pair it with your iPhone or iPad, and you’re almost ready to go.
- With the controller connected to your iPhone or iPad, open the RetroArch app.
- Tap the Settings button.
- Locate and select Input.
- Select Hotkeys.
- Select Menu Toggle (Controller Combo).
- Choose what button combination you want to use to bring up the RetroArch menu while in a game.
After setting your Menu Toggle, you’re taken back to the main Hotkeys screen. From here, there are more shortcuts or hotkeys that you might want to set up. These include things like Quit, Close Content, Fast Forward, Rewind, Save State, and others. We recommend going through each of the options, and setting up the various RetroArch hotkeys to your preferences.
Customize How RetroArch on iPhone and iPad Looks
RetroArch on iPhone and iPad isn’t as elegant of an experience as something like EmulationStation. That’s okay, as it just gets the job done, but did you know that there are a few different themes? Here’s how you can switch things up a bit.
- Open the RetroArch app.
- Tap the Gear icon.
- Tap Drivers.
- At the top of the page, tap Menu.
- Select one of the following:
- glui (Default)
- ozone (Dual Panels)
- rgui (Classic RA)
- xmb (PS-like)
- Swipe up from the bottom of your iPhone or iPad to bring up the app switcher.
- Swipe RetroArch upwards to force-close the app.
- Re-open RetroArch.
Add and Use Shaders in RetroArch

What if you go through all of the steps above, only to feel like something is still missing? There’s a good chance that using a shader will give you the retro gaming vibe that you were looking for. There are some shaders built into RetroArch, but if you find a different shader pack, you can add it to RetroArch.
When you do find a shader pack, the files you downloaded need to first be unzipped. This can be done from your Windows PC or Mac, but can also be done from your iPhone or iPad.
- Locate and download the shaders that you want to use in RetroArch.
- If necessary, transfer the files to your iPhone or iPad.
- Open the Files app.
- Under the Locations section, tap On My iPhone or On My iPad.
- Navigate to where you downloaded or transferred the shaders.
- Long-press on the folder.
- From the drop-down menu, tap Move.
- In the window that appears, navigate to the RetroArch folder.
- Tap RetroArch.
- Scroll down and open the shaders_slang folder.
- Tap the Move button in the top right corner.
- Close the Files app and open RetroArch.
- Tap the Playlists button.
- Choose the console and game that you want to play and select Run.
- Once the game has started, bring up the Quick Menu.
- Scroll down and select Shaders.
- Select Load Preset.
- Open the shaders_slang folder from the built-in file manager.
- Locate and open the folder that you added earlier.
- Select the shader that you want to use.
Voila! It’s amazing how much of a difference a shader can make, especially on OLED screens.
One More Tip
It doesn’t happen every game, but I have found that some games seem to be running as though you enabled Fast-Forward. We aren’t exactly sure what’s going on, but just follow the steps below and see if it gets the game back to normal speed.
- With RetroArch open, tap the Settings button.
- Select Video.
- Tap Synchronization.
- Make sure that Vertical Sync (VSync) is toggled to the On position.
- Scroll down and enable Sync to Exact Content Framerate (G-Sync, FreeSync).
Once these toggles are enabled, close then re-open RetroArch, and load the game that was giving you problems before. This should fix any problems you run into, and shouldn’t affect other games that were running fine.
What did you think of this article? Let us know in the comments below, and chat with us in our Discord!
This page may contain affiliate links, by purchasing something through a link, Retro Handhelds may earn a small commission on the sale at no additional cost to you.


3 Comments
I’d like to know how to use my gameboy pokemon saves in Pokemon stadium using the transfer pak option. I’ve spent countless hours and can’t seem to find a solution.
If you can tell me where to place my Pokémon saves so they can be used in Pokémon stadium 1 and 2 I’d greatly appreciate it <3
Thank you in advance,
Samuel
Hello,
I want to mâle exchange between Pokémon, do you know if is it possible to launch 2 roms from DS emulator and then make this exchange ?
I spent times to find something but nothing appears to me..
Thanks 🙂
Hello,
I want to make exchange between Pokémon, do you know if is it possible to launch 2 roms from DS emulator and then make this exchange ?
I spent times to find something but nothing appears to me..
Thanks 🙂