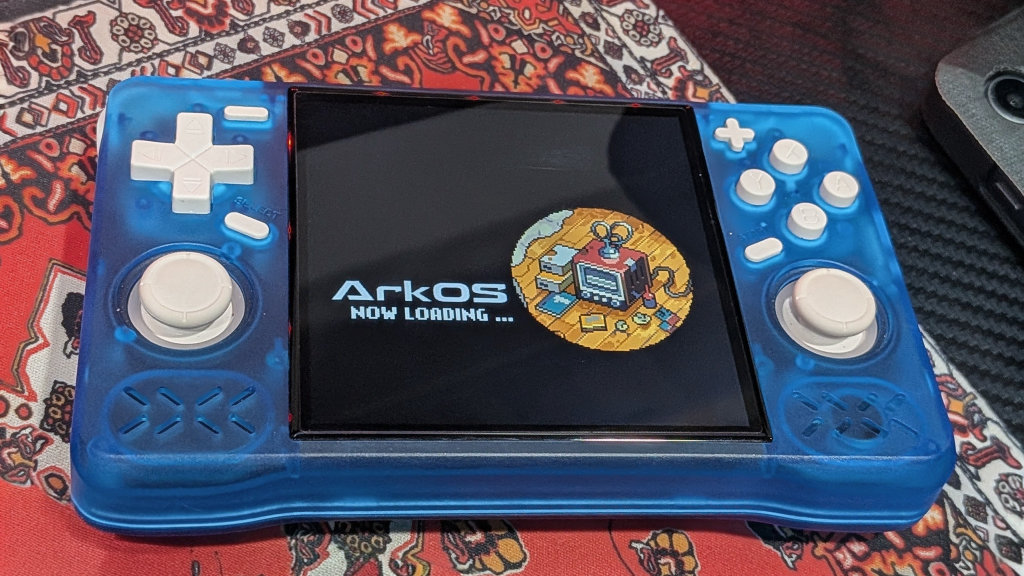
If you read my reviews of the recent Game Console XF35H and XF40H, you’ll see that while I was quite fond of the hardware on offer with these devices, the stock OS, while serviceable, left a fair bit to be desired if you’re someone who has been playing in the emulation pool for a while. Here we’ll go through the how-to of getting ArkOS up and running on these handhelds to bring out every bit of capability from these clever little clones.
Recommended Accessories
- TF1 microSD Cards
- TF2 microSD Cards
Specs and Where To Buy
- Model: XF40H
- Screen: 4.0-inch IPS 1:1
- Resolution: 720×720 @ 255ppi
- CPU: RK3326
- RAM: 1GB
- Storage: TF1-OS (16GB-256GB)
- Connectivity: Wi-Fi, 3.5mm audio, USB-C
- Audio: 1W x 2 Front-firing Loudspeakers
- Battery: 4000mAh Li-Polymer (~6-8 Hours Life)
- Charging: 5V-2A
- Interfaces: TYPE-C, TV HD, OTG-USB, 3.5mm Audio Jack
- Dimensions: 145 x 95 x 29 mm
- Weight: 200 grams
- Model: XF35H
- Screen: 3.5-inch IPS 4:3
- Resolution: 640×480 @ 229ppi
- CPU: RK3326
- RAM: 1GB
- Storage: TF1-OS (16GB-256GB)
- Connectivity: Wi-Fi, 3.5mm audio, USB-C
- Audio: 1W x 2 Front-firing Loudspeakers
- Battery: 4000mAh Li-Polymer (~6-8 Hours Life)
- Charging: 5V-2A
- Interfaces: TYPE-C, TV HD, OTG-USB, 3.5mm Audio Jack
- Dimensions: 145 x 75 x 23 mm
- Weight: 191 grams
[button link=”https://rh-go.link/XF35H_AE” color=”red” newwindow=”yes”] XF35H at AliExpress[/button][button link=”http://rh-go.link/XF40H_AE” color=”red” newwindow=”yes”] XF40H at AliExpress[/button][button link=”https://rh-go.link/XF40H_Amzn” color=”red” newwindow=”yes”] XF40H at Amazon[/button]
Custom Firmware
For the time being, the only available CFW option for the XF35H and XF40H is going to be ArkOS. Or more specifically, ArkOS4Clone. This build is a custom fork of ArkOS proper, meant for running on all the wonderful clone devices brought to us by the Kinhanks and Game Consoles of the world.
What You’ll Need
- A trusted brand of micro SD card (64GB – 128GB recommended). Cards that come with these devices are of poor quality and prone to failure. If you ordered a loaded card with your device, back it up and chuck the card. It will eventually fail. Don’t say we didn’t warn you!
- An SD Card reader
- A Windows/MAC/Linux PC
- 7-zip or WinRAR to unpack any downloads
- Rufus or any other Image writing software of choice
- Balena Etcher – Image writing software available for all major Desktop OS’
- Win32DiskImager – An open-source option designed for Windows, but there are many ports.
- MintStick/USB Image Writer – Image writing software that comes baked-in with many popular Linux OS distros.
Flashing the Firmware
- Download the ArkOS4Clone latest release from the GitHub page. There are three separate compressed archives to grab (or you can download a single 3.9GB archive from linked mirrors)
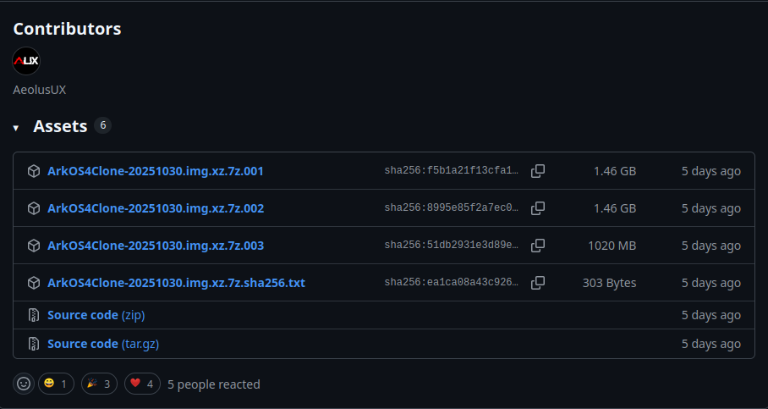
- Extract the downloaded archives to a chosen location on your PC – using 7-Zip or WinRAR
- You will then have to again extract the Arkos4clone.img file from the Arkos4clone.img.xz file. Take a deep breath and let the last of the unpacking do its thing.
- Open your image writing software of choice. If you’re running Windows, Rufus is recommended. USB Image Writer software that’s stock on many Linux distros, works great too.
- Slap your fresh brand-name SD card of choice into your PC’s reader.
- Open the extracted Arkos4clone.img file and select your inserted SD card as the destination. *Warning: This operation will delete the contents of any selected destination drive. Be careful.
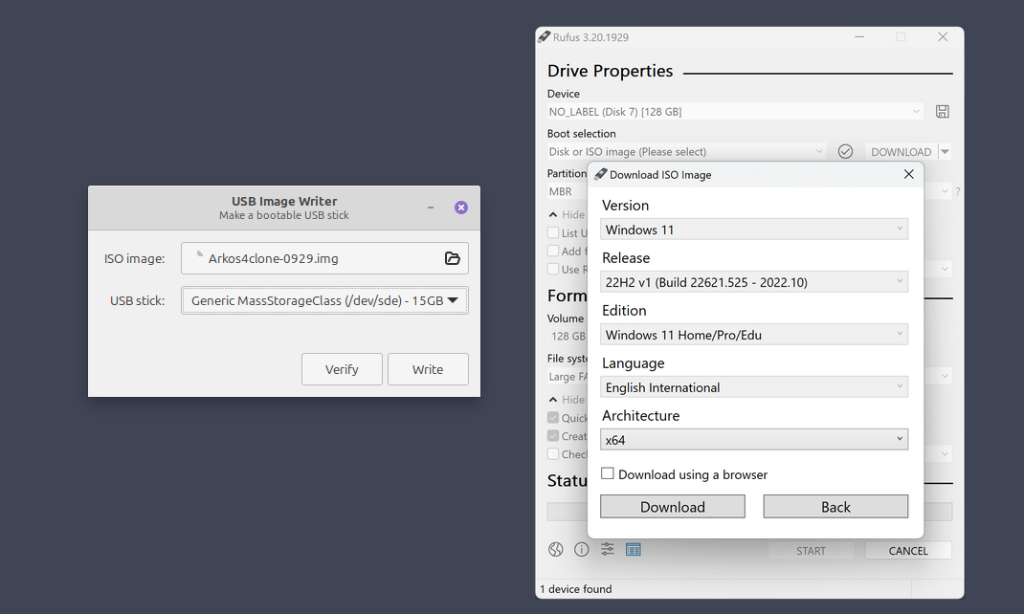
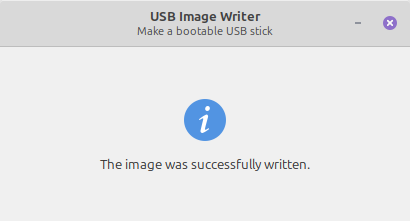
- Hit Write and let your software do its thing. Depending on your PC, this can take 10-20 minutes.
- While you’re waiting, prep any appropriate ROM collections you want to have on the device. That way, when it’s time to transfer, you won’t have to sit and sort through which games and systems you want.
- Once the writing job is complete, you will be tempted to insert the card into the device. DO NOT INSERT THE CARD INTO THE DEVICE YET. We still have another item to check off the list.
- Open the contents of the freshly written SD card in your OS file explorer. You should see 3 partitions. We are looking for the one labeled BOOT. If you cannot see it, enter disk management on your PC, select the partition on your SD card, and mount it. If you’re running Windows 10, you should only have to do this one time.
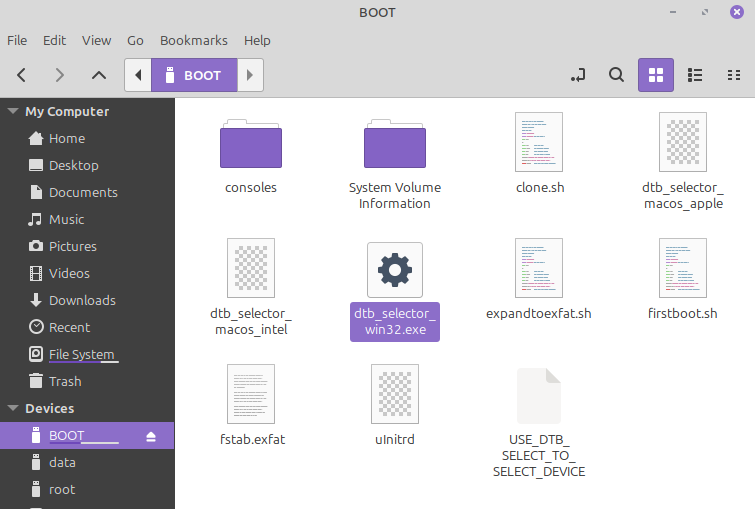
You want to run the DTB Selector win32exe BEFORE inserting the SD Card into the handhelds - Run the DTB_Selector_win32.exe (or the MacOS included equivalent) file. Follow the steps as shown below. You’re looking for XiFan in the list on clone brands.
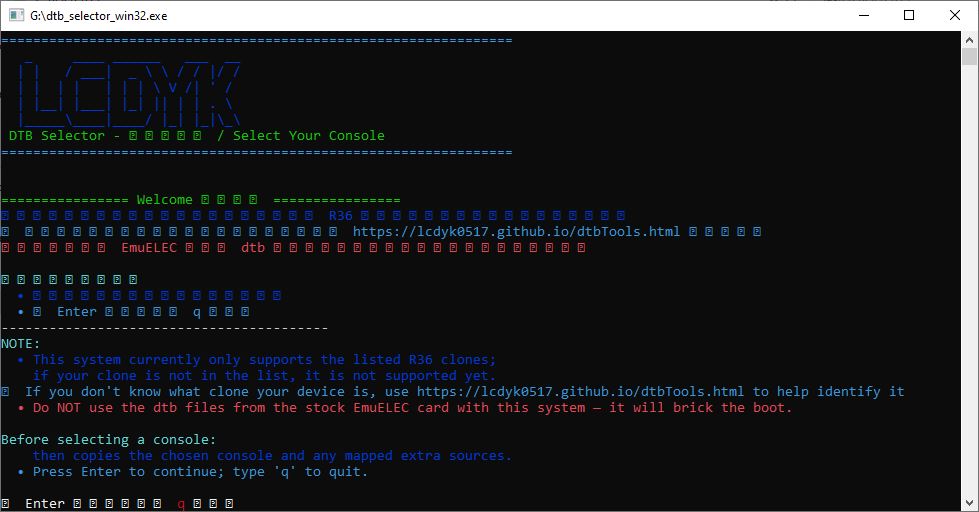
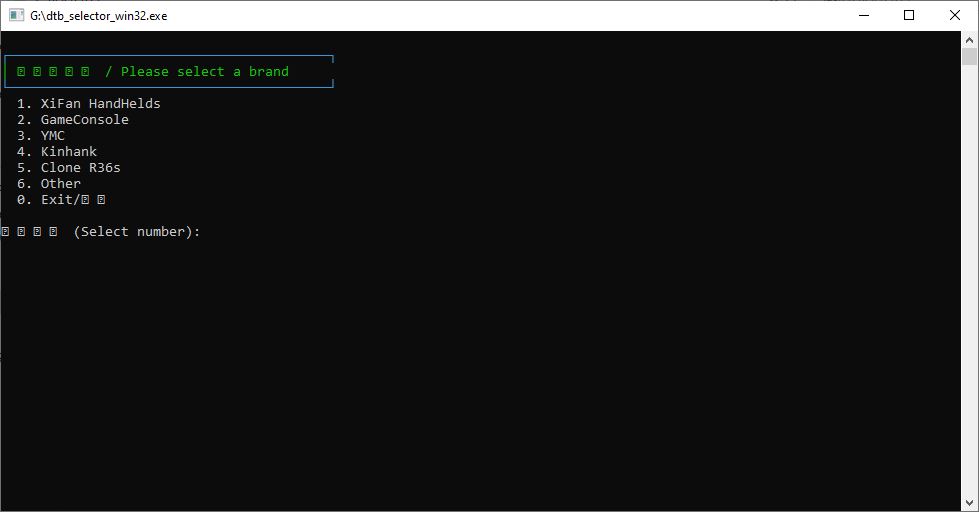
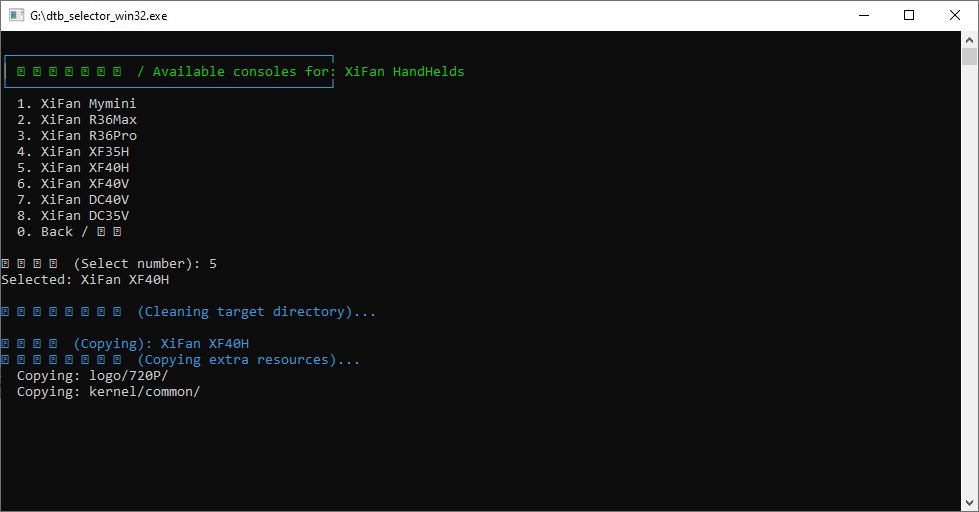
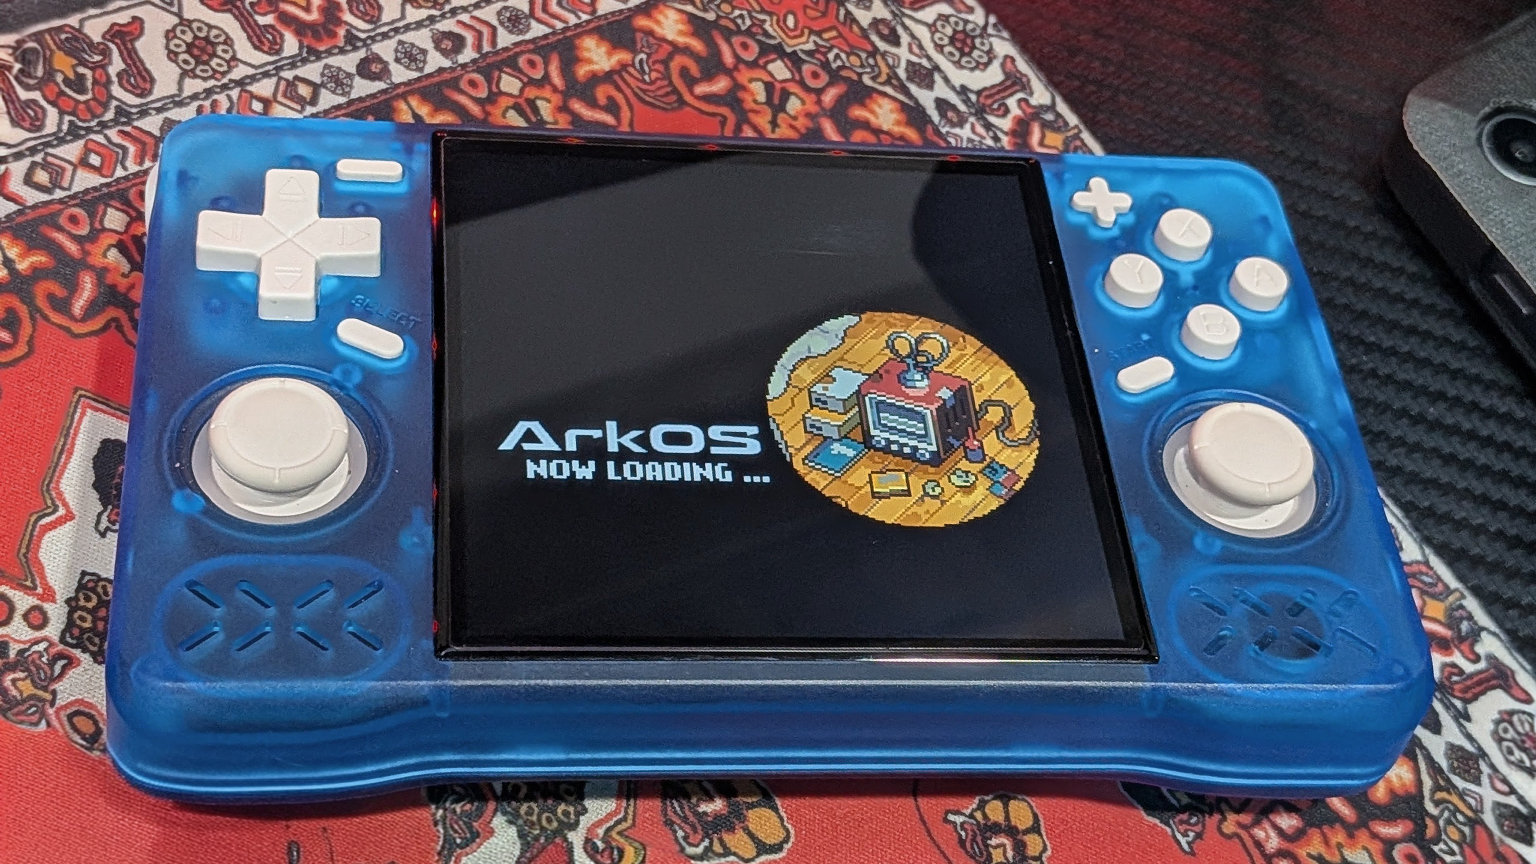
- Remove the SD card from your PC, and insert it back into the handheld. You should then be greeted by an ArkOS4Clones splash screen, followed by about another several minutes of unpacking (depending on the speed of your SD card).
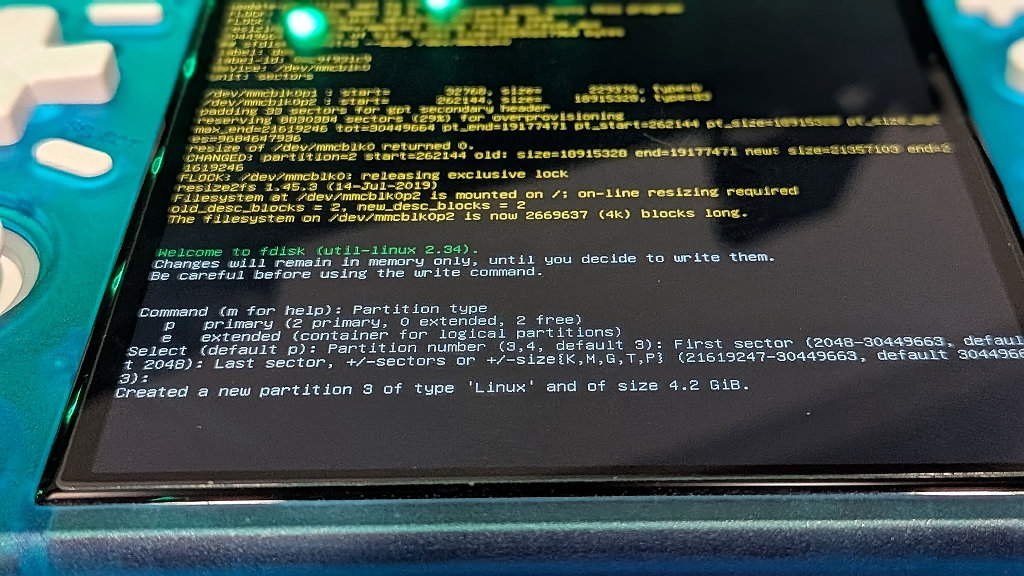
The Sound Issue
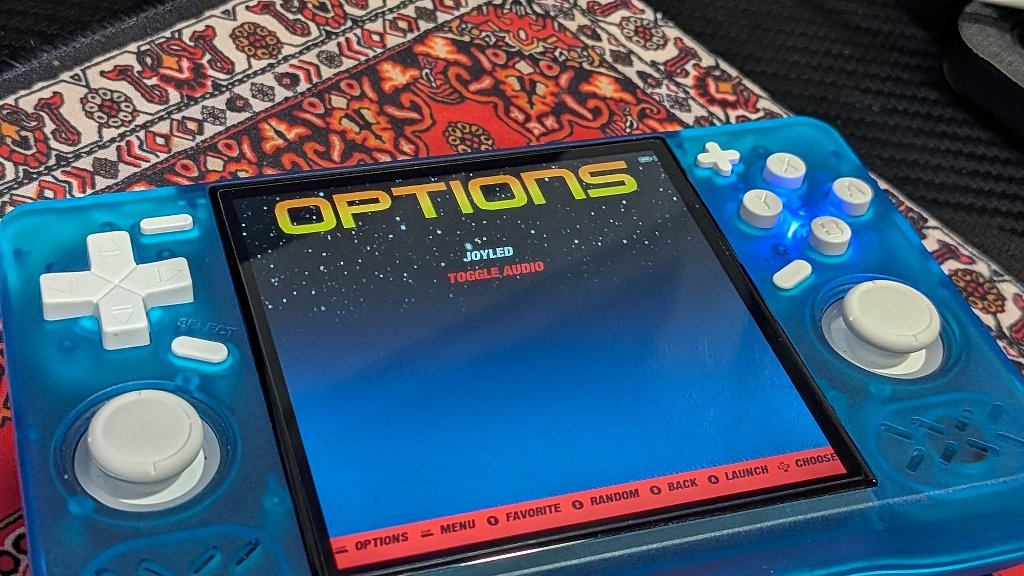
A percentage of users (yours truly included) have reported getting no sound from the devices after flashing ArkOS4Clone. This is easily remedied by navigating to the main Ark menu, down to Options. From that menu, select the folder icon labeled Clone, and then Toggle Audio.
That should get you up and running with the full sound experience. This was a known bug that should be fixed with the latest releases. I had no issues with the newest image, but it’s worth mentioning here.
LED Controls
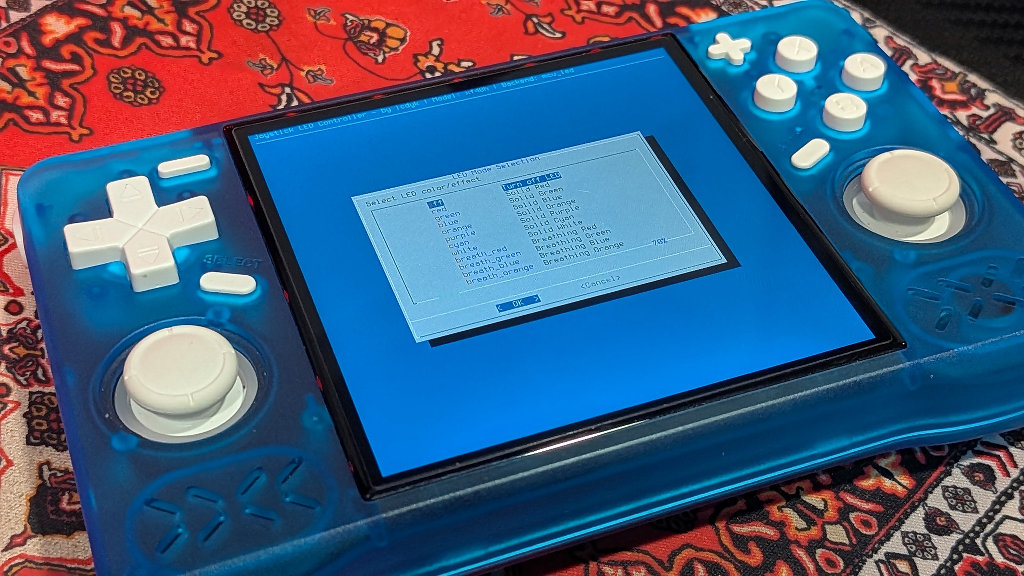
Following the above menu road will also lead you to the option for setting the console LEDs. As you can see in the picture below, you can choose solid or breathing color options, or just opt to leave them off altogether (default).
Loading ROMS and Wrapping Up
So now that you’re up and running in ArkOS, you’re free to reinsert your SD card back into your PC and drag and drop the games and BIOS of your choice into their respective folders on the EASYROMS partition.

Once your ROMs are loaded onto the SD, you can insert the card back into the system and get to gaming. ArkOS4Clones will auto-detect the games and preload them onto the main menu structure by console. After that, you can get Wi-Fi connected on the device and start scraping whatever art or preview videos you might like for your collection. Happy gaming!
[button link=”https://rh-go.link/XF35H_AE” color=”red” newwindow=”yes”] XF35H at AliExpress[/button][button link=”http://rh-go.link/XF40H_AE” color=”red” newwindow=”yes”] XF40H at AliExpress[/button][button link=”https://rh-go.link/XF40H_Amzn” color=”red” newwindow=”yes”] XF40H at Amazon[/button]
What did you think of this article? Let us know in the comments below, and chat with us in our Discord!
This page may contain affiliate links, by purchasing something through a link, Retro Handhelds may earn a small commission on the sale at no additional cost to you.

5 Comments
Thanks for all your effort, but tried to MacOS this and got totally lost. Keep up the good work.
Just to add a confirmation: I’m an owner of the XF40V model (vertical 4 inch 1:1 panel), and this method works perfectly for that model as well. After flashing, just run DTB_Selector_win32.exe and choose XiFan Handhelds > XinFan XF40V – that gives the correct boot config. Thanks for the great guide!
I’m excited to try that one! Thanks for the read 🙂
Excellent tutorial. I bought a XF40H this past weekend and found the stock SD card already having issues with a couple of the pre-loaded files. Bought a brand-name card, and followed your directions to install ArkOS on it. No issues, and the sound issue appears to be fixed with the current install.
Just to inform there is a new ArkOS4Clone update (20260109) from Github page. Don’t need to reflash. Just follow instruction in the OTA Upgrade section and OTA Upgrade don’t forget to run DTB Selector again and select the correct DTB