

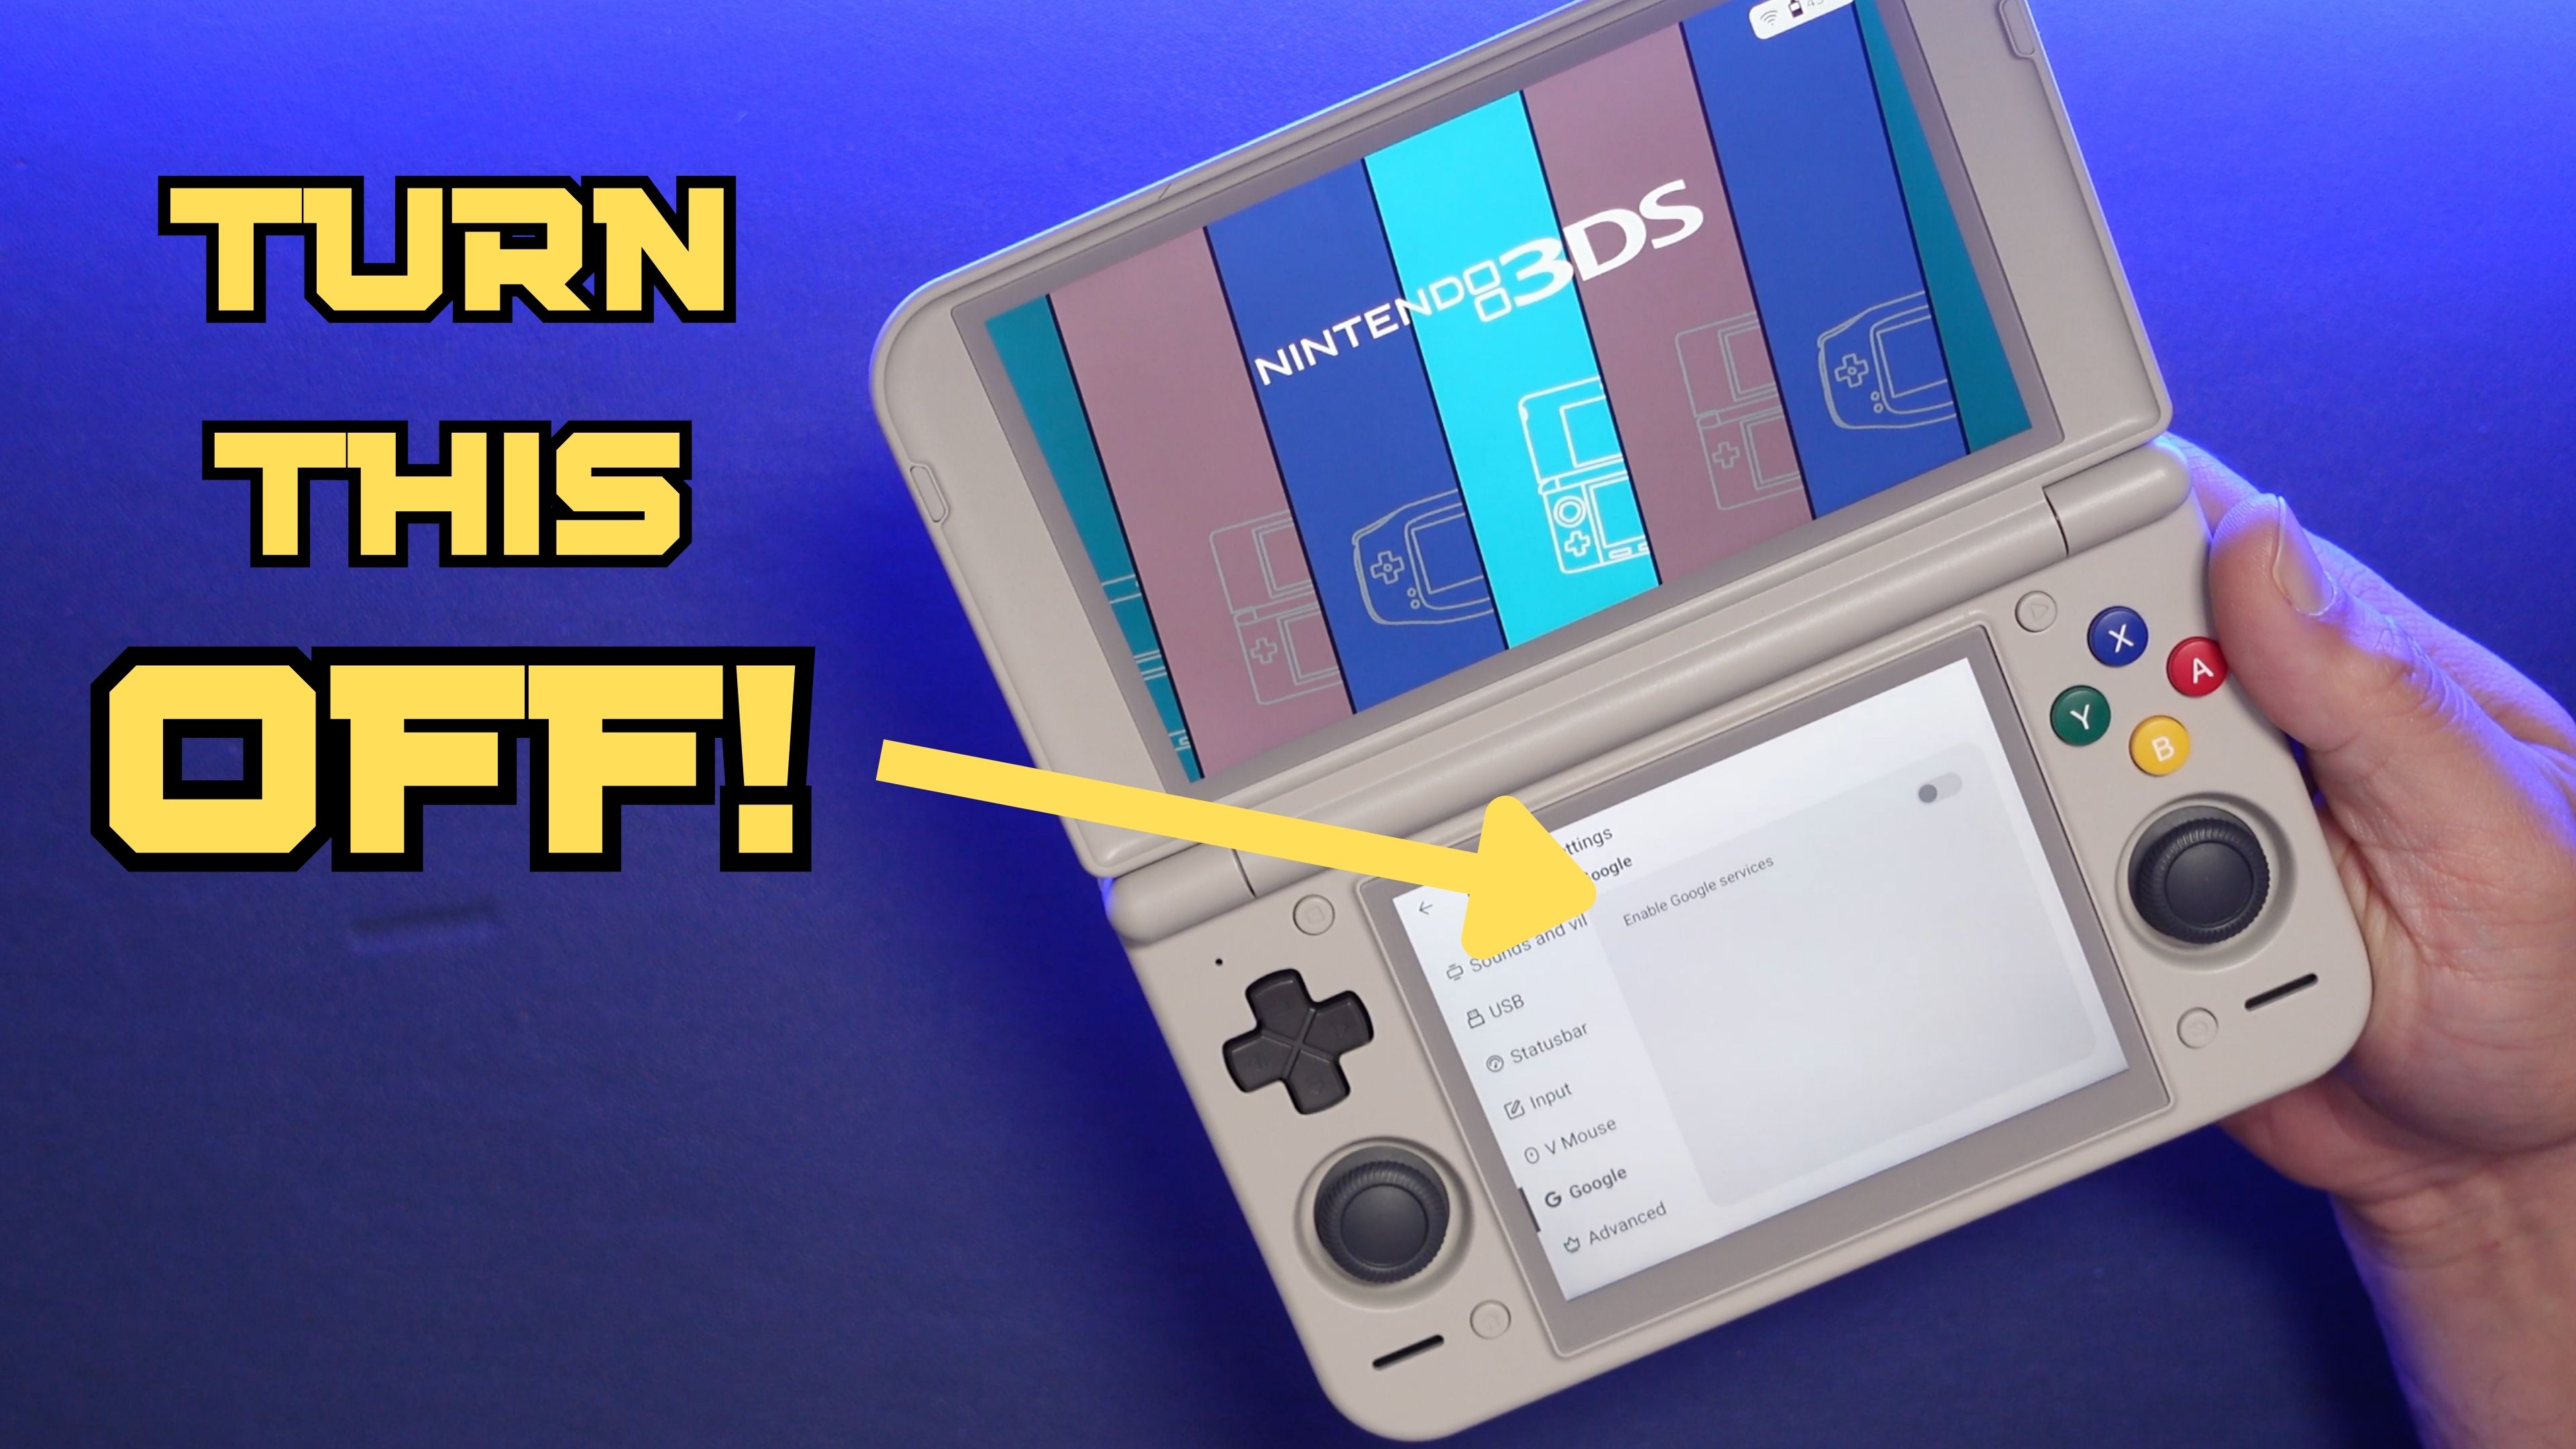
I’ve been using the Retroid Pocket Duo Lite a lot…like…a LOT! I’m pretty surprised with what this dual screen handheld can do, but it takes some effort to squeeze the juice out of this tiny chipset. Here is an optimization guide that can help you tweak just the right settings and get this emulator playing some of your favorite DS, 3DS, and GBA games.
This article is a written supplement to my optimization guide video, which you can find on my YouTube channel.
Table of Contents
Tip #1: Disable Google Services
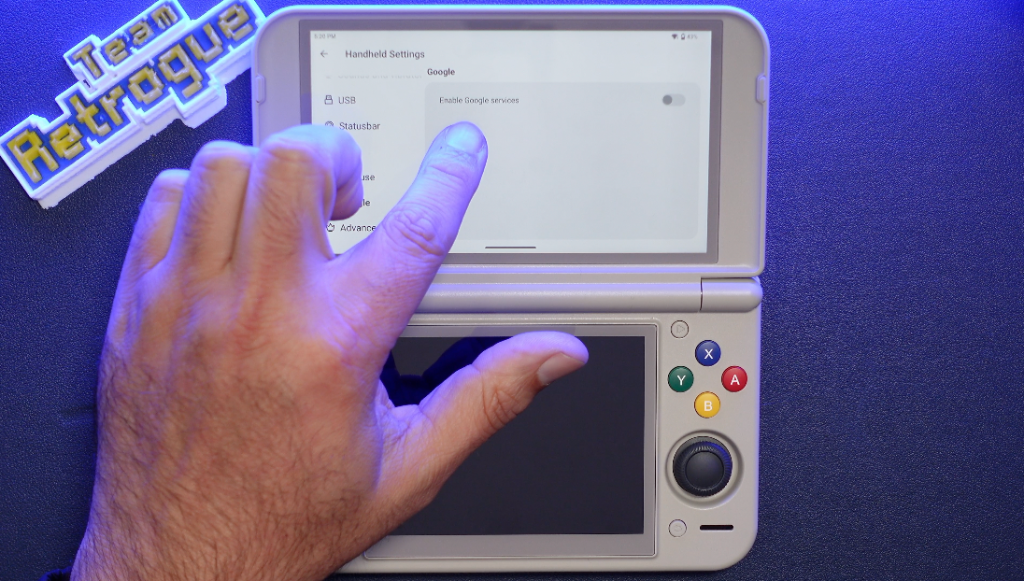
This optimization starts right at the beginning of the setup process with Google Play Services
For the more powerful Android handhelds in the space like the Odins and the Thors, we would typically leave this on so we can access the Play Store and use our Google Accounts.
The downside to this is that it does eat up RAM use as Google Play Services will always be running in the background.
With a low powered device like this that can’t really run native Android games from the play store, there really is nothing lost in turning this off and using that extra overhead to improve emulation. We can sideload the apps that we need anyway.
If you’ve already gone through the initial setup, you can still disable this in settings under handheld settings.
Just keep in mind that any Google apps like YouTube and the Play Store will no longer work once you turn this off.
While we’re disabling stuff, there’s also a way to disable preloaded Android apps we don’t need.
Where to Disable Apps
- Settings –> Handheld Settings –> Advanced –> Disable Apps –> Show System Apps in top right menu.
In here, we can disable anything we really don’t need on this device like Calendar, Clock, and Sound Recorder.
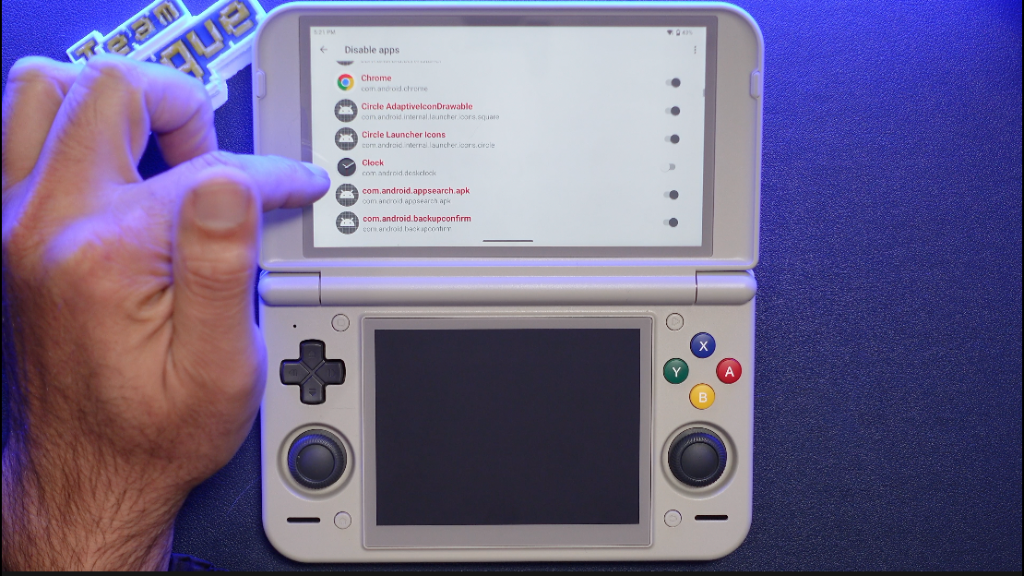
Just be careful in this menu because there are a lot of background apps here that will break the system if we disable them. Just stick to disabling the ones you know.
Tip #2: Fix the Brown Screen Tint
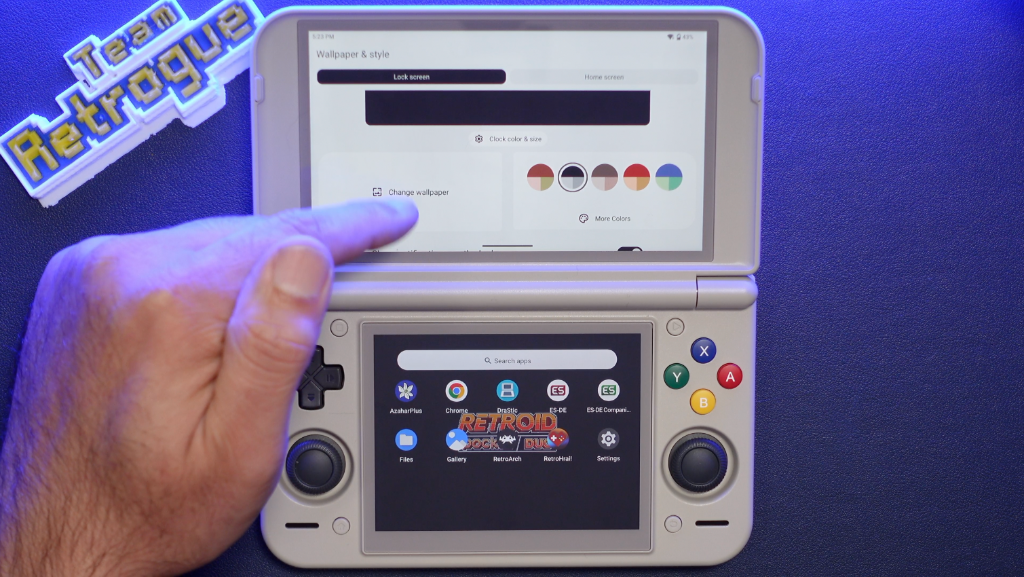
You might notice that there’s kind of an ugly brown tint on our screen caused by Retroid’s choice for the system wallpaper, so let’s fix that.
Changing the Tint
- Settings –> Wallpaper –> Wallpaper & Style
Scroll down and pick the second color option. It should be mostly white with black or blue on the top. Selecting that will get rid of the brown tint and our screens should look pretty nice from there.
Tip #3: Use Internal Storage
In this part of the guide, we’re going to store all of our game files to internal storage, which will impact our read write speeds.
This is another little tip we can do to decrease overhead, especially when it comes to 3DS emulation. When I did my review, I did all my testing running games off an SD card. This caused 3DS games to take forever to load, and there was a lot more stuttering when in game.
Running those same games from internal storage mitigates that issue somewhat because the emulator can read the rom information much quicker from its internal storage than from the SD card, which will just naturally have slower read and write speeds. More powerful systems can brute force its way through it, but this one needs all the help it can get.
On my Duo Lite, I have a small amount of DS, 3DS, and Game Boy Advance games that I plan on playing just on this device. Using the files app, I went into the documents folder, created a new folder titled “roms” and I put my games in there in their various subfolders.
Tip #4: Emulator Setup
Now that we have our ROM files set up, we are going to need to sideload some emulators in so we can play them.
I’m focusing on three systems: Game Boy Advance, Nintendo DS, and Nintendo 3DS.
I’m basically treating this system like a Nintendo DS Lite with bonuses. The old Nintendo DS Lite had a slot to plug in and play your GBA library, and we’re treating the Nintendo 3DS as a bonus system because not every game will be a great experience on this device.
Game Boy Advance
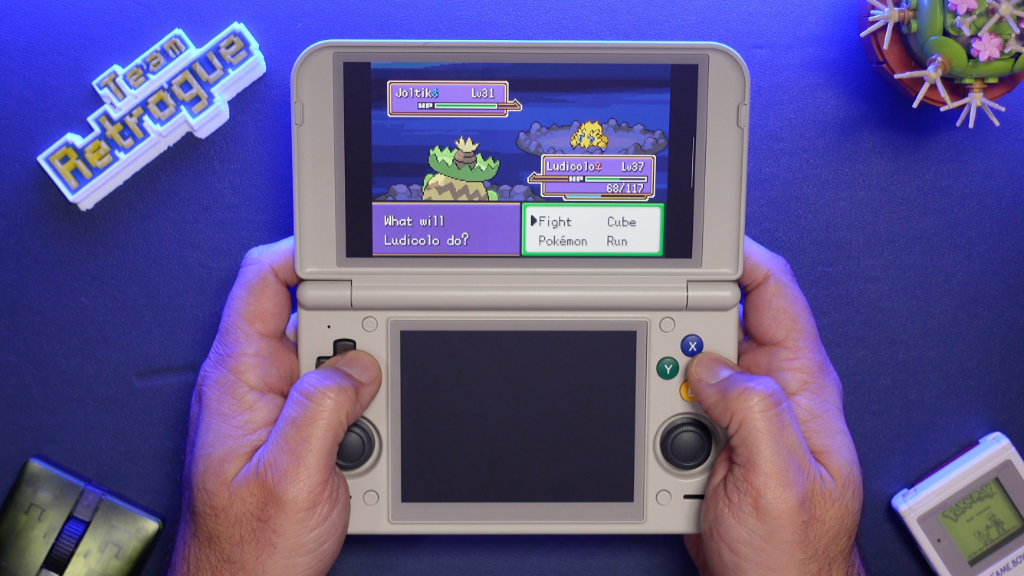
We’re going to use RetroArch for GBA. This emulator can also cover other systems you might be interested in playing on this device such as Nintendo, Super Nintendo, and Genesis.
You can grab it from the Retroarch website, and you will need to do a little bit of initial setup.
You’ll need to go into Online Updater and install all of the cores you plan on using. You will also need to update controller profiles, shaders, and I would personally just let all of these options on the bottom update as well.
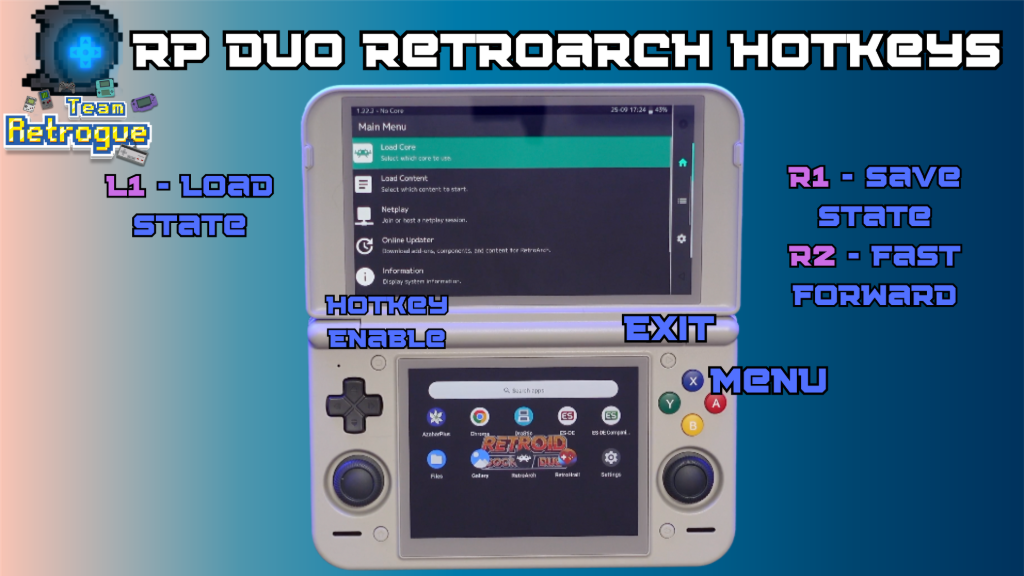
Now go into settings, input, and hotkeys, you can set a hotkey enable, which is a button you can hold to trigger other quick access to RetroArch functions. Below is how I set up my hotkeys in RetroArch.
I love playing Game Boy Advance on this 16:9 top screen, which the original Nintendo DS didn’t have.
It has to be downloaded and manually installed. I’ll leave a link down below, but once you have it, you can use the files app to move it into the RetroArch shaders folder. Then in the quick menu, we can go to shaders, and select Sharp Shimmerless as the shader preset.
Nintendo DS
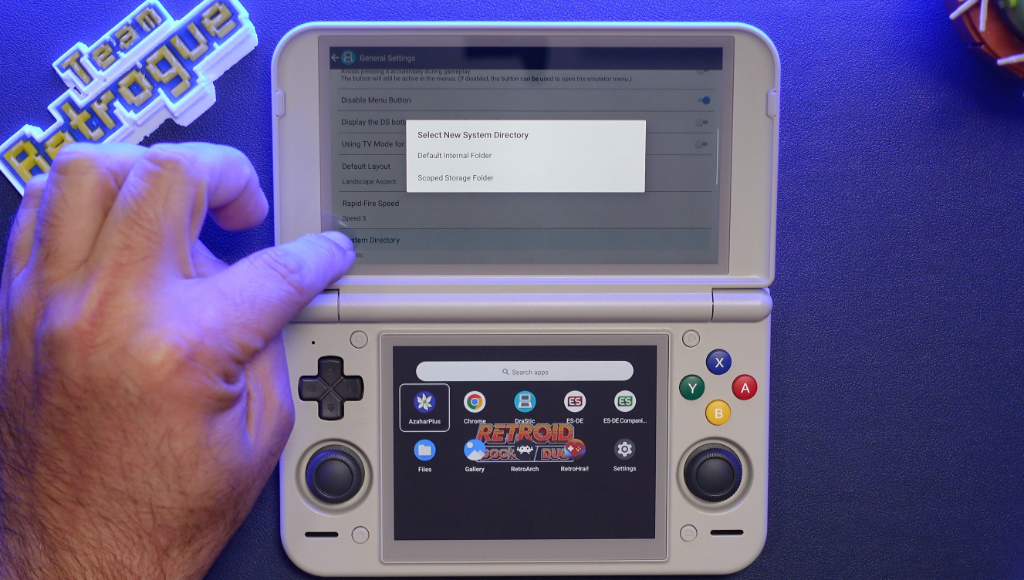
For Nintendo DS, we’re going to install a modern fork of an emulator called Drastic. Specifically, this build is called Drastic_rev-i18n.
- Description
- The goal of this project is to make more static text in DraStic translatable. In addition to that, it also adds logic to automatically extract either the Chinese or English cheat database based on the device's system language.
- Consoles
- Platforms
- Download
- Download
Once installed, if we go into settings, we can turn on HD Textures in the emulator’s graphic settings.
Drastic_rev-i18n Recommended Settings
- Settings –> General –> Default Layout –> Landscape Aspect
- Settings –> Video –> High Resolution 3D Rendering + 16 Bit Rendering On
- Settings –> Video –> External Display Mode –> Fullscreen
- Settings –> Video –> External Display Screen –> Bottom Screen
- Settings –> Video –> External Display Border –> 0%
The other thing I want to do with this app is set it up to use a specific folder for storage instead of the default internal folder. This is a personal preference for me because I can more easily transfer my DS game saves to this device and place them in the backup folder. This is handy if you’re interested in moving your saves to and from another device if you have it.
Nintendo 3DS
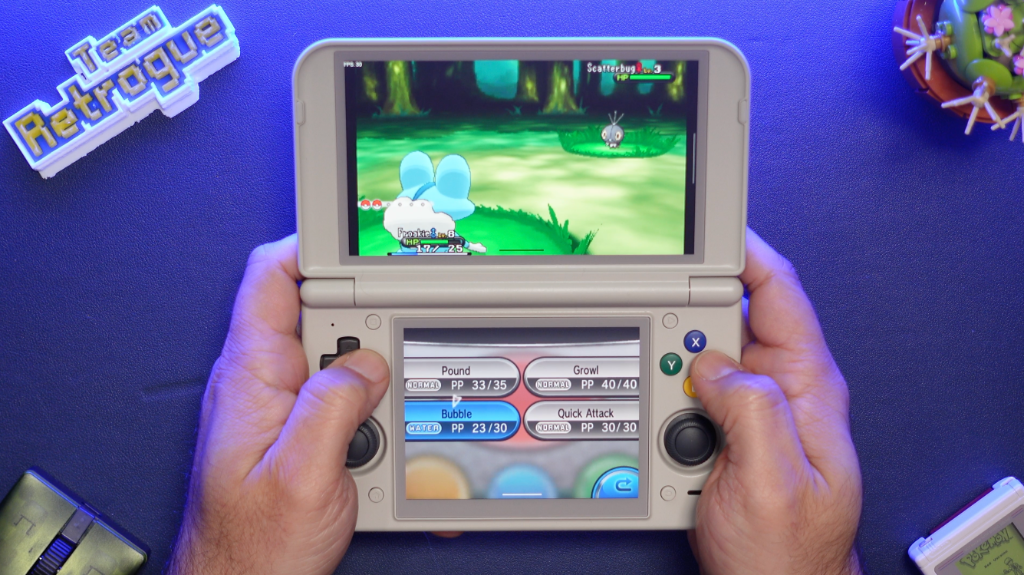
For 3DS we’re going to use an emulator called Azahar plus so we can take advantage of custom GPU drivers.
Here are three drivers that the community seem to be testing and leaning on:
You can install them by going into Azahar’s settings and then going into the GPU Driver Manager section. Simply click install, and navigate to the folder where the zip files are located. If you downloaded them from Chrome on the device itself, it’ll be in the downloads folder.
AzaharPlus Recommended Settings
There are a couple of other settings we can tweak to better optimize Azahar:
- Settings –> Graphics –> Graphics API –> Vulkan
- Settings –> Graphics –> Enable Asynchronous Shader Compilation
- Settings –> Graphics –> Disable Right Eye Render
Some games won’t look right with Right Eye Render off, so you might need to re-enable it on a per game basis, but most of the library won’t need it at all.
Asynchronous Shader Compilation is kind of a trade off. This will reduce the stuttering caused by shader caching while playing 3DS games, but you also might run into some graphical issues or some pop in instead.
I still recommend sticking to only lightweight 2D games with this device, but many are reporting stable performance on the 3D Pokemon games by experimenting with custom drivers and tweaking these two settings in Azahar.
Tip #5: Frontend Setup
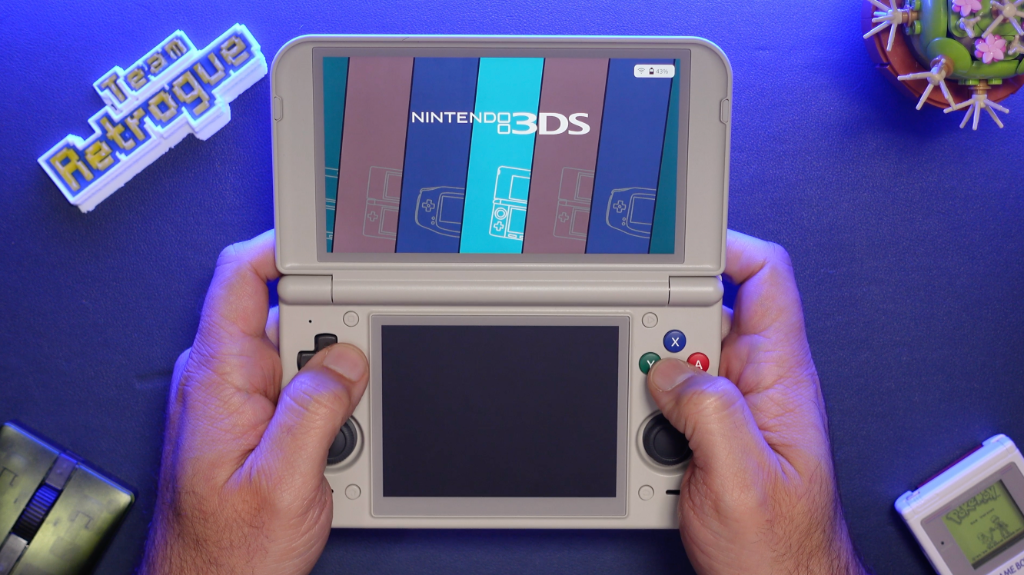
The last thing I want to touch up on is setting up a frontend, and I found that the best setup is Emulation Station Desktop edition. Now this is a paid app, but you only need to subscribe to their Patreon once and you’ll get all the updates e mailed to you even if you switch to the free tier afterwards.
The reason I’m sticking with ESDE on just the top screen is because using a front end on both screens disrupts the resolution of the bottom screen when you actually launch into the emulator.
I tried two emulators, ESDE and Retro Hrai, and this issue persisted across both emulators. I couldn’t figure out a way to fix it, so let me know in the comments if you have?

- Category
- Launcher
- Description
- ES-DE (EmulationStation Desktop Edition) is a gaming frontend for Android, Linux, macOS and Windows. It allows you to browse and launch games from your library and it comes preconfigured for over 150 different game systems. It's also highly customizable and…
- Download
- Download
- Category
- Launcher
- Description
- A modern, unified frontend launcher for Android that brings all your games together in one beautiful interface. Play games from multiple emulators – retro classics, modern platforms, and everything in between – without juggling between different apps.
- Download
- Download
However you can use either of these two frontends on the top screen and when you launch a dual screen game, it will fire up the other screen and everything will look great.
With this system, I’d rather turn the bottom screen off when playing GBA, and keep things simple anyway. Running that bottom screen on your frontend can bog down precious resources, and we need every possible resource with this handheld.
Both of these frontends will let you scrape box art for your game library, and will organize games by system.
Once you’ve settled on your frontend, you can go into settings, apps, and change your default home app to your frontend of choice to give an authentic, console-like look.
