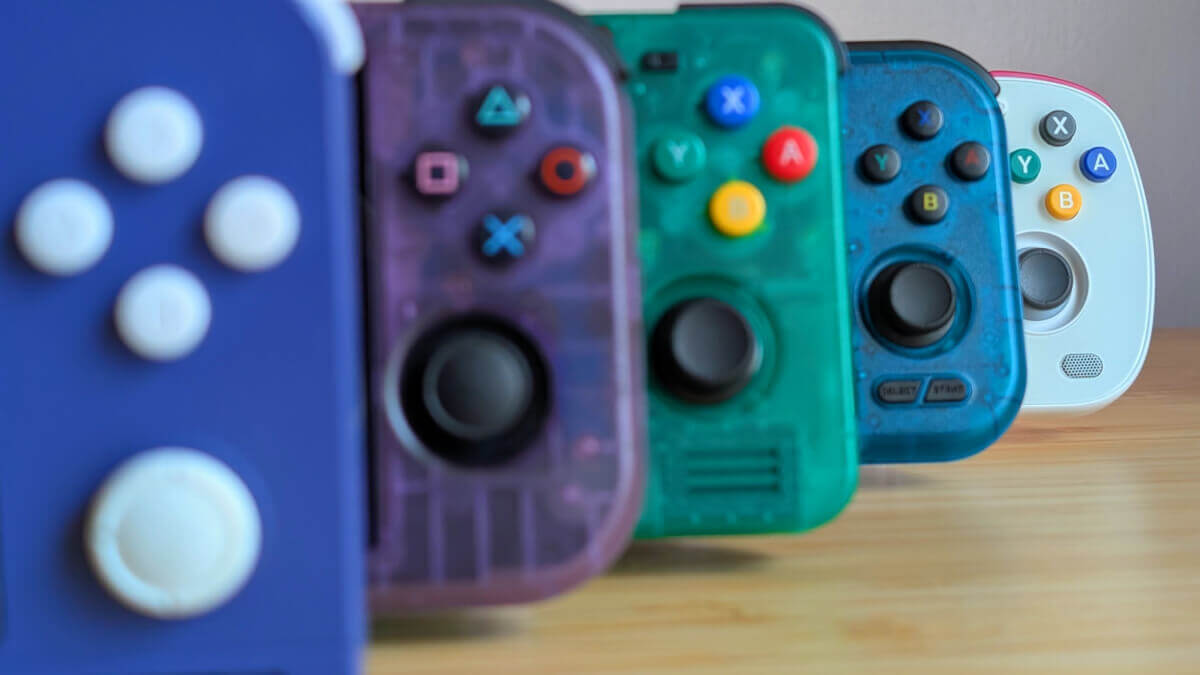
Clacky buttons have been a staple of gaming since before gaming was a thing, but lately, we are a little obsessed with them. Whether it’s a clack, thock, click, or dink, we have numerous devices to fit just about every niche.
Lately, we see a growing desire for quieter buttons due to the noise generally being distracting and personal preference. Are you trying to rock your baby to sleep? Being discreet in a waiting room?
Many mods already exist, like the dome switch taping mod or the infamous rubber membrane mod for the Retroid Pocket Mini and Pocket 5, which required you to cut 1mm away from the rubber membrane and generally ended with you feeling shame, regret, and loss.
But wait! We have a solution!
Tech-tuber What Obi Plays did a thorough investigation into the causes of button clack and came up with a simple, but effective way of detinning the rubber membrane button noise altogether without having to cut them up through the use of 3D printed TPU. While he focuses heavily on the RP Mini (which infamously has very loud buttons), he stresses that the mod can be applied to other devices too.
The Causes of Button Noise
Anybody familiar with keyboard clack will relate to this, but there are essentially two components to button noise, whether it’s a dome switch or rubber membrane: the noise for pushing the button down, and the noise for it popping back up.
The RP Mini buttons are pretty comfortable and satisfying to push down, but the thud and accompanying clack of the button actuation is a little much. This is caused in part by how deep the button actually goes when pushed down, and the force that the button springs up to hit plastic on plastic.
The previous membrane mod required you to shave 1mm off the top of each hump on the membrane so that the buttons didn’t fit as tightly into the shell and give it less of a spring. This method did work, but it required removing the adhesive under the buttons, and there’s no way to undo the mod if you mess up. Even when it did work, it would leave your buttons feeling inconsistent with a high probability of false inputs.
Obi’s Fix For Button Noise
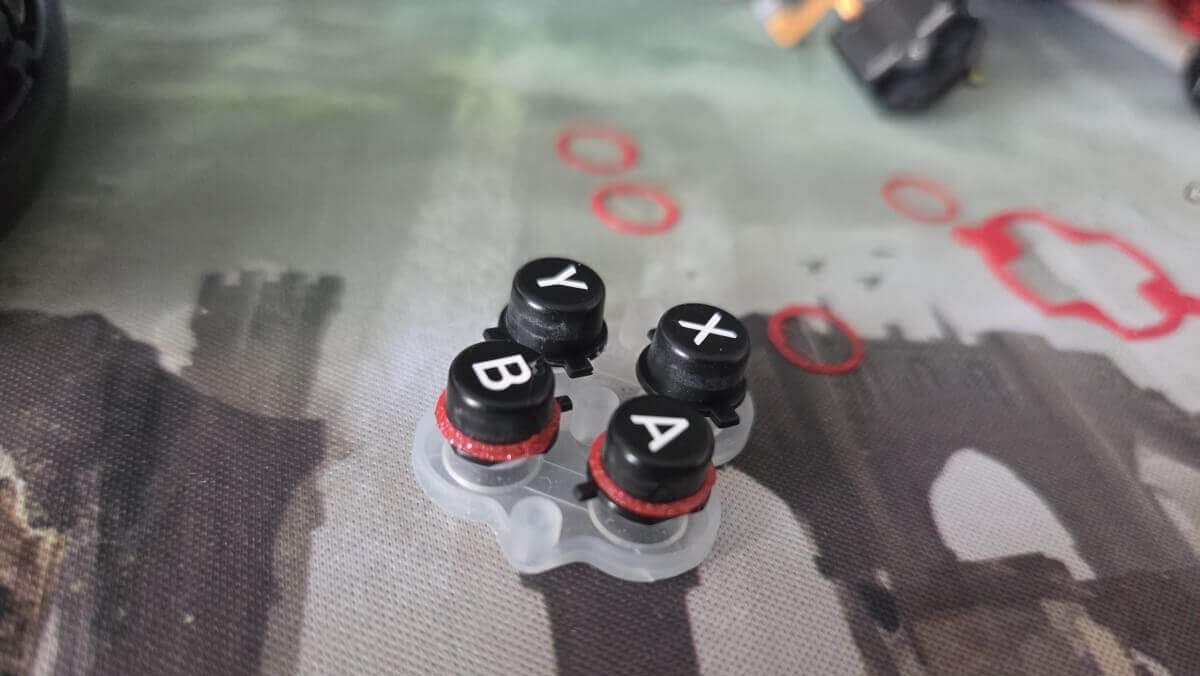
In Obi’s video, he notes that the dome switch tape mod it’s still the most effective method for dome switches, and electric or Kapton tape in layers is best for them. For rubber membranes, his solution was not to remove plastic, but to add it. With some pretty basic engineering, he came up with 3D printable rings to wrap around each button to provide a barrier between the plastic of the shell and the button itself.
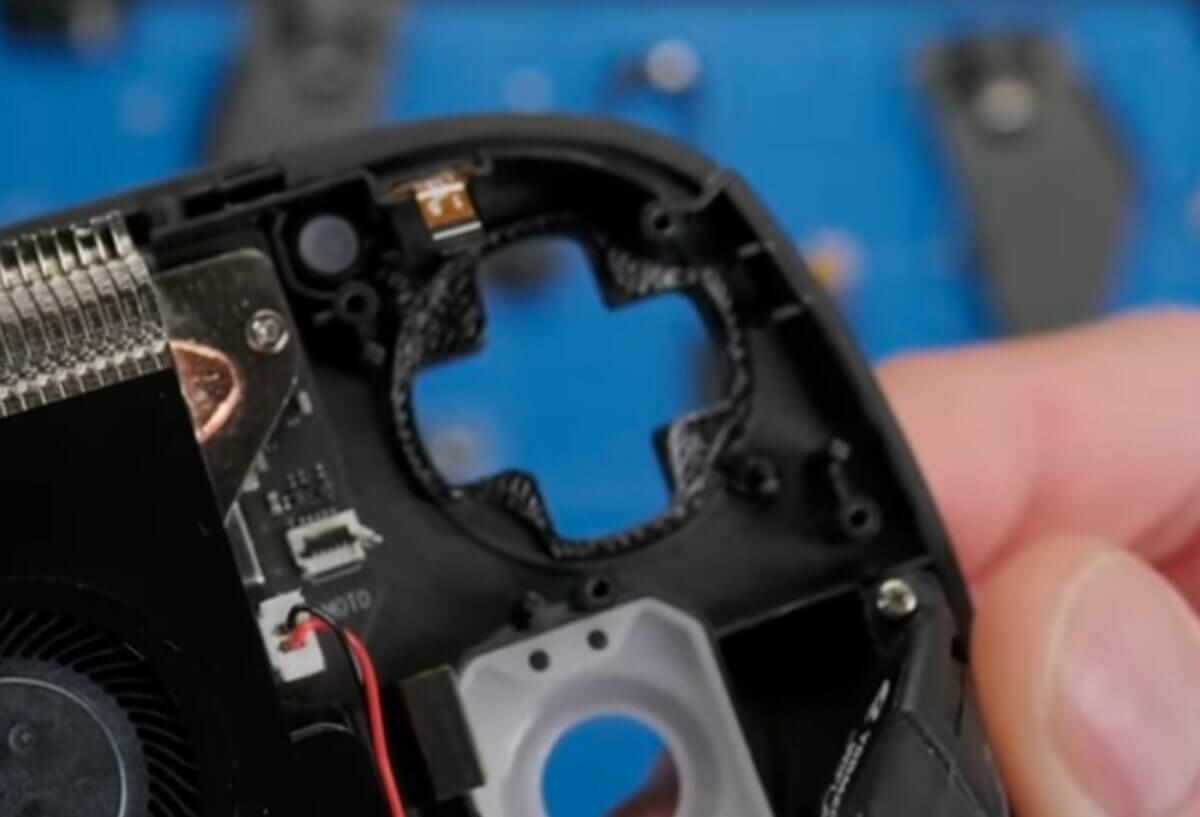
While the D-pad isn’t particularly noisy, he also created a TPU barrier for that, too, to deaden what little noise it had. After implementing the membrane and taping mod together, he found that it reduced button noise by up to 40% on the face buttons by about 15-20% on the other dome switch buttons.
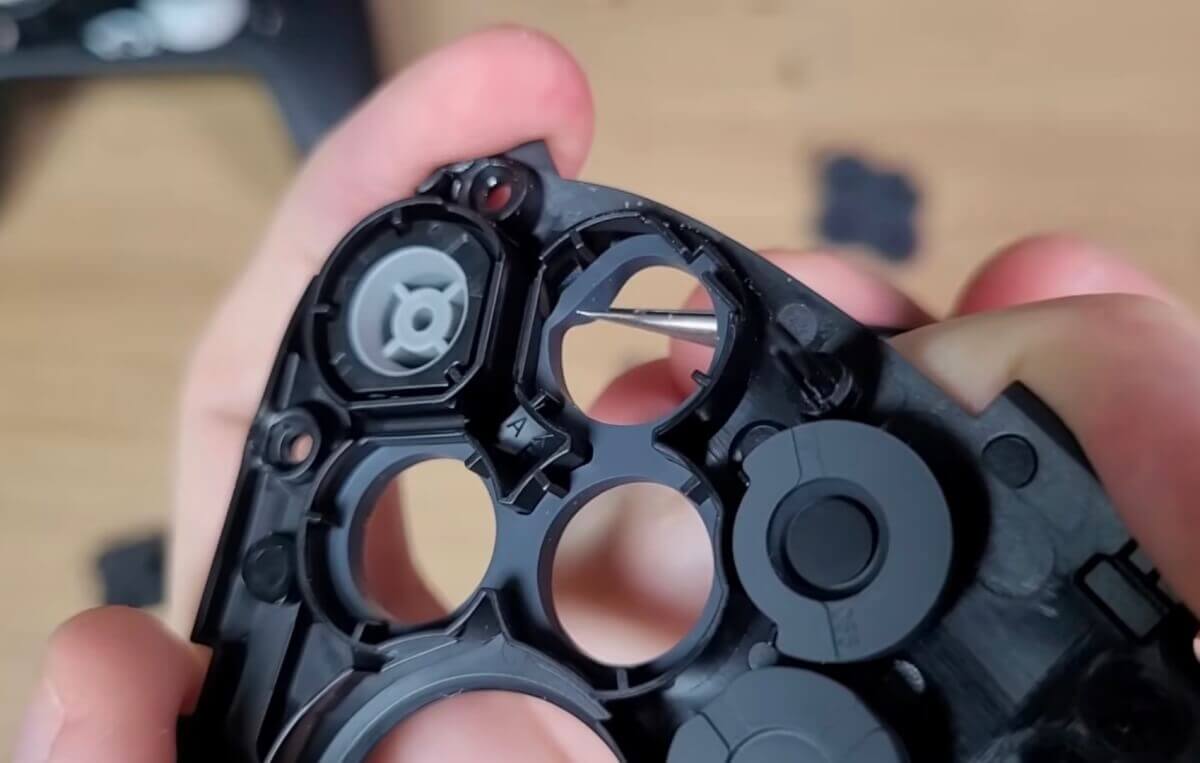
Switch 2 Pro Controller – Source: VK’s Channel
This new mod is actually similar to what Nintendo did on the Switch 2 Pro Controller to get the buttons super quiet. It is also fairly similar to adding o-rings to your keyboard switches. It’s pretty tried and true.
Do it Yourself!
This mod still requires disassembly, but it is notably simpler to pull off than cutting it. I did this mod to my RP Mini, so I will show you how to do it on the RP Mini, but it should be a very similar process on other devices.
1: 3D Print your TPU
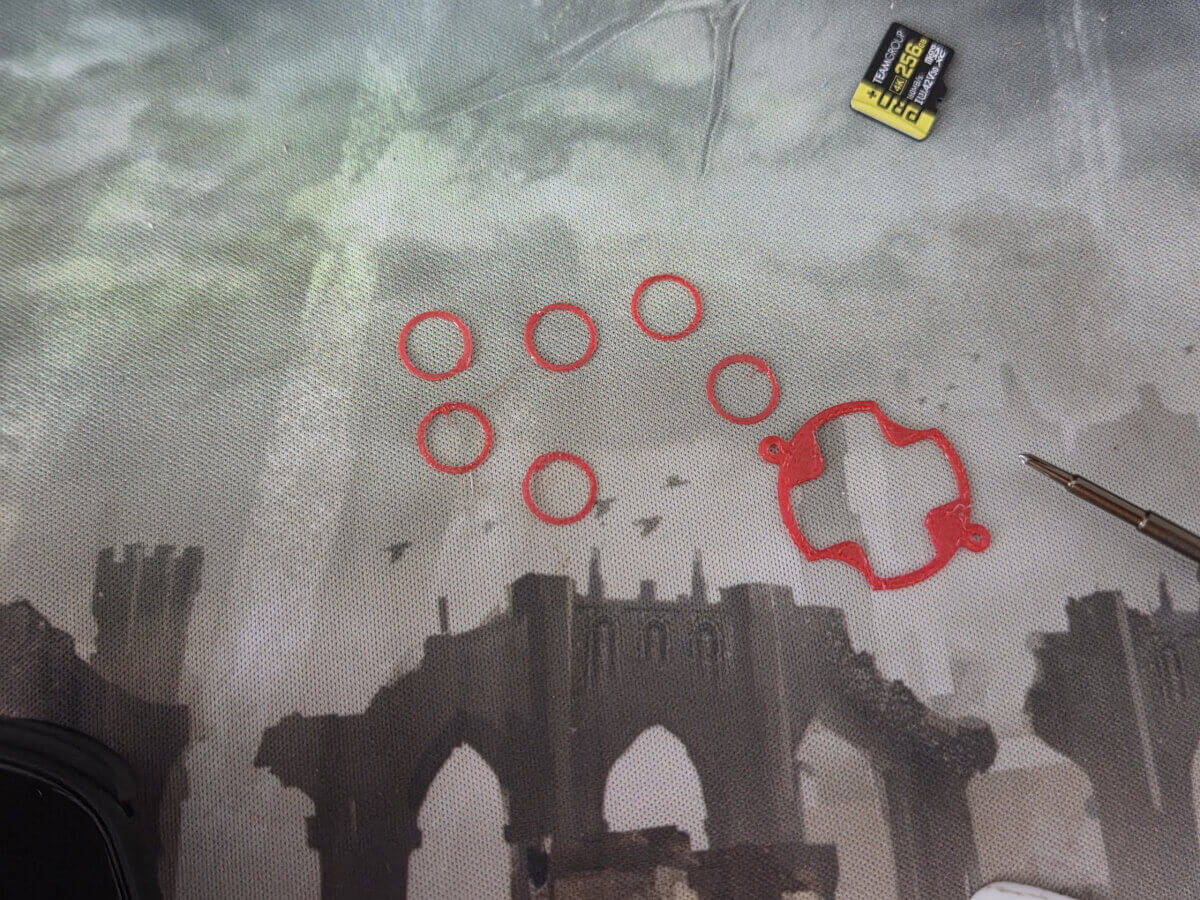
Obi provides the print files on his GitHub here to print yourself; otherwise, you can also buy some from his Etsy shop here. Mine were printed and sent over to me by the legendary DigitalJedi (show this beautiful man some love).
2: Get Your Tools
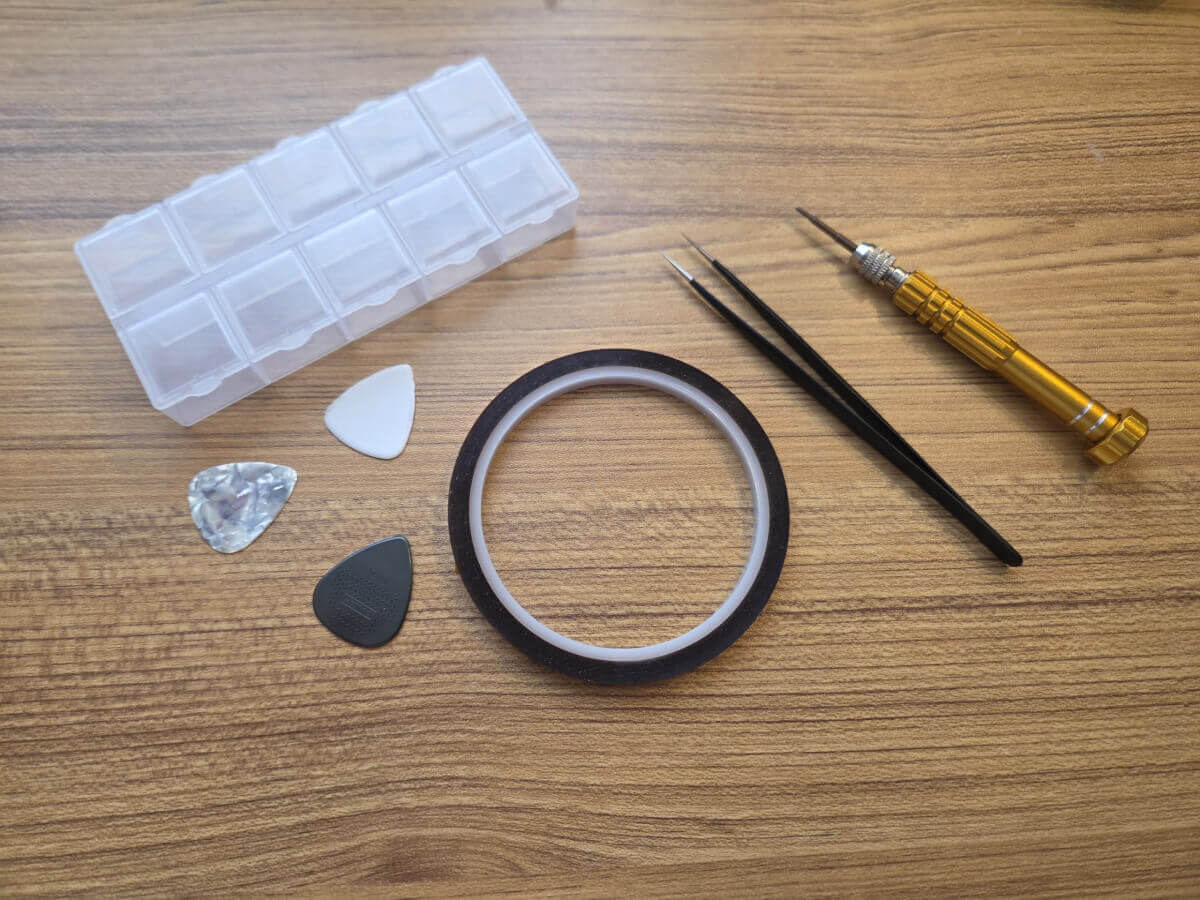
- Size one Phillips head screwdriver (very common in DIY kits)
- A plastic spudger or guitar pick
- Tweezers
- Something to sort your screws. I use a pill container since this mod will have three different kinds of screws
- Kapton and/or electrical tape if you want to do the dome switch mod at the same time
3: Disassemble your RP Mini
- Power off the console and remove the SD card.
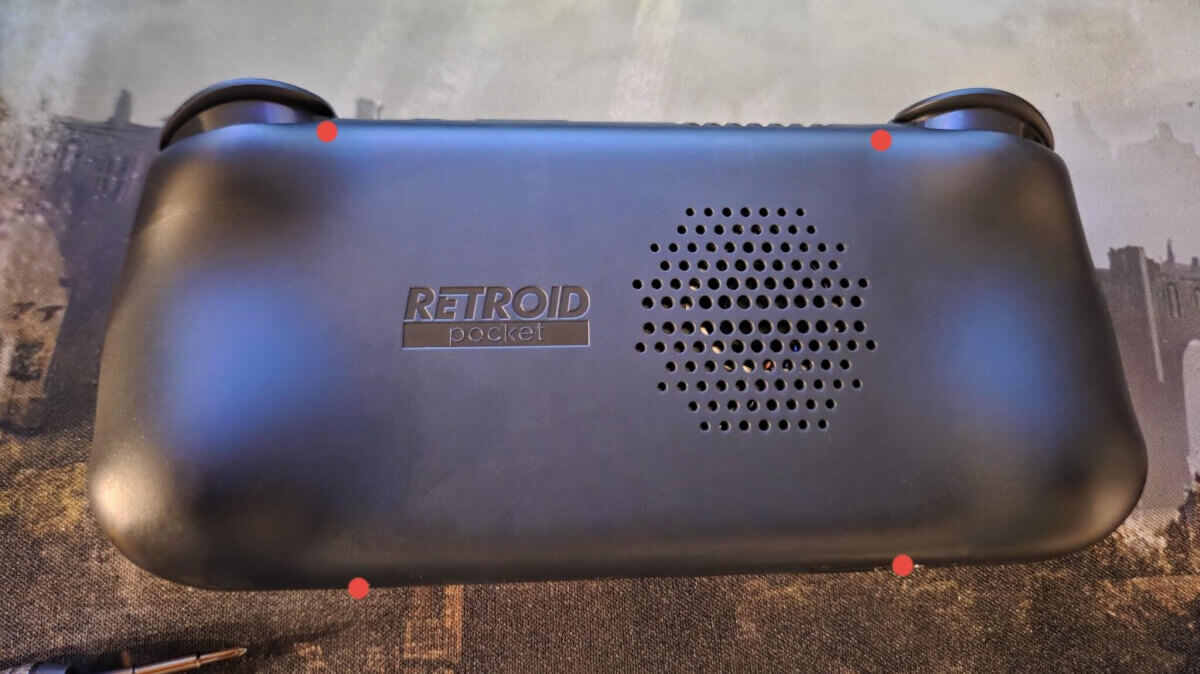
- Unscrew the 2 top screws and 2 bottom screws.
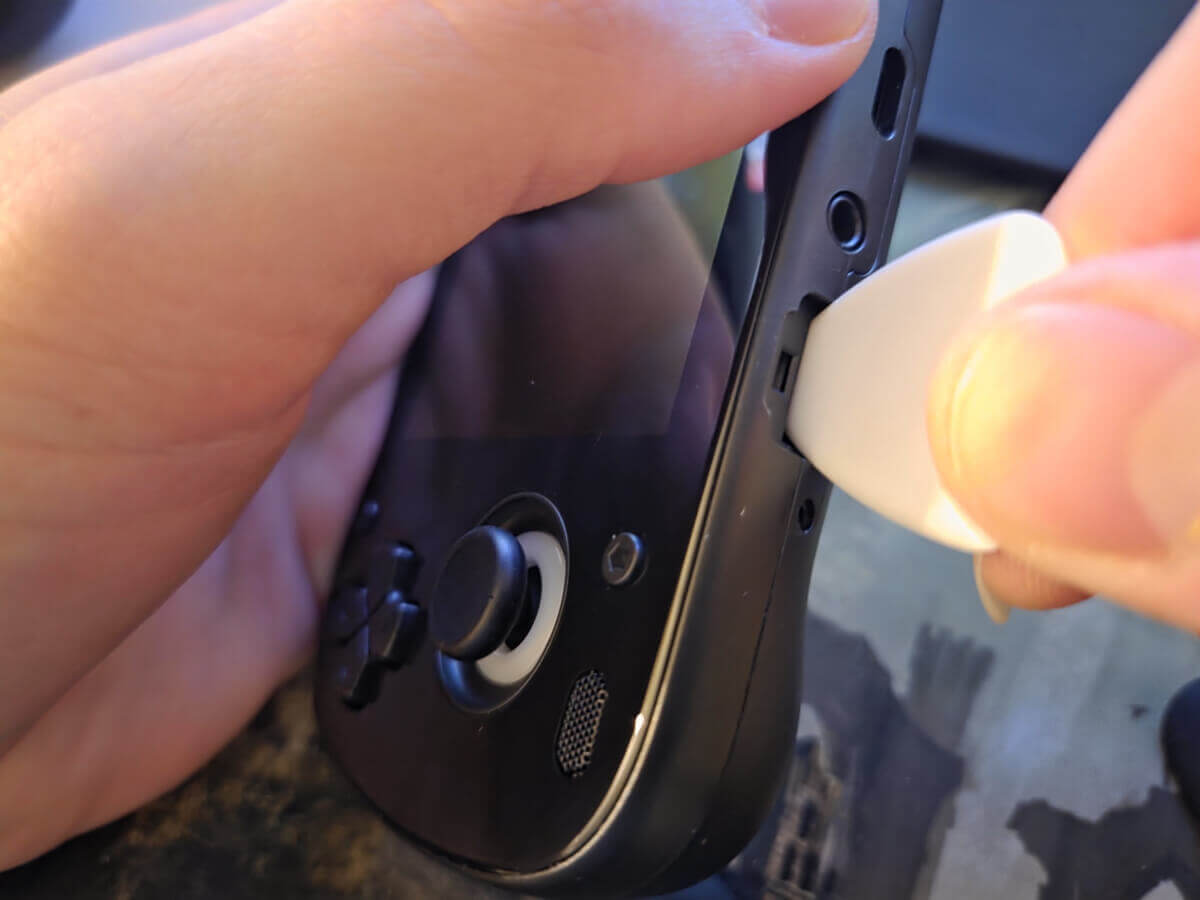
- With a spudger, create an opening from the microSD card port by turning it and holding the shell open from the gap (with another spudger, credit card, nail, etc).
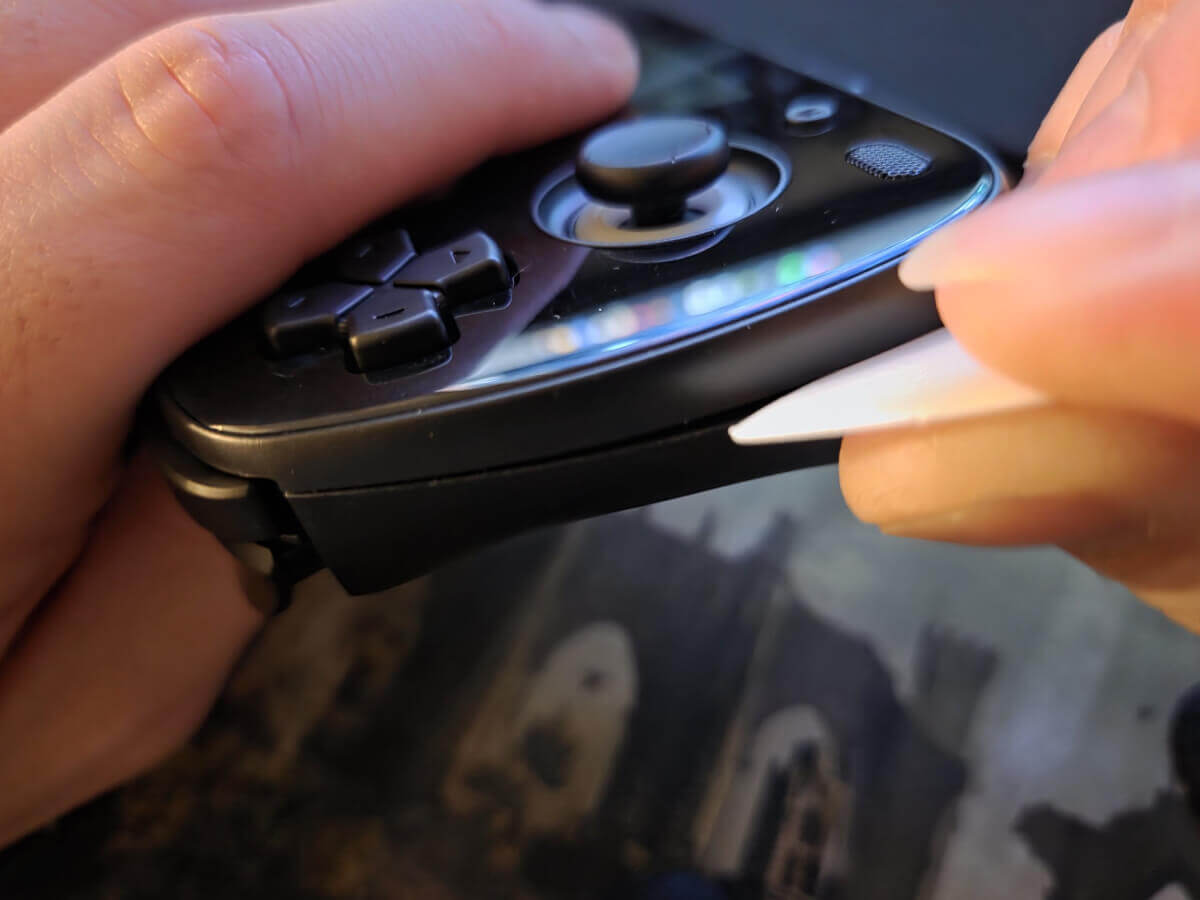
- Use the spudger to pry the shell from its clips and repeat along the console until it breaks free. Take extra care around the ports.
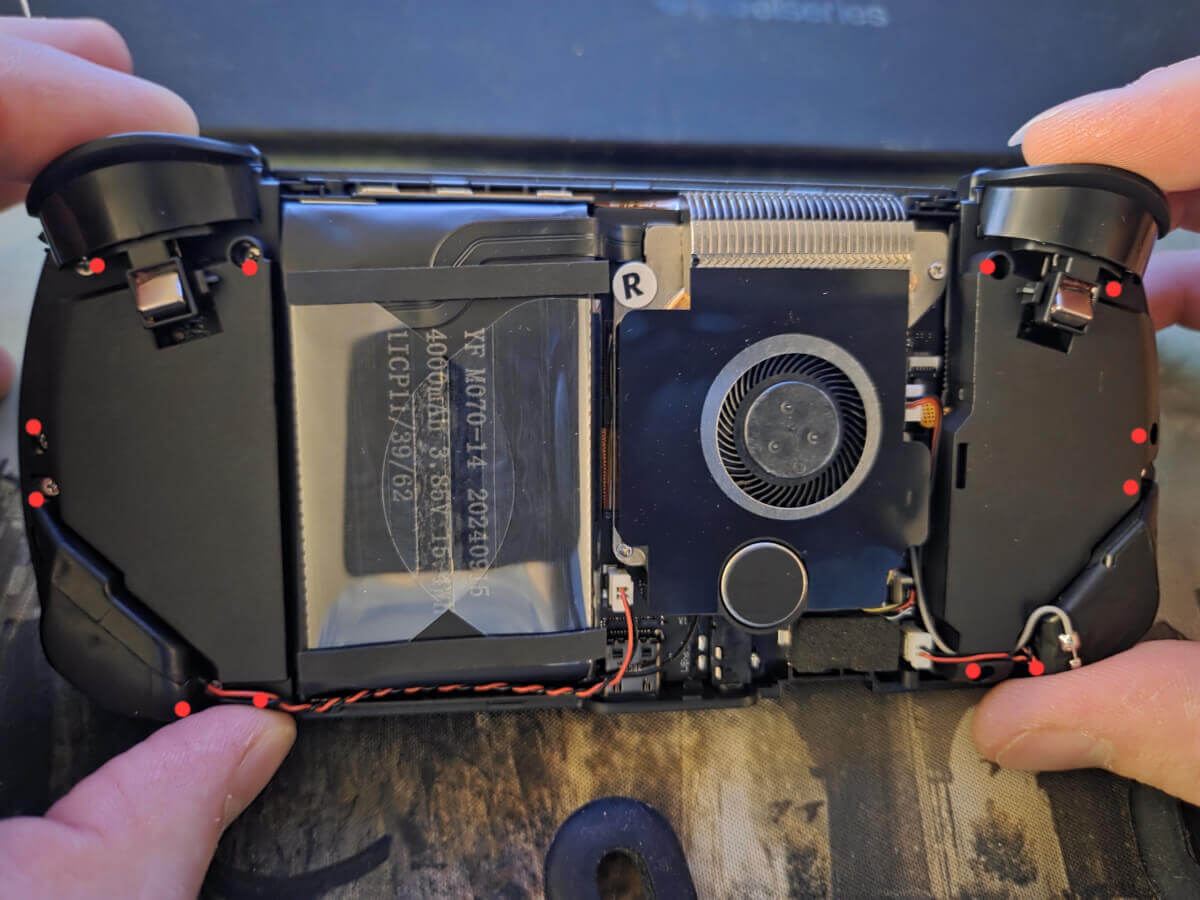
- On the left side (right from the front), remove and sort the screws dotted in the pic below. You can leave the trigger in place if your screwdriver is thin enough to maneuver around it.
- Try to avoid the magnet on the trigger so screws don’t get stuck (use tweezers to hold the screw going out if needed).
- Remove the back piece and speaker to access the board.
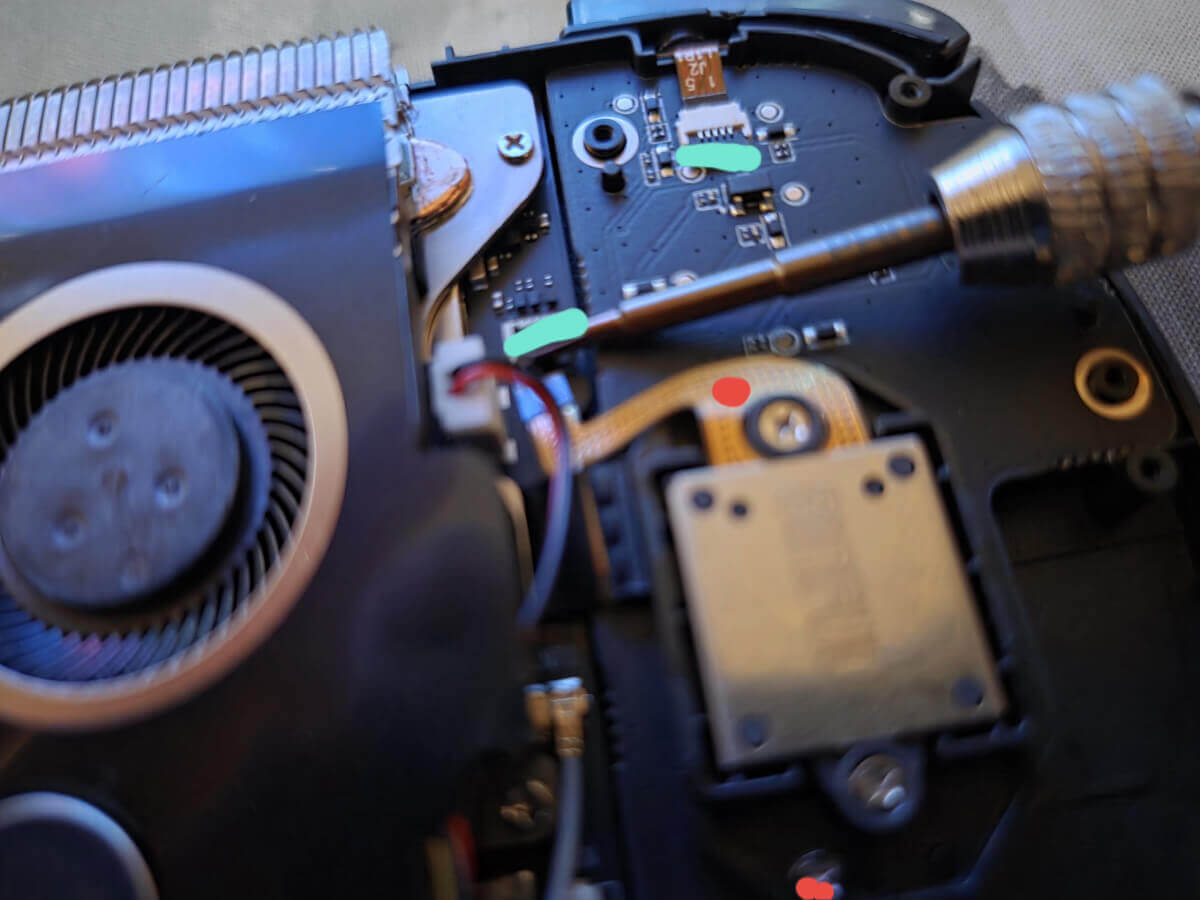
- Open the ribbon tab for the analog stick and unscrew the 2 screws keeping it down.
- Make sure the analog stick cap is removed before removing the entire analog stick assembly.
- Open the ribbon tab next to the battery (this) to free the smaller logic board (or leave it if you’re careful).
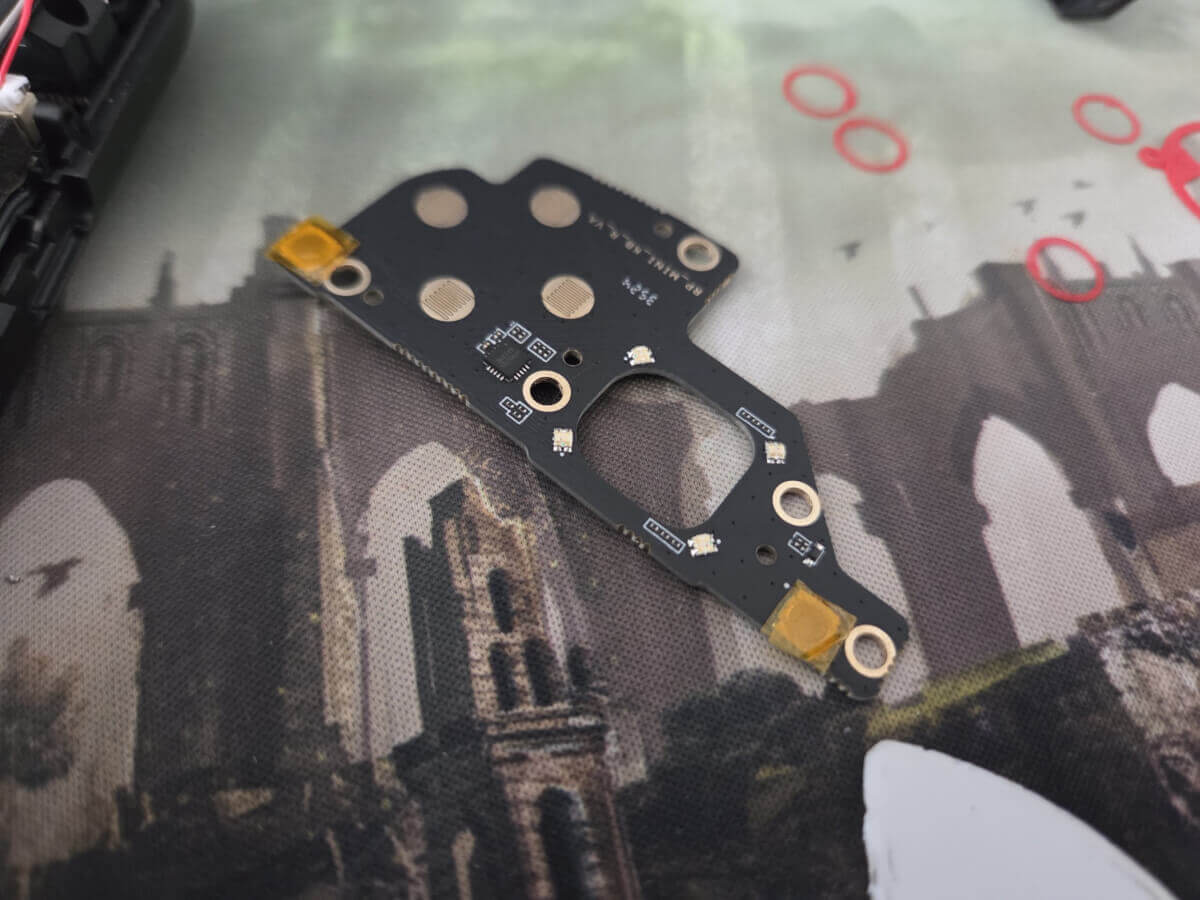
- Removing the board will give you access to your buttons.
For the right side, it’s basically the same procedure, and you can do both at once without too much confusion.
4: Install the Rings!
Installing the rings is as easy as taking off the buttons and slapping them on. Push them down so they sit flat on the seat of the button and reinstall. For the D-pad, you just need to drop in your TPU piece directly into the shell.
While you’re in here, might as well throw on 2 layers of tape on your L&R buttons, Start/Select, and Home/Back buttons to turn that Click! into a click.
Now to test it. Here is where you run into the most difficult part of the mod. Not because it’s particularly hard to do, but it requires making any needed micro adjustments and partially assembling the device to make sure the fitment feels alright. In my re-assembly, I had buttons get stuck, or the rings moved slightly, and the button height changed.
When partially reassembling, I recommend screwing in the analog stick to secure the board, and then try the buttons. Repeat for both sides before full reassembly. You might also want to power on your RP Mini and test the buttons with the gamepad tester.
4: Reassembly
Reassembly is simple and just requires you to follow the steps in reverse. Here is the order of reassembly: Buttons -> Boards -> Trigger assembly -> Speakers -> Back plate. Since we sorted all our screws, we shouldn’t have a problem knowing which screws go where.
Results and Conclusion
It works! I have a significant reduction in the amount of noise my console makes. However, the face buttons are very touchy. That reduction in travel made the buttons easier to press and sensitive to the point where the weight of my thumb alone causes an input. This MIGHT be because of the print or something related to my installation, but I should report it here anyway.
Overall, I love this mod and will get used to the touchiness of the buttons. It’s super quiet and I can play Kirby Super Star in nice acoustic zen.
What did you think of this article? Let us know in the comments below, and chat with us in our Discord!
This page may contain affiliate links, by purchasing something through a link, Retro Handhelds may earn a small commission on the sale at no additional cost to you.
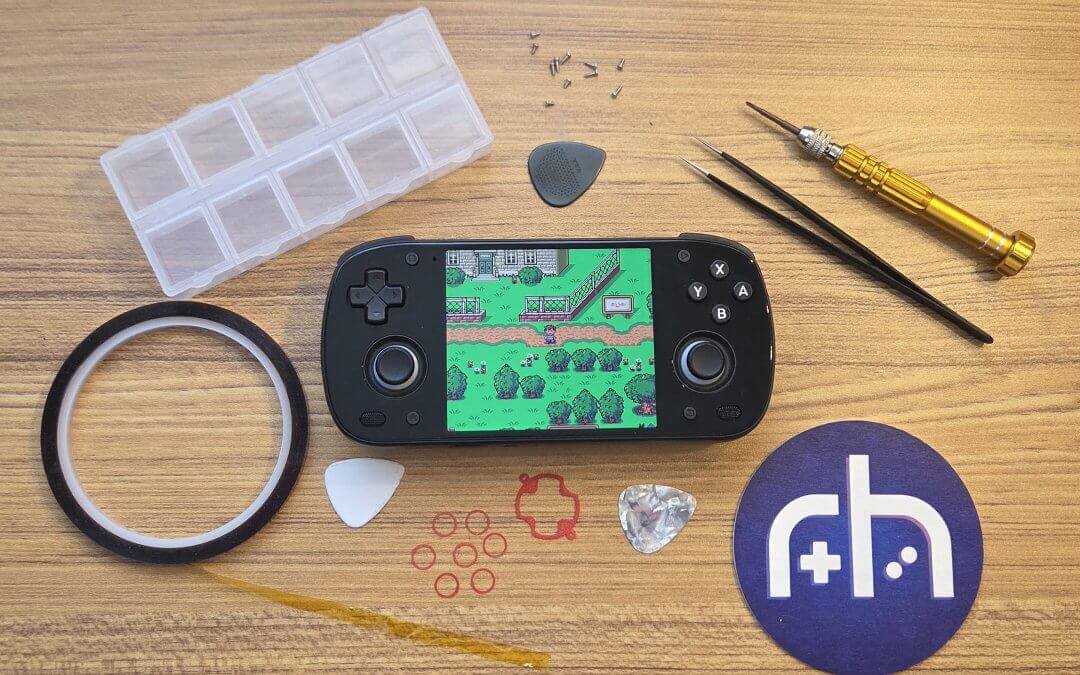
Awesome project you inspired me to do mine sir. Lots of fun thank you!
I can’t get the link to Etsy to work. How can I buy these pre printed?
I updated the Etsy link for ya!