If you were fortunate enough to be around to experience arcades back in their 80s and 90s glory days, you’ll know that light gun games were an essential part of any respectable arcade’s collection. The zapper was part of what Nintendo said elevated the NES beyond that of another video game console and made it an entertainment center.
Duck Hunt, Hogan’s Alley, and Gumshoe are some of my earliest and fondest NES memories. As I got older classics like Mad Dog McCree, Virtua Cop, Point Blank, Time Crisis, and countless more continued to pop up in arcades and at home. This is to say, light gun games used to be huge.
A considerable portion of my gaming childhood was spent aiming down the sights of plastic guns. Sadly, the Columbine tragedy combined with the move away from CRT displays meant that light guns weren’t just a questionable marketing move to make at the time, but one that would actually alienate early adopters of new technology. Simply put, they wouldn’t work anymore on new TVs.

Cut to 25 or so years later, and we’ve finally cracked the flat-screen light gun quagmire! The only problem is that a pair of Sinden light guns will set you back around $200.
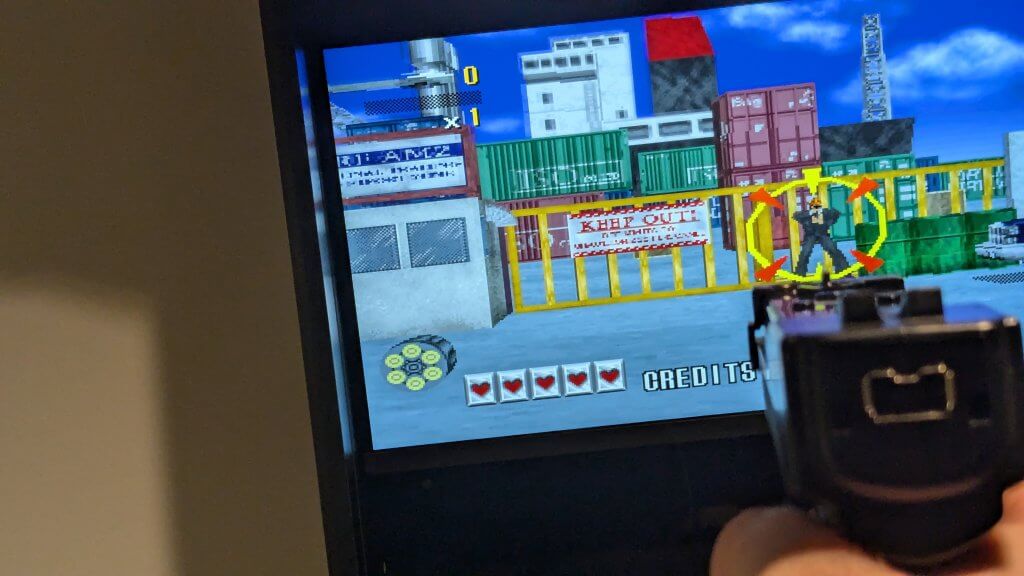
But what if there were a way to enjoy the shooters of yesteryear (or even some more modern offerings) without having to break the bank on the tech you’re unsure will get used? You’re in luck because, with a few old parts, a few new ones, some know-how, and a bit of fiddling, you can take your emulation PC experience from Typing of the Dead to House of the Dead.
All credit for this tutorial goes to the EmuElec community and user MistPhoenix on GitHub. The original article can be found on the EmuElec Wiki here.
What You’ll Need
This should work on any standard PC setup that’s capable of emulating the desired games on a Batocera/Emuelec build.
- Mayflash W010 Wireless Sensor Dolphinbar
- A Nintendo Wiimote (or 2): No nunchuck attachment is needed.
- A preconfigured way to control EmuElec/Batocera: Xbox Controller or keyboard
- Optional: USB-Powered Hub: Recommended, especially if using controllers or multiple Dolphinbars.
- Optional: Keyboard: Specifically for MAME games. A USB keyboard was used, but a Bluetooth one should also work.
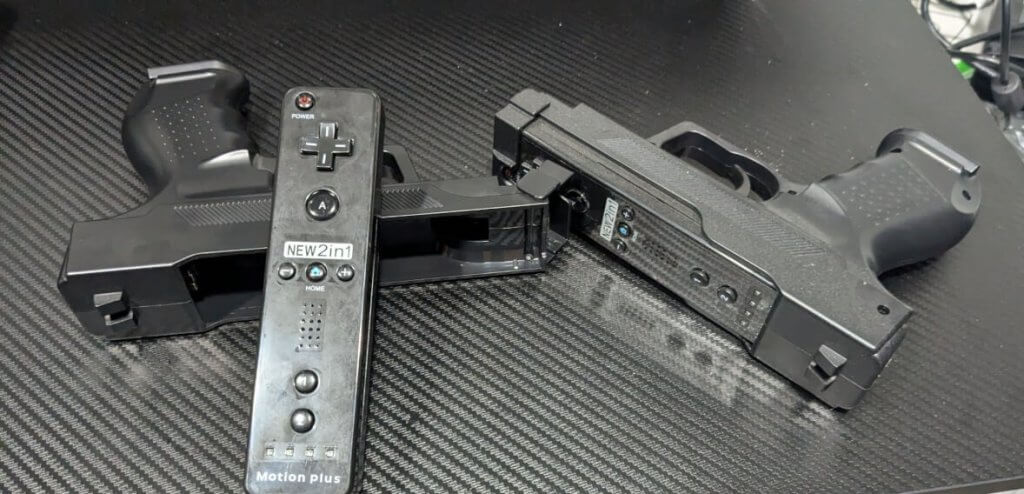
- Optional: Gun cases: Cases like those pictured can be found from various sellers on Ebay
Dolphinbar and Wiimote Configuration (Syncing)
- Set DolphinBar to MODE 2:
- Press the MODE button on the DolphinBar to switch it to MODE 2. The LED indicator on the DolphinBar should show that it is in MODE 2.
- Sync the DolphinBar with the Wiimote:
- On the DolphinBar, press the SYNC button. The LED light will start flashing, indicating it is ready to sync.
- On your Wiimote, open the battery compartment and press the red SYNC button. The lights on the Wiimote will start flashing.
- Wait for the DolphinBar and Wiimote to sync. Once successful, the flashing lights will stop, and one of the LED lights on the Wiimote will remain lit.
- Configure the Wiimote:
- On your Wiimote, press the HOME button. Ensure the LEDs on the Wiimote show lights 1 and 4 lit up, indicating it is in the correct mode for use as a lightgun.
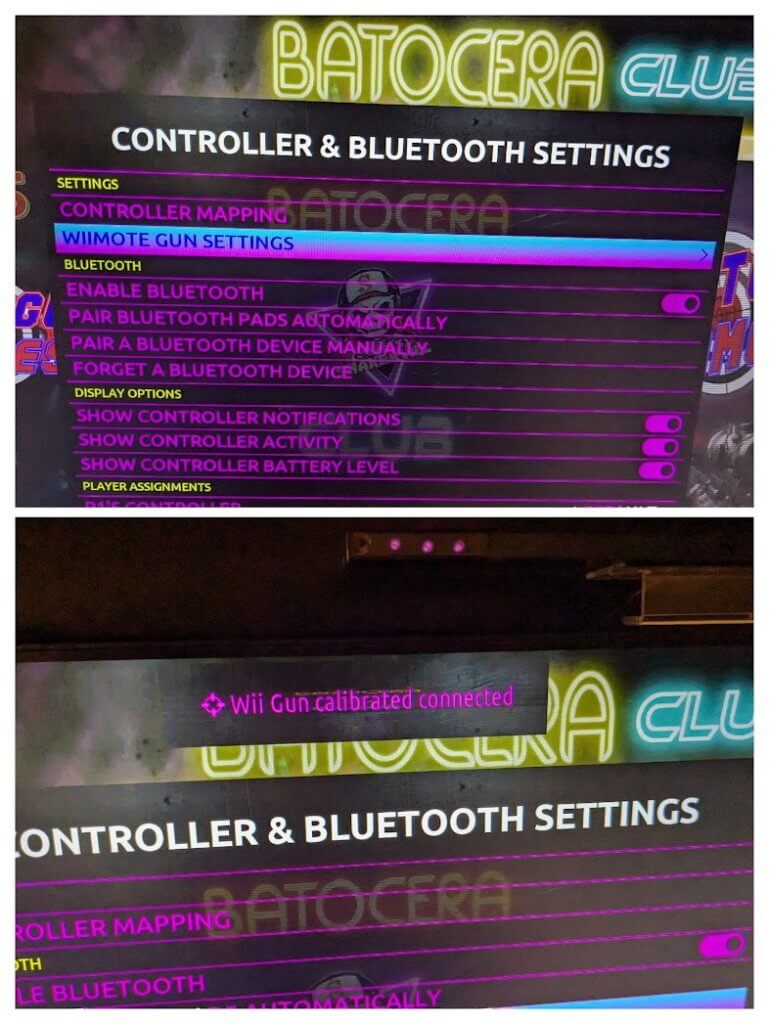
- You should see confirmation when using Batocera that it has recognized a Wiimote and applied the needed configurations for you

Configuring a Wiimote in Batocera/ES
- Enter Controller Settings:
- On your previously configured game controller, press the
STARTbutton to open the main menu. - Navigate to
Controller Settingsand selectConfigure Input.
- On your previously configured game controller, press the
- Initiate Wiimote Detection:
- On your Wiimote, press and hold the
HOMEbutton. EmulationStation should detect the Wiimote as a “Keyboard”.
- On your Wiimote, press and hold the
- Configure D-Pad:
- When prompted to configure the input, set the D-PAD Up, Down, Left, and Right to the corresponding D-PAD buttons on the Wiimote.
- Configure START and SELECT Buttons:
- Set the
STARTbutton to the+/Plusbutton on the Wiimote. - Set the
SELECTbutton to the-/Minusbutton on the Wiimote.
- Set the
- Configure A Button:
- Set the
A BUTTONto theHOMEbutton on the Wiimote.
- Set the
- Skip Unused Buttons:
- For the remaining button configurations that you do not want to set, hold down the
HOMEbutton on the Wiimote to skip them (they will be marked as “Not Defined”).
- For the remaining button configurations that you do not want to set, hold down the
- Set HOTKEY ENABLE:
- Set the
HOTKEY ENABLEto the-/Minusbutton on the Wiimote (this can be the same as the SELECT button).
- Set the
- Save Configuration:
- On your game controller, press the
Abutton onOKto finish configuring your Wiimote. EmulationStation will save the new configuration.
- On your game controller, press the
Adjust Configuration in Retroarch
If you want to further customize the Wiimote for specific games or emulators, you can adjust the configuration in Retroarch:
- Launch Retroarch:
- From EmulationStation, press
SELECT>Start RetroarchorSTART>Quit>Start Retroarch.
- From EmulationStation, press
- Navigate to Input Settings:
- In Retroarch, go to
Settings>Input.
- In Retroarch, go to
- Configure Port Controls:
- Select the port you want to configure (e.g., Port 1 Controls).
- Set
Device TypetoRetropad. - Set
Device Indexto your Wiimote (it may show as “Keyboard” or similar).
- Configure Gun Settings:
- Scroll down to the
Gunsection and map the Wiimote buttons to the corresponding gun functions:Gun Trigger= Wiimote B button (Mouse 1)Gun Aux A= Wiimote A button (Mouse 2)Gun Start= Wiimote + button (Key: enter)Gun Select= Wiimote – button (Key: escape)Gun Up, Down, Left, Right= Wiimote D-PAD buttons (Key: up, down, left, right)
- Scroll down to the
- Save Configuration:
- Scroll up and select
Save Controller Profileto save the configuration.
- Scroll up and select
- Reboot EmulationStation:
- Return to the Retroarch main menu and select
Quit Retroarchto reboot EmulationStation.
- Return to the Retroarch main menu and select
Console-Specific Configurations
There are some one-time settings that must be made for console emulation. After that, you should be good to go for playing the light gun games on each system.
PlayStation – PCSX ReARMed
- Open RetroArch Menu in-game:
- While in a PlayStation game, press
L3andR3simultaneously to open the RetroArch menu.
- While in a PlayStation game, press
- Show Other Input Settings:
- Go to
Quick Menu>Options>Show other input settings = ON. - Close and reopen the menu to display the new settings.
- Go to
- Set GunCon Settings:
- Set
Emulated Mouse Sensitivityto either 0.50 or 1.00. - Set
Pad 1 TypetoGuncon. - Adjust
Guncon Adjust XandAdjust Yto 25 (adjust further if needed). - Adjust
Guncon Adjust Ratio XandRatio Yto 1.25 (adjust further if needed).
- Set
- Save Game Options:
- Scroll up and select
Save Game Options File.
- Scroll up and select
- Restart Game:
- Close out of the Quick Menu and restart the game to apply the new settings.
Dreamcast – Flycast
- Open RetroArch Menu in-game:
- While in a Dreamcast game, press
L3andR3simultaneously to open the RetroArch menu.
- While in a Dreamcast game, press
- Show Light Gun Settings:
- Go to
Quick Menu>Options>Show Light Gun Settings = ON. - Close and reopen the menu to display the new settings.
- Go to
- Set Gun Crosshair Display:
- Set
Gun Crosshair 1 Displayto your preferred color (White/Red/Green/Blue).
- Set
- Save Game Options:
- Scroll up and select
Save Game Options File.
- Scroll up and select
- Set Device Type:
- Go to
Quick Menu>Controls> select Port 1 or Port 2 Controls > setDevice TypetoLightgun.
- Go to
- Save Game Remap File:
- Back out and select
Save Game Remap File.
- Back out and select
- Restart Game:
- Close out of the Quick Menu and restart the game to apply the new settings.
NES – FCEUmm
- Open RetroArch Menu in-game:
- While in an NES game, press
L3andR3simultaneously to open the RetroArch menu.
- While in an NES game, press
- Set Zapper Mode:
- Go to
Quick Menu>Options>Zapper Mode = Touchscreen(orMousefor compatibility).
- Go to
- Save Game Options:
- Scroll up and select
Save Game Options File.
- Scroll up and select
- Set Device Type:
- Go to
Quick Menu>Controls> Port 2 Controls > setDevice TypetoZapper.
- Go to
- Save Game Remap File:
- Back out and select
Save Game Remap File.
- Back out and select
- Restart Game:
- Close out of the Quick Menu and restart the game to apply the new settings.
SNES – Snes9x
- Open RetroArch Menu in-game:
- While in an SNES game, press
L3andR3simultaneously to open the RetroArch menu.
- While in an SNES game, press
- Show Light Gun Settings:
- Go to
Quick Menu>Options>Show Light Gun Settings = ON. - Close and reopen the menu to display the new settings.
- Go to
- Set Light Gun Mode:
- Set
Light Gun ModetoTouchscreen(some games may needLight Gunmode).
- Set
- Optional Adjustments:
- Adjust
Super Scope CrosshairandSuper Scope Colorsettings if needed.
- Adjust
- Set Device Type:
- Go to
Quick Menu>Controls> Port 2 Controls > setDevice TypetoSuper Scope.
- Go to
- Save Game Remap File:
- Back out and select
Save Game Remap File.
- Back out and select
- Restart Game:
- Close out of the Quick Menu and restart the game to apply the new settings.

Get Shootin’ Tex
So there you have it. A budget-conscious light gun solution that will work on any modern television or monitor. This is a great way to try out a whole world of arcade light gun games. Getting the full experience as it was in the arcade back in the day.
You may have skimmed through the above steps and felt like this could be overwhelming, but I promise that it’s very straightforward and the great community of devs have made it as painless as possible. So what are you waiting for? Grab a friend and take aim.
What did you think of this article? Let us know in the comments below, and chat with us in our Discord!
This page may contain affiliate links, by purchasing something through a link, Retro Handhelds may earn a small commission on the sale at no additional cost to you.


2 Comments
Hi, do you know if there’ s a way to make the Dolphin bar works in Mode2 on Android devices, such Retroid Pocket 4?
On Windows, Mac and Linux Reatroarch + Dolphin bar on Mode2 works great because it can make the wiimote emulating a mouse, but it seems android is not able to recognise it.
Do you have any solutions?
Thanks.
You should try lichtnarre software