This post has been a long time coming. I pre-ordered the RGB20SX back when it was first announced and managed to spend a little bit of time with it. Since then, there’s been an onslaught of new devices that have held me back from talking about it more.
Before you run away, no this isn’t one of my long-winded reviews. That will probably come later. Instead, I wanted to talk about some of my impressions and where I currently stand with this handheld. If you want to get a better idea of what to expect, be sure to check out Ban’s First Impressions post.

First things first, the RGB20SX is almost exactly what I had in mind for a 1:1 vertical handheld. Powkiddy really nailed the RGB30, but sometimes, I just prefer using vertical handhelds over anything else. Mostly, when I’m playing Game Boy games, and obviously, anything from the Pico-8 library.
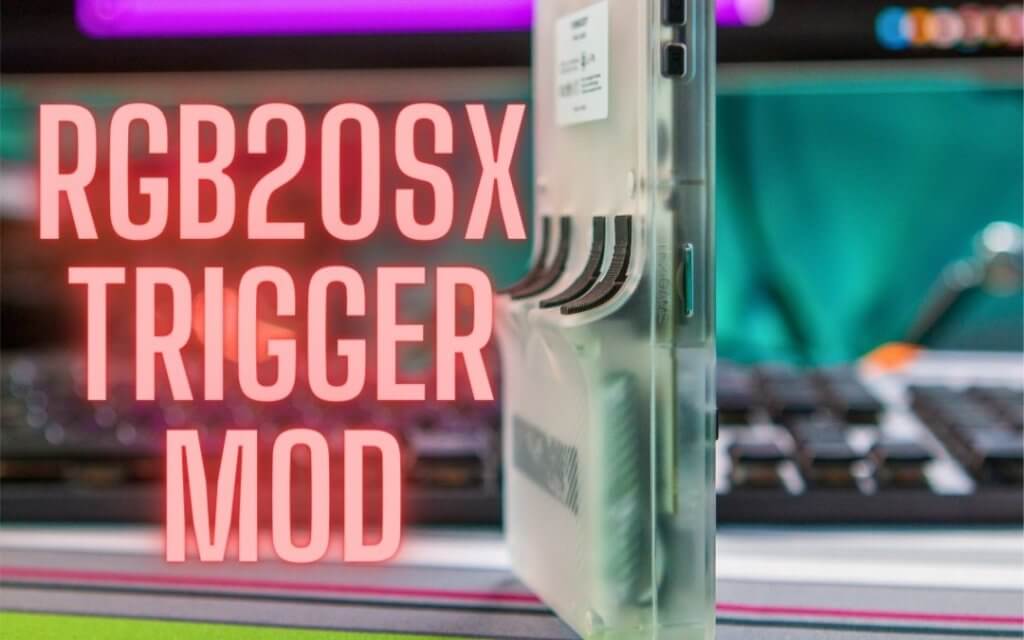
There is one thing that’s stopped me from using the RGB20SX more, and it’s the obnoxiously oversized triggers on the back. Even for someone with larger hands, it just felt like I was using a Fisher-Price toy with a nice screen.
3D Printing to the Rescue
I can’t remember whether it was Retro Tech Dad or someone else in the RH Discord, but a video was shared that fixed my exact issue. The video comes from Joe Bleeps on YouTube and is one that you should definitely check out. It details how to replace the built-in triggers with some 3D-printed ones. Not only does Joe provide a walkthrough video, but he also provides the necessary STL files, for free.
If you’re looking for some cliff notes, here are the steps to take to replace your own RGB20SX triggers:
- Place the RGB20SX with the screen facing down.
- Remove the six screws around the edges of the back panel.

- Gently separate the back panel from the front. Don’t try and remove it too quickly, as the battery cable is still attached.
- Once separated, unplug the battery cable from the main board.

- Remove each of the existing triggers. This is best done using a spudger, like the one that comes with iFixit repair kits.

- With the trigger upside down, and the label facing you, line up the cutouts with the bumps in the casing.

- Push them into place. You shouldn’t need to apply too much force.
- Repeat the steps for the remaining triggers.
- Rotate the triggers so that they go through the opening.
- Reattach the battery cable to the board.

After you’ve reattached the battery cable, I recommend leaving the backplate where it is and laying the front plate on top. This just makes sure that the triggers won’t wiggle out of place before you screw everything back together.
One more step I recommend taking is to check the triggers so that you can hear and feel them clicking. When I did this mod on my own RGB20SX, I put everything back together, including the screws, only to find that the R1 trigger was “stuck”. Thankfully, I just printed another trigger, which only took a few minutes.
Is the RGB20SX Better Now?

The end result is a vertical handheld that’s pretty much replaced everything else that comes in a similar form factor. The RG35XX SP is still my default handheld, but when I need to scratch that Game Boy or Pico-8 itch, the RGB20SX is here to save the day.
Although it’s yet another RK3566 handheld, that’s not necessarily a bad thing. It opens the door for better compatibility with custom firmware options. Plus, we already know what to expect when it comes to performance, so there’s not much of a need for tinkering just to get your games working.
While a lot of focus has been on the RG35XX SP, there’s a chance that not everyone wants a clamshell. Or maybe you’re just looking for a solid and reliable vertical handheld for certain games. Definitely give the RGB20SX a look, especially if you’ve already used the RGB30.
If you’re looking to get an RGB20SX for yourself, you can grab one using one of the links below:
What did you think of this article? Let us know in the comments below, and chat with us in our Discord!
This page may contain affiliate links, by purchasing something through a link, Retro Handhelds may earn a small commission on the sale at no additional cost to you.

