As soon as the Steam Deck was announced, I immediately jumped on the waiting list. At the time I wasn’t sure whether it was really going to change how I played games, as I’ve primarily been a console gamer. It’s done just that, and so much more. Now, I have more handhelds than I can shake a stick at, and have added the ROG Ally and Lenovo Legion Go to the mix. Not to mention a plethora of retro handhelds in all different shapes and sizes.
After Valve’s surprise announcement of the Steam Deck OLED, I knew that I wanted it, but I had just recently picked up the Legion Go. While both the Ally and LeGo are arguably more powerful than the Steam Deck, Windows sucks in this form factor. So pair my want to go back to the Steam Deck with the vastly superior SteamOS, and it was really only a matter of time.
Steam Deck OLED in box
I’m still kicking myself for not making a decision sooner, as I really wanted the Limited Edition OLED. Unfortunately, it just wasn’t in the cards, but I decided that enough was enough and ordered yet another gaming handheld. But, the whole setup process wasn’t nearly as seamless as the LCD Steam Deck. So, buckle in because we’re in for a bumpy ride.
Running into Something Unexpected
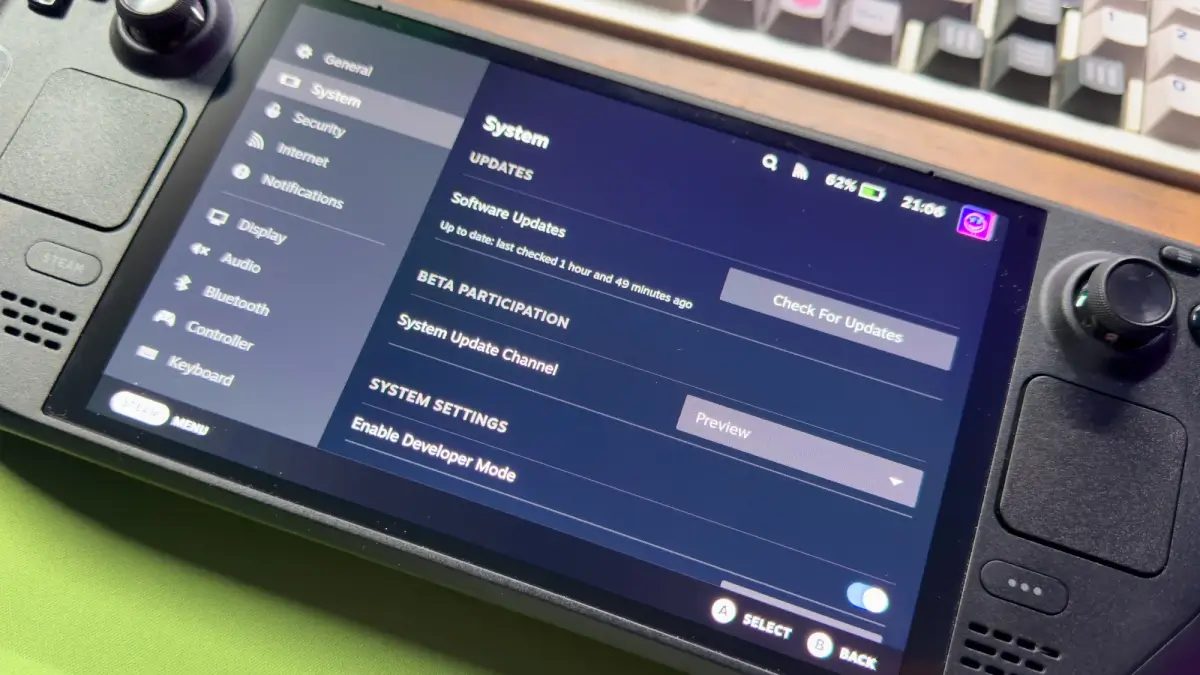
Steam Deck OLED Beta Participation
Because I am obsessed with technology, along with my day job, my home office is overflowing with various devices. Getting them all connected to my home Wi-Fi network is a breeze with only a few exceptions. What I didn’t expect was that the Steam Deck OLED would end up being one of the exceptions.
I took the OLED out of the box, plugged it in, and started going through the setup process. I entered my Wi-Fi password, tapped Connect, and was greeted with a prompt telling me to enter the password again, so I did. Then, I tried connecting to a guest network that I had set up, only to be told the same thing.
A quick Google search later, and I’m not the only one with this problem. Some have even gone so far as to get an RMA from Valve, for fear that there might be something wrong with the Wi-Fi antenna. I’m not willing to go down that route, because I’m far too impatient to wait for Valve to send me a replacement.
Thankfully, there is a workaround if you run into a similar issue when setting up your Steam Deck OLED. The only “requirements” are that you’ll need access to your router’s Ethernet jack, and either a USB-C hub or dock with an Ethernet port. Armed with the knowledge gained, I plugged my Steam Deck into Valve’s first-party dock, connected it to Ethernet, and I was underway.
This lets you get through the initial setup process, but we aren’t done just yet. Next, I switched over to the “Preview” software, as this seemed to work the best for most people. Because this is the most unstable version of SteamOS, you might first want to try enabling the 24-hour clock. For whatever reason, this also worked for some, but I can’t really figure out why or how it would.
Nevertheless, I waited until the Preview build was finished downloading and then promptly installed it. After it was installed, I waited until the Steam Deck restarted, before unplugging the Ethernet cable. Voila! Everything was working and I didn’t need to worry about RMAs or having my Steam Deck physically connected.
Always Remember to Think Ahead

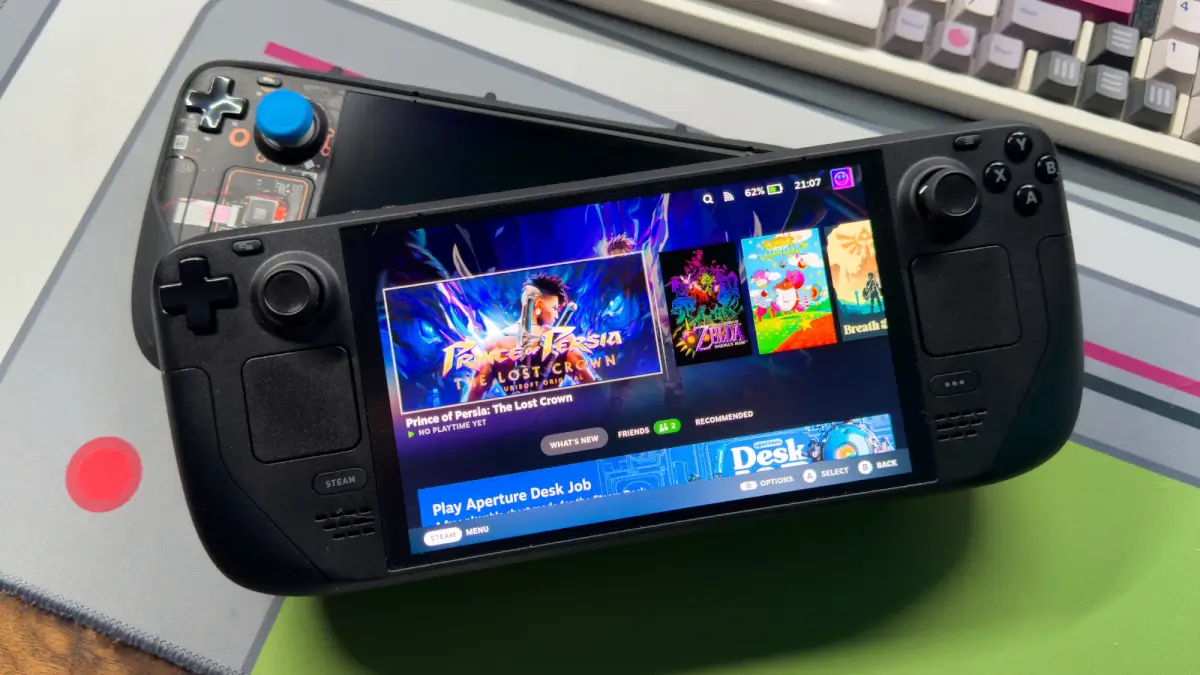
Steam Deck OLED with Steam Deck LCD
So I went through all of these hoops and jumped over to Desktop Mode to make sure everything was updated over there, too. Then I remembered something; I hadn’t upgraded the SSD yet.
Damnit.
For one reason or another, I just completely forgot about my unopened 2TB NVMe that has been sitting in the wings. I originally bought it for either my ROG Ally or Legion Go, but never got around to dealing with it. I’m actually thankful that I didn’t, because otherwise, I would’ve either had to buy another one just for the Steam Deck, or try and transplant it.
Speaking of transplanting SSDs, you might be wondering why I didn’t just take the one from my LCD and throw it in the OLED. A big reason why is that the LCD just sits on a stand most days, unless I need it to test something out or use it for a product review picture. It’s pretty much been relegated to a growing list of potential “yard sale” items. But, I might have another idea in mind for a future project.
Anyway, because life loves to get in the way of fun, my shiny new OLED sat on my desk for about a day or two. Then, I was finally tired of feeling guilty and went through the steps to upgrade the OLED with 2TB of storage. It really wasn’t a painful process, just be sure to follow Valve’s guidelines. Otherwise, you might end up in no man’s land and won’t know which way is up.
Another reason why this was a pain in my side was because of the Wi-Fi issue from before. In my mind I was thinking that it couldn’t happen again, but after installing SteamOS onto the new NVMe and booting up my OLED; nothing. So I went through all of the same steps again, before I was able to actually start downloading games and getting things like EmuDeck set up.
The moral of the story? Expect the unexpected, and you’ll never get frustrated. Or just go balls-to-the-wall like I did, and let your new handheld guilt you for a couple of days.
What did you think of this article? Let us know in the comments below, and chat with us in our Discord!
This page may contain affiliate links, by purchasing something through a link, Retro Handhelds may earn a small commission on the sale at no additional cost to you.

