“God, I love Magnets!” – Jesse Pinkman
Prepared by Joe
What’s good gamers? I bet you’re currently spamming “ASUS? more like A-SUS” on ASUS Ally X reviews or reasoning with the demons in your head over whether or not to buy the RG Cube. But if you’re like me, I play video games (And those other things). And what better place to play those than your Steam Deck OLED by Valve? (Who would RMA your Steam Deck even if it was just the vent smelling slightly too tart?)
Check it out right here
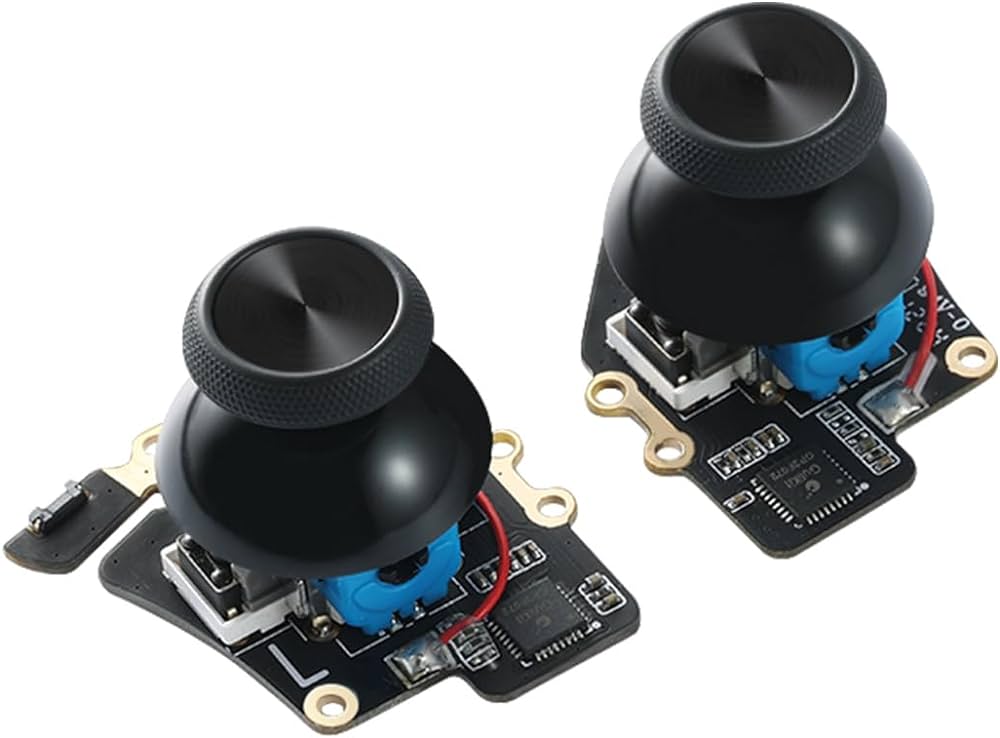
Shade aside, I love my SDOLED so much I wrote the worst review possible for it and re-read it whenever I feel sad 🙁. It is now the year of our Lord Gaben 2024 and we now have hall sticks for this fluff cooked by our best friends at Gulikit, who made a solderless and internally calibratable drop-in hall stick that you can… use… for… games. You read the title, and you clicked. Now, do you need these?
GuliKit Hall Effect JoySticks for Steam Deck OLED
You Don’t Need These
Skip this section if you don’t care about one nerd’s opinion, but I wanted to share my thoughts on these BEFORE you commit to a tutorial on their installation. Let this be a warning or the sage advice from someone who stripped screws and partially dented their shell: You don’t need these. Valve put a lot of R&D into fine-tuning good feeling and durable Alps-based analog stick assemblies that ALSO house the L&R bumpers.
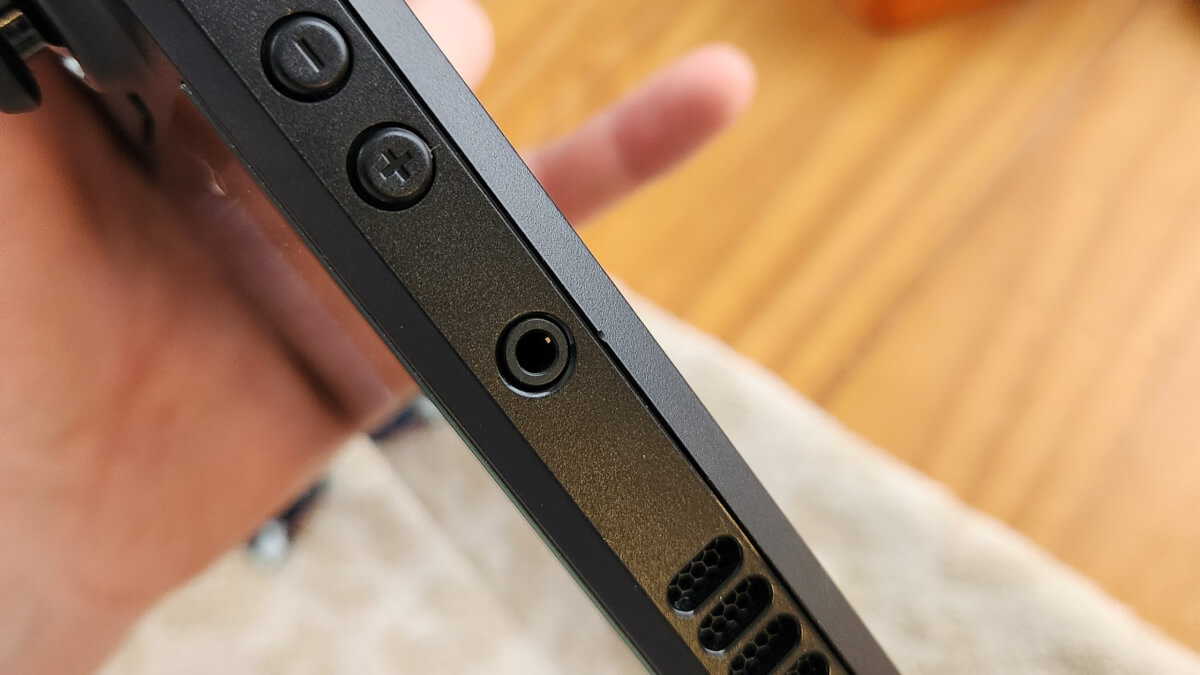
Well, those dents weren’t there before (they are small)
These assemblies have great QC and if you were even an early OLED adopter (me) you should NOT be experiencing drifting sticks unless you are using these things to emulate Super Smash Bros on it and play it for 6 hours a day, to that which I’d ask you to please take a shower. Also, every OLED out right now is still covered under the manufacturer’s warranty. A good one. So by all means, send it in and let an underpaid professional do it. I’d say you don’t need them even in cases to prevent drift in the future because this mod might do some notable damage to the outside of your deck, when you open it once, it is never quite the same.
Even after therapy.
Additionally, the sticks/grips that the kit comes with kind of suck. They don’t grip that well AT ALL and require soldering in order to switch those out with your gloriously orange ones from the limited edition model. BUT, if you are like me and buy them anyways out of pure curiosity and the need to prove to yourself you own your tech by mutilating it, here you go.
Installation
To prepare, you need:
- 10 – 30 minutes of time. (Patience, optional)
- A screwdriver with your favorite T6 screw bit (don’t tell the others so they don’t get jealous)
- Something to lay the face of your deck on (Your case will do, but in my case, I used the good kitchen towels while my fiance wasn’t looking)
- 2 Hall sticks (Duh)
- A guitar pick or pry tool (Notice how this doesn’t say ‘flathead screwdriver’)
- (Optional) Soldering iron. F*@# those caps
- (Optional) Extra screws. OEM screws strip extremely easily and it’s totally not your fault if you do strip them and you shouldn’t get harassed online for it. (sob.)
Step 1
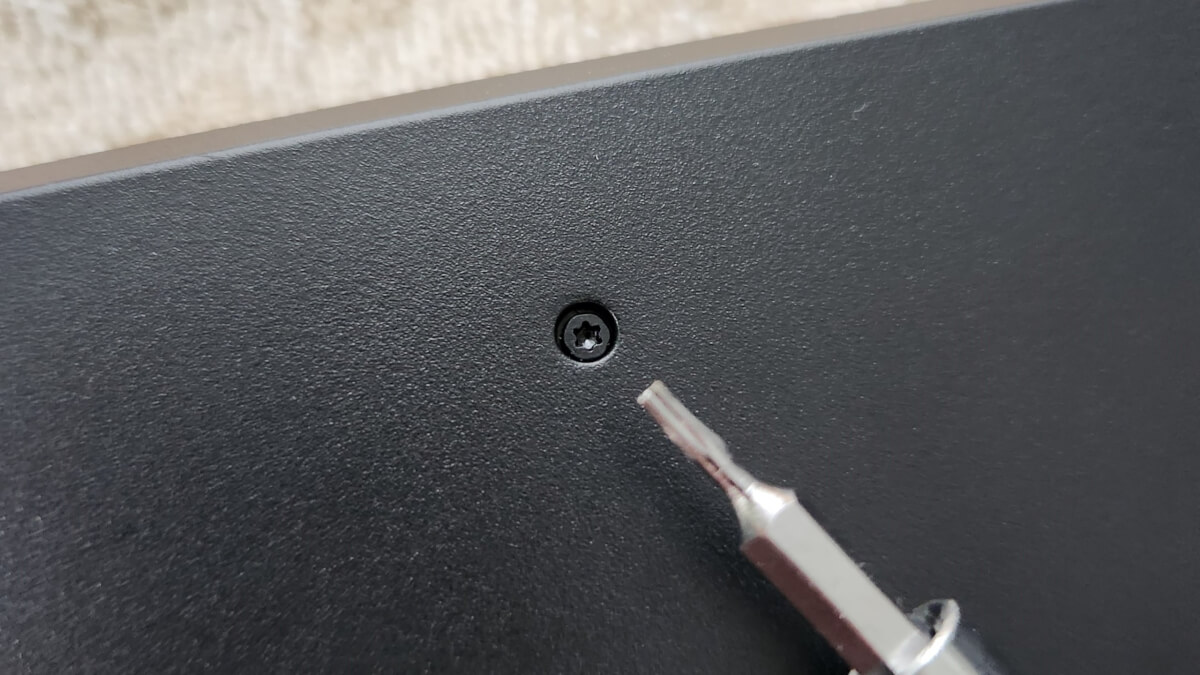
Do I need to diagram this?
Lay your deck down and unscrew every screw you see. And not just the sides, but the corners and middle too. They’re screws, and I unscrewed them like screws. I stripped them.
Step 2
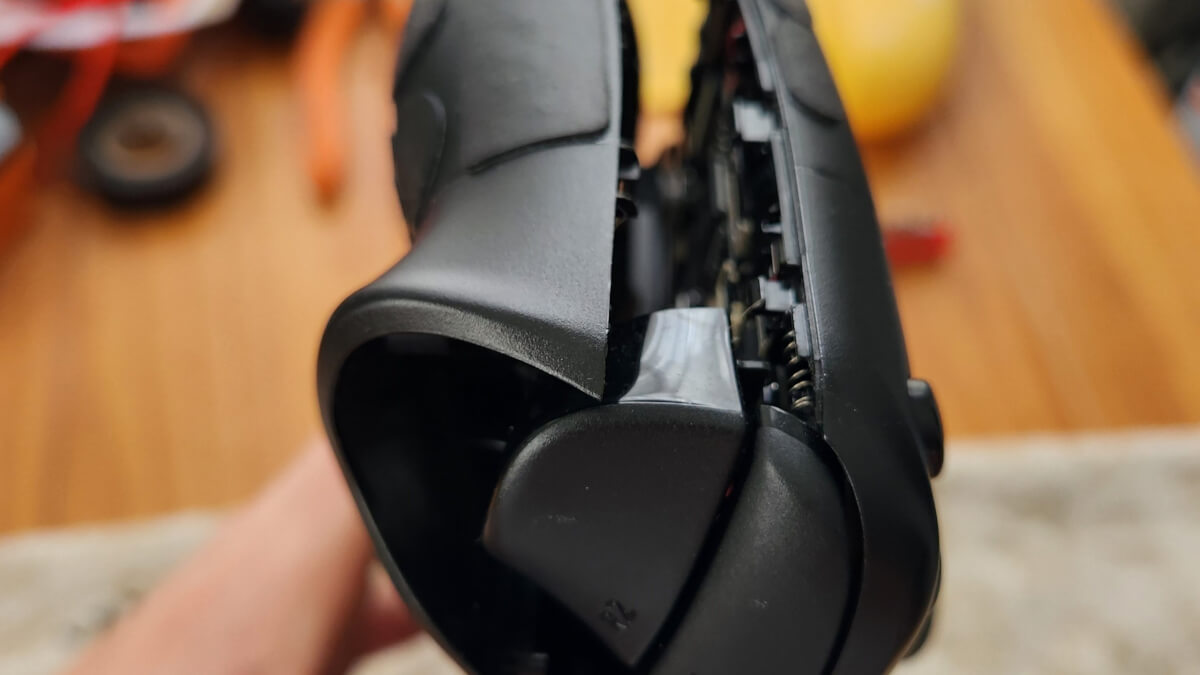
BIG. MEATY. CLAWS.
GENTLY slip a pry tool between the trigger and pull up the back (any side). I recommend popping up the top by the power button first and making your way around. Once an area is popped up, maybe save your spot with a card or something. In my case, I used my big meaty claws.
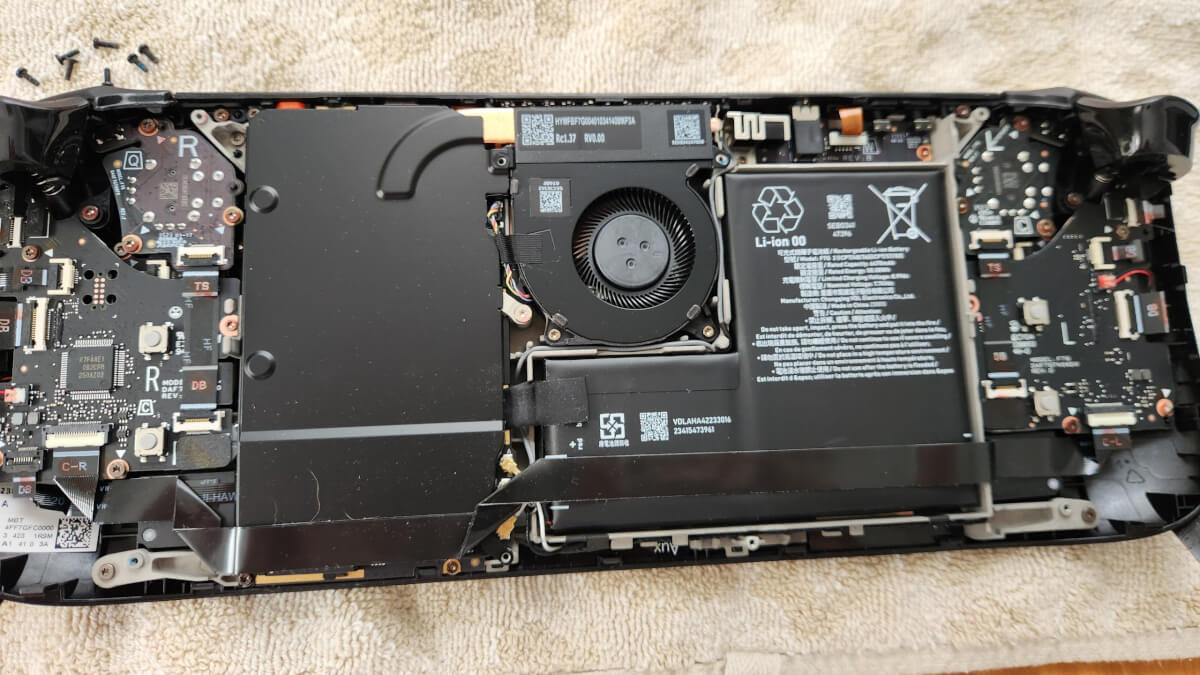
And there it is.
Once started, the rest is easy, but try not to dent up your deck in the process, which is even easier.
Step 3
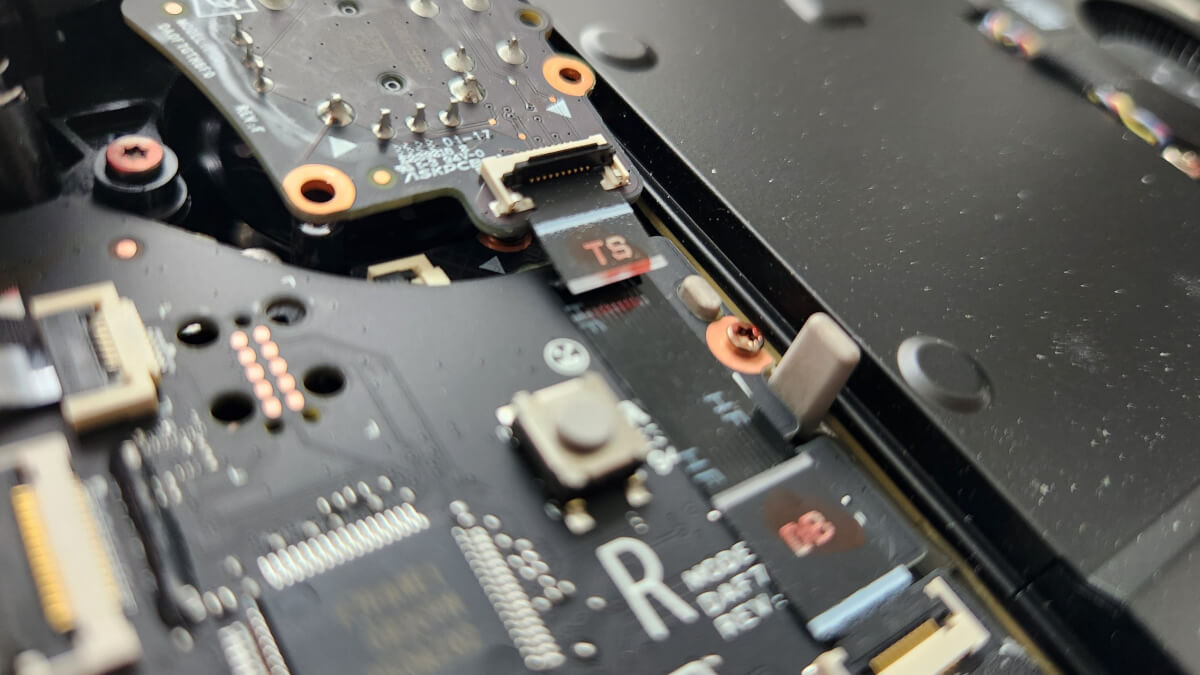
I forgot the ribbon cable
Once you take off the back, you’ll see 3 screws per analog stick unit with the same T6 bit. You know what must be done. These are a different size, so be sure to separate them from the back screws. Don’t forget about the ribbon cable.
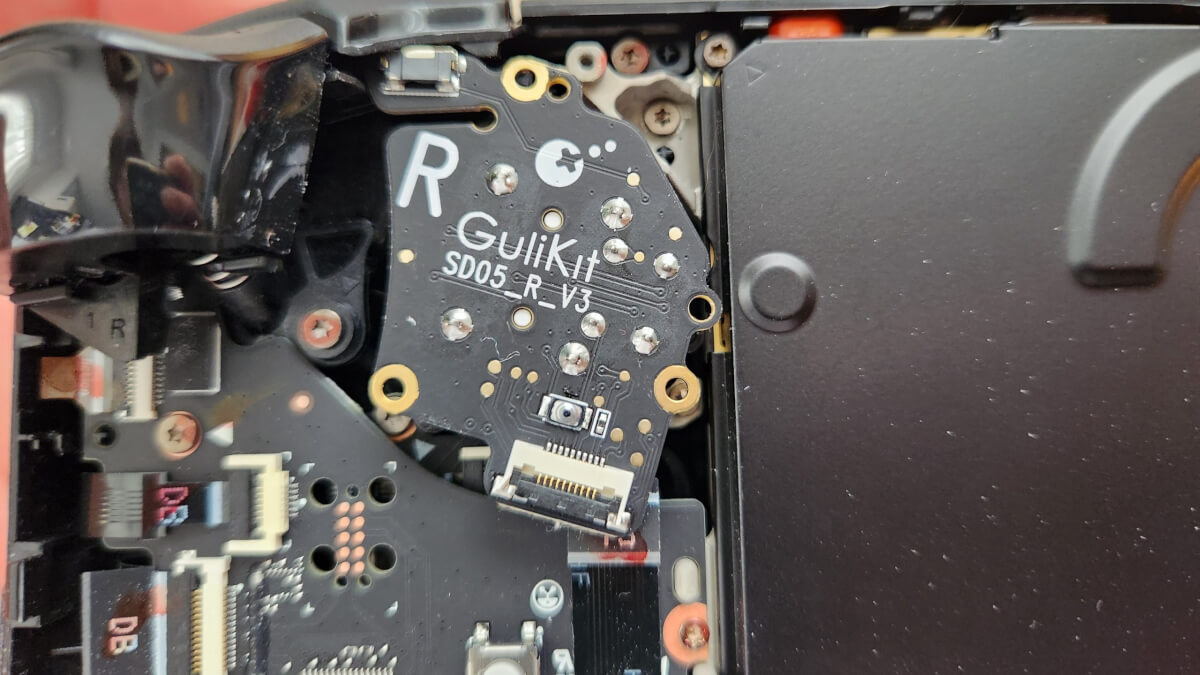
You’ll have to finagle it in, try
When lifting the sticks out and slipping the new ones in, you’ll have to finesse it around the right trigger. Make this easy for yourself by moving the analog stick as needed to get it out and install the new one. Don’t forget the ribbon cable.
Step 3.5
If you want to keep your superior and funky orange sticks, you’ll have to desolder one wire and solder it to the same spot on the GuliKit stick. It’s very easy and if you’re dumb enough to pry your SD open, you’re also dumb enough to half-hazardly melt metal and replace it on your new assembly.
Step 4
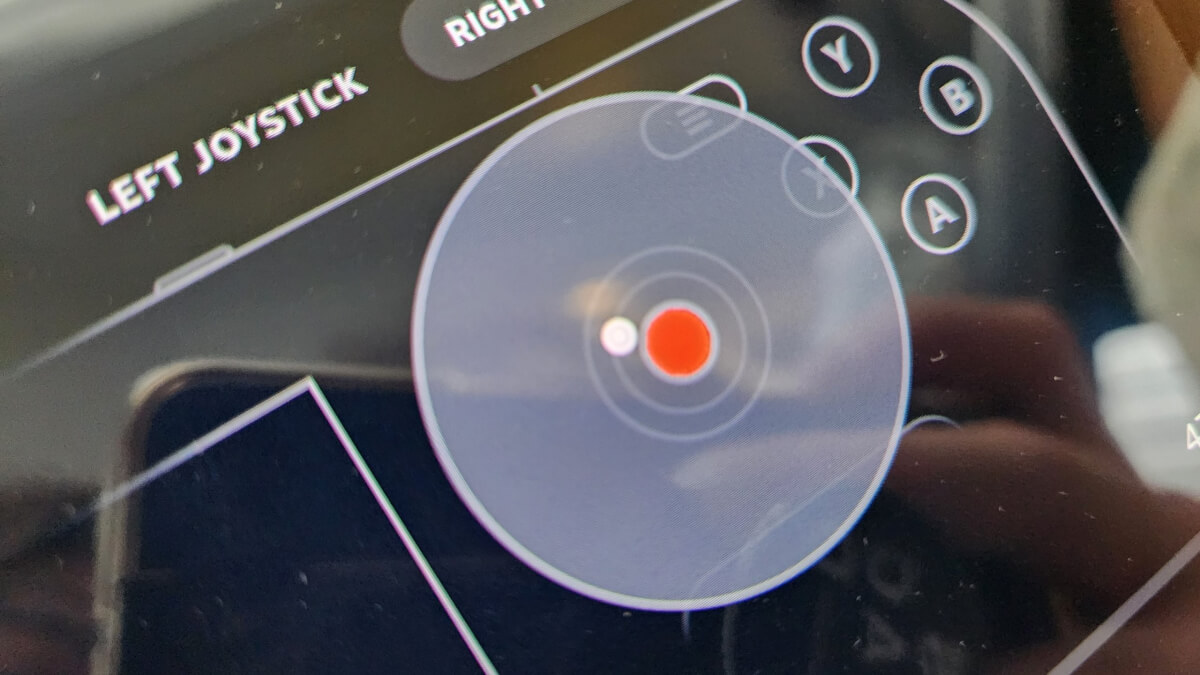
Womp womp.
DON’T CLOSE IT UP. AHHHH. Because stick calibration starts at the hardware level. This part sucks and the trick is to not lose your mind while doing it. With the back removed, go to your settings/controller/calibration and navigate to your first stick, and test the dead zone. You’ll notice that your brand new, un-driftable hall sticks are drifting.
Follow these steps:
- Locate the tiny button on the back of your Hall Stick assembly and press it. This resets your 0,0 point. Simple enough.

- While in the dead zone test screen, press the button and see if it goes to 0,0. If not…
- Hold your stick in a position counter to where your 0,0 point is showing, so if the dot is going to the top left, compensate by going down and right.

Good luck.
- Do this and do it right, twice.
Step 5
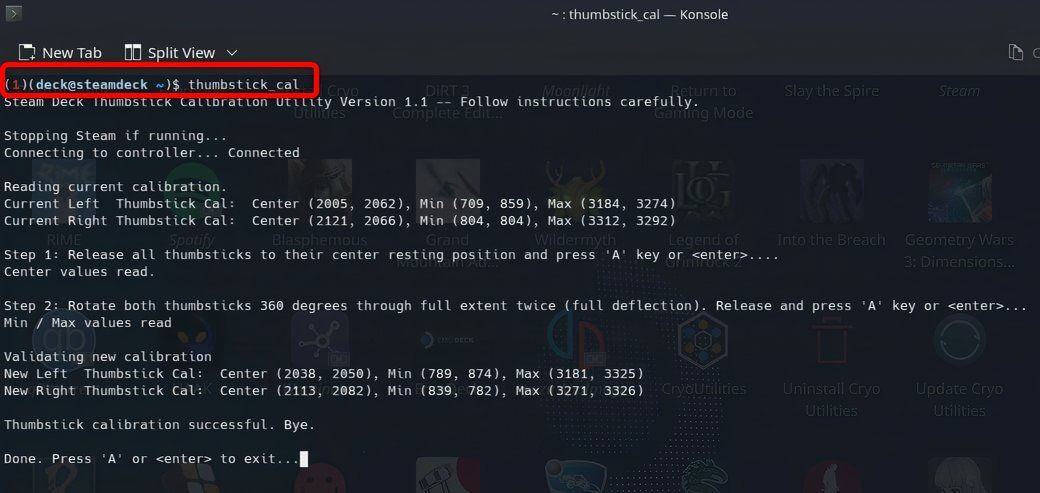
Image via: How-To Geek
Calibrate it again. Seriously, just do it. Go into Desktop Mode and open Konsole. Type “thumbstick_cal ” and follow the prompts. After this, your hall sticks will stop drifting out of the box.
Step 6
Test a game.
Step 7
Close your Steam Deck up. Back on, screws on. You probably already stopped reading this by now and that’s okay, I just want to wish you a good day and remind you that you are valued, and loved. By Valve. Even if you have drifting analog sticks, just give them a call and have them fix it for you. Or don’t. They’re just happy to have your business. And so are we at Retro Handhelds! Thank you for reading and share with a friend who’s having a bad day.
Step 8
Don’t buy the Ally X.
GuliKit Hall Effect JoySticks for Steam Deck OLED
What did you think of this article? Let us know in the comments below, and chat with us in our Discord!
This page may contain affiliate links, by purchasing something through a link, Retro Handhelds may earn a small commission on the sale at no additional cost to you.
I need a steam deck OLED battery
New original