Greetings friends and fellow enthusiasts!
This is Mikhailov from Team Retrogue, where we like retro games and the devices that bring them to us.
RetroArch became available on iOS devices through the Apple App Store in May of this year, making emulation without jailbreak a dream come true for those of us living in Apple’s walled garden.
In this written iteration of Mikhailov’s Guides, We will set up RetroArch on your iPhone or iPad and bring you from zero to an iOS emulation master.
Recommended Controllers
Depending on whether you are using an iPhone or iPad, there are plenty of telescopic controllers you can use. There are also different controllers for different iterations of iPhone or iPad.
Backbone One USB-C (iPhone 15 Only) or Lightning (iPhone 14 and Earlier): $80-$100
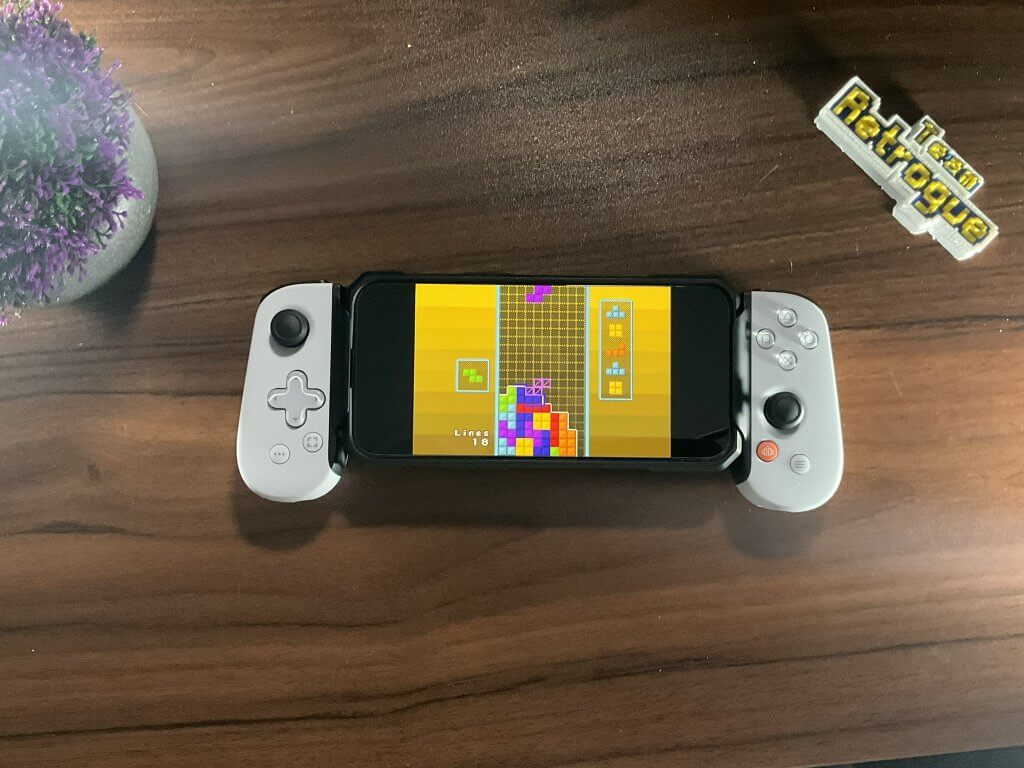
The Backbone One is the best direct connection controller you can get, but you pay for that privilege. You also need to be careful about which model iPhone you have. If you have an older iPhone, you will need to get the lightning port version. You also cannot use the older model Backbone Controllers with a case. However, on the iPhone 15, the latest USB-C models will allow you to use a case when connecting your Backbone. This is the only controller I use with my iPhone at time of writing.
[button link=”https://rh-go.link/Backbone1_Amzn” color=”red” newwindow=”yes”] Backbone One[/button]
Gamesir G8 (iPhone 15 Only): $56-80
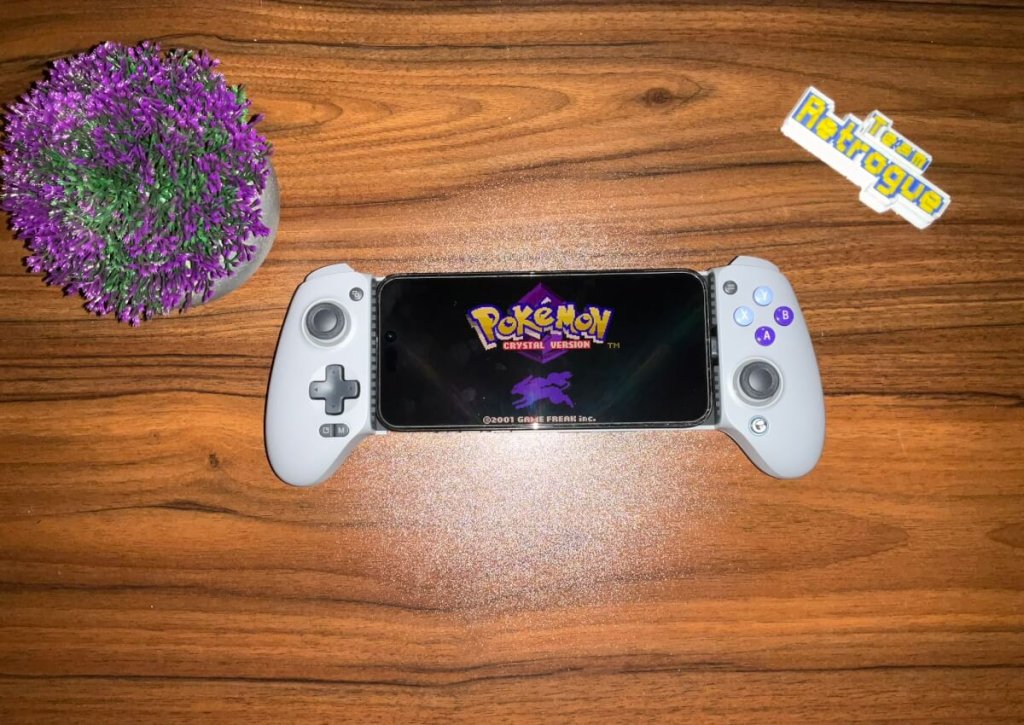
While this is one of the most comfortable USB-C direct controllers you can buy, It also only works on iPhone 15 and doesn’t accommodate an iPad.
[button link=”https://rh-go.link/GameSir-G8_AE” color=”red” newwindow=”yes”] GameSir Galileo G8[/button]
However, there is also a Bluetooth version called….
Gamesir G8+ (iPhone and iPad Mini): $63-80
The same comfort of the G8, but with a Bluetooth connection and a longer telescopic range. This controller will stretch out far enough to accommodate an iPad Mini. That means you have the ability to play retro games on your iPhone, and can then switch to a bigger 8″ screen if you have an iPad Mini.

[button link=”https://rh-go.link/GameSir-G8-Plus_AE” color=”red” newwindow=”yes”] GameSir Galileo G8 Plus[/button]
Razer Kishi Ultra (iPhone 15 and iPad Mini 6): $150
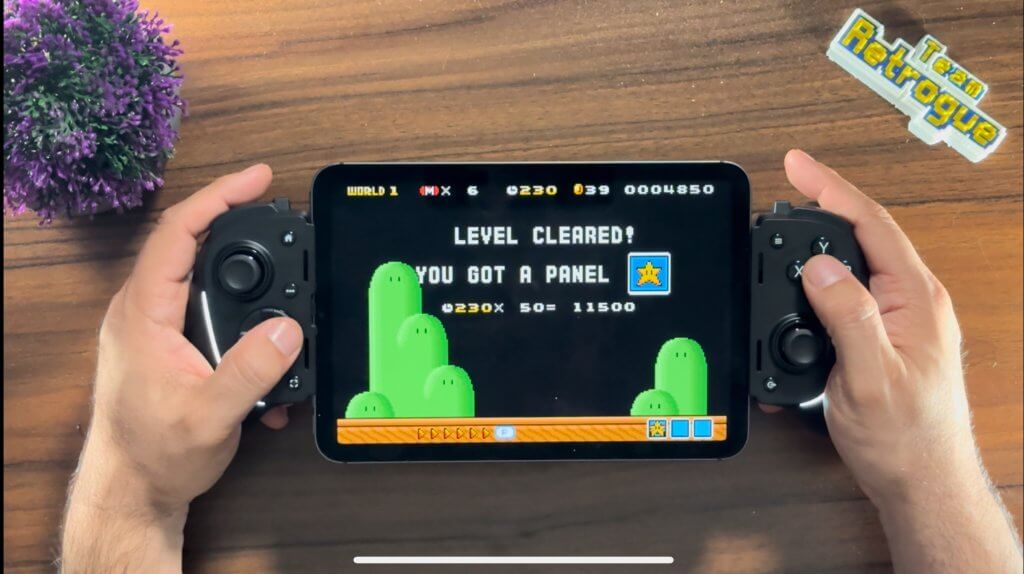
The Razer Kishi Ultra is for those with money to burn. It’s pricey, but it’s also a very good experience on iPad Mini. In addition to retro gaming, I use the Kishi Ultra for PS5 remote play. It makes the iPad Mini a Playstation Portal that….well….does the job better than the portal itself.
[button link=”https://rh-go.link/Kishi_Ultra” color=”red” newwindow=”yes”] Razer Kishi Ultra[/button]
ROM File Setup
I recommend using iCloud Drive for your ROM and BIOS files. If you have a Mac, it’s a simple drag-and-drop. If you are on Windows, the easiest way to upload your files is to log into the web client on icloud.com. Create two folders: one named “BIOS”, and one named “ROMS”. In the ROMS folder, you can create subfolders for each system you want to emulate to keep your ROM files better organized. Once your files are in iCloud drive, they will automatically be accessible on your iPhone or iPad.
Unfortunately, RetroArch does not recognize iCloud Drive as a ROM and BIOS source, so you will need to copy your files to the following directories using the iOS Files app:
- BIOS FILES: On My iPhone/iPad –> Documents –> RetroArch –> RetroArch –> System
- ROM FILES: On My iPhone/iPad –> Documents –> RetroArch –> RetroArch –> Roms (Create this folder or copy the ROMS folder we made earlier to this directory).
DISCLAIMER: Be sure you have enough room in both your iCloud Drive and your target iPhone/iPad. A 64GB device might not have enough storage space, however most ROM files are small.
DISCLAIMER #2: If you’re using the iCloud Drive web client to upload several files at once, you might get some errors and need to re-upload some files.
RetroArch Setup
Here is some great news: you don’t have to download any cores. All compatible cores are already part of the install.
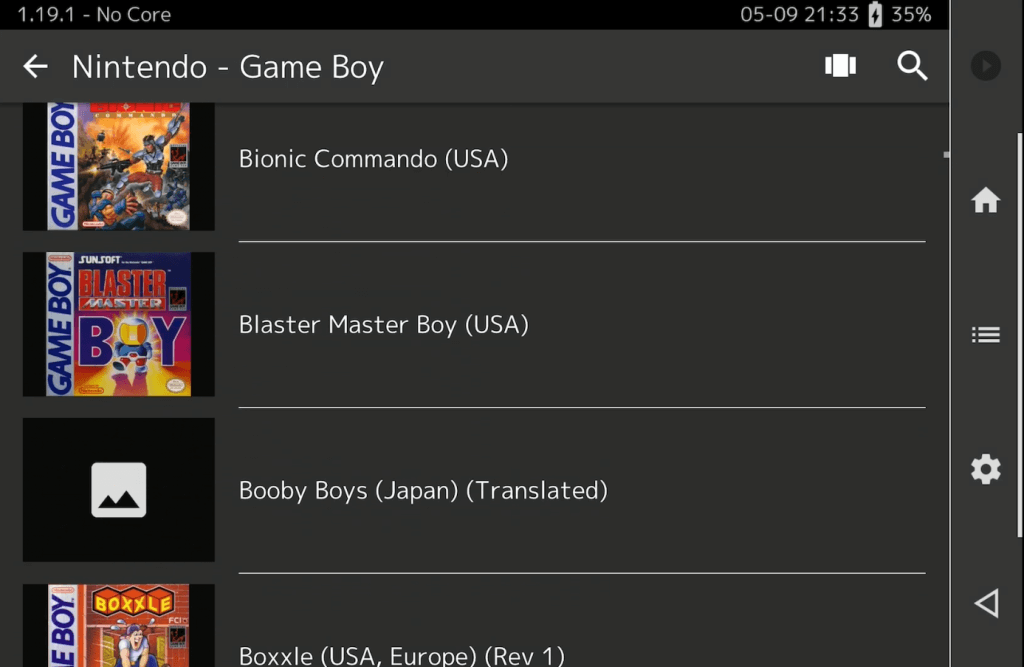
We simply need to create our playlists to be able to access our games:
- In the default RetroArch menu look, there is a hamburger menu on the right middle of the interface. Click that to enter the playlist menu.
- Then click “Import Content” and “Manual Scan”. Choose the directory where one of your systems is stored (GBA for example).
- Select “Scan this Directory” Then select the correct system name and choose your default emulator core.
- Under “File Extensions”, if you are using zip files for your ROM library, type the word “zip” to ensure RetroArch scans it.
- Click “Start Scan.”
- Repeat these steps for each console you want to add to RetroArch. You can now access the playlists and scroll through your ROM library for each system.
Misc. Settings
- In Audio, turn off “Respect Silent Mode”. This will allow game audio to play when your iOS device’s ringer is off.
- In Settings –> Menu Controls, turn on “Menu Swap OK and Cancel Buttons” if your attached controller has the “XBox Style” layout.
- In Settings –> User Interface –> On-Screen Overlay, turn “Hide Overlay when Controller is Connected” to “On”
- You may also want to go into Settings –> Input and set up hotkeys for your attached controller.
If you are interested in my other guides, please check out this tutorial on how to emulate the N64 Transfer Pak in RetroArch or my tutorial on how to set up Android handhelds.
What did you think of this article? Are you excited to see RetroArch on iOS devices? Do you use RetroArch on your iPhone or iPad? Let us know in the comments below, and chat with us in our Discord!
This page may contain affiliate links, by purchasing something through a link, Retro Handhelds may earn a small commission on the sale at no additional cost to you.

1 Comment
Thanks.
Is it possible to access ROMs and BIOS files on an external USB drive ?