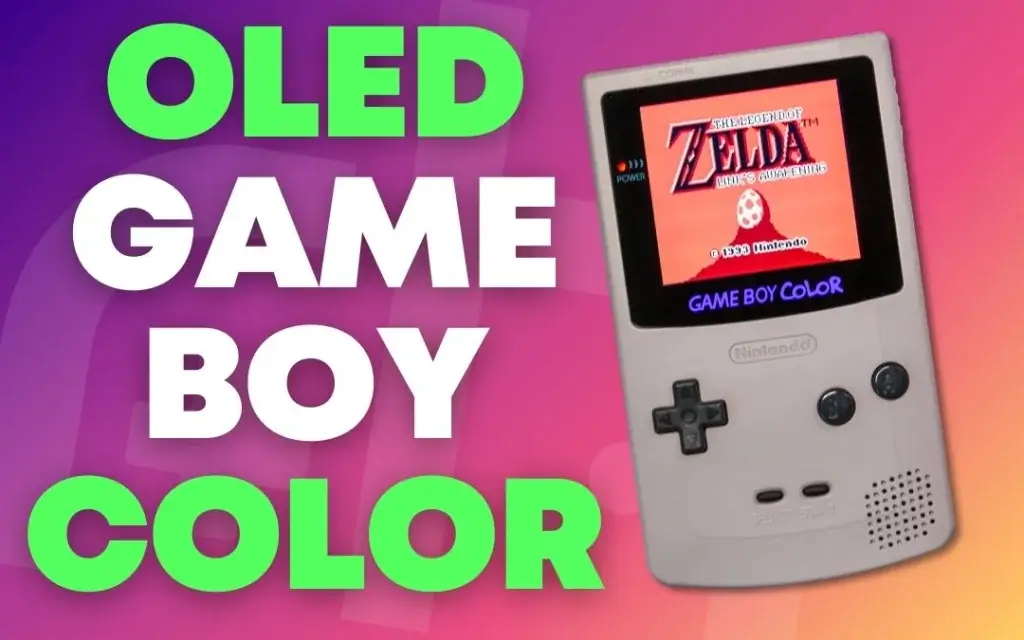
What are you supposed to do when you have a bunch of retro handhelds and don’t really find the need to pick up a new one? Admittedly, I’m eyeing up the GKD Pixel, even though I already have a Miyoo Mini v4. But that’s not the point. Instead, I set my sights on trying to perform my first mod on original hardware, with the Game Boy Color set in my sights.
This all started after hearing about a new OLED Game Boy Color display on the Retro Handhelds Podcast. It piqued my interest, but sadly, before I could finish checking out, the screen was already out of stock. After checking the AliExpress listings a few times a day for a week, I was finally able to snag one.

I’ve been looking at various hardware mods for the different OG consoles that I have, including the Game Boy Advance SP Unhinged shell from Boxy Pixel. One of the reasons why I haven’t just ordered one yet is because I don’t have the best of luck. Instead, I put more focus on the software side of things.

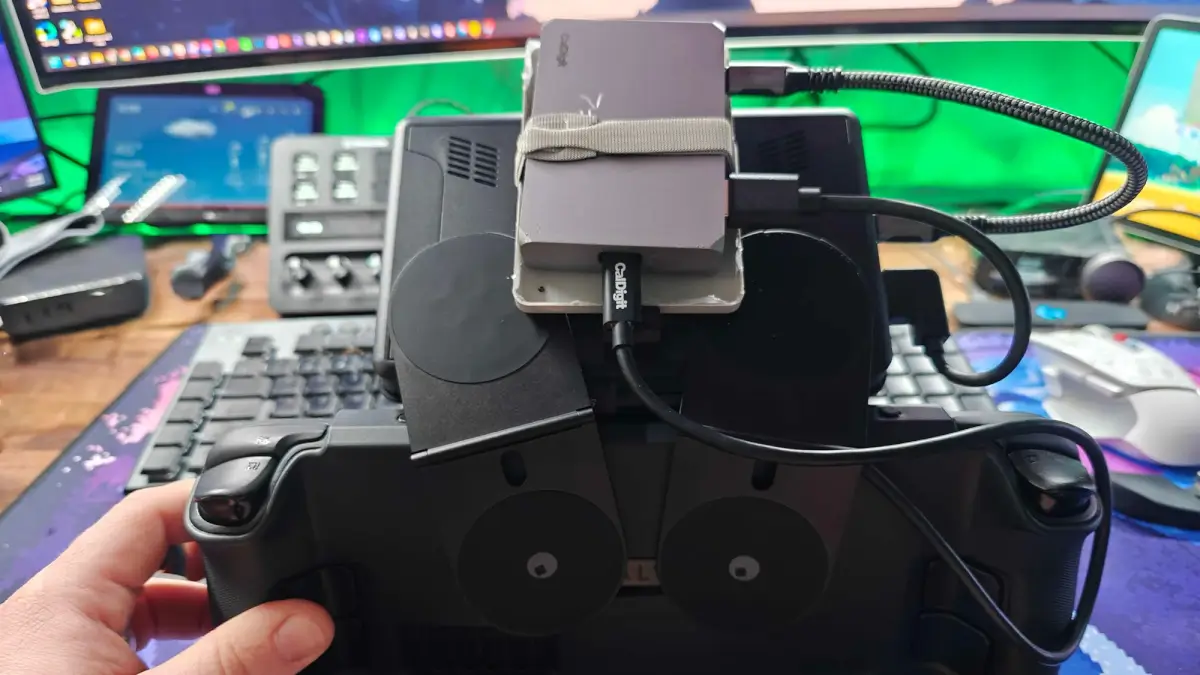
This includes the likes of installing Bazzite on a Lenovo Legion Go or trying to figure out a script to install everything I need on an Android device. If you need more evidence of why I might stick with software, just check out when I turned my Steam Deck into a Nintendo DS.
Anyway, I figured that the Game Boy Color display mod would be harmless enough. I already had the donor console, as I picked it up a few months ago and it’s just been sitting on a stand. The sad part is that I wasn’t able to actually get the shell that I wanted, and instead just went with the Gray one to match the rest of my ever-growing collection of Gray handhelds. Seriously though, I really want to redo this at some point with a Translucent Red or Purple shell.
Since the screen came from AliExpress, it took a few weeks to arrive and I was excited to jump in. Then, I ran into my first roadblock as there is a tiny bit of soldering involved. This is what I was afraid of because I don’t have very steady hands, not to mention that my meaty claws tend to get in the way of everything. You’ll also notice that I don’t have any pictures of the process, and that’s for a good reason. Frankly, I didn’t think I would be able to get everything working without completely screwing something up.
Disassembly Is Nostalgia-Inducing

I have to admit that it felt pretty weird to be taking apart a console that’s more than 25 years old, even if it is “just” a Game Boy Color. Seeing the “Nintendo 1998” on the PCB slapped me with all kinds of nostalgia because the GBC was my first handheld. I spent DAYS playing different Pokemon games and when I would get bored with those, I sunk more of my life into Tetris DX. But I digress.
Getting the motherboard removed was quite a bit easier than I expected, as there are only a few screws to take out and then you detach the ribbon cable. Since I transplanted this into the shell that came with the screen, I didn’t really need to do anything with the old shell. It’s now been reassembled and is just sitting on a stand, devoid of any life, for now at least.
Patience is Key

Before getting the PCB installed into the new shell, I had to first vanquish my arch-nemesis, the soldering iron. For those who end up performing this mod, it’s worth noting that there’s a little bit of extra solder already on the included PCB, so you don’t need to add more. I didn’t know this until it was mentioned in the video I was following along with.
After getting the wire in the right position, I soldered it to the board. Make sure you gently pull on the wire just to make sure that it’s actually connected. You don’t want to get further along in putting your Game Boy Color back together only to find that something isn’t working right. Thankfully, I didn’t run into any of those problems, so I marched on.
With everything else assembled and in place, there’s one more mountain to climb, as you need to solder the other end of the wire. This time around, however, it’s to the original PCB, so you’ll need to use some of your own solder. Feeling invincible, I soldered the wire, checked to make sure it wouldn’t pull, then taped the wire down as it is a bit long.
We Have Lift Off!

Then, I screwed everything back together, tossed in some batteries, and voila! I now have a Game Boy Color with an OLED display! I grabbed my original copy of Pokemon Blue, slotted it in, turned on the GBC, and am still stunned by how great it looks.
There are a few things that I want to point out if you’re interested in grabbing the OLED mod for yourself. First of which is that it’s not recommended to try and use the original shell, as you’ll need to modify it to fit the screen. On the bright side, I’m surprised at how polished the shell is that comes with the screen. It’s not perfect, but it’s a lot better than I expected it to be.
Lastly, I’m a big fan of the ability to customize how the screen works via the OSD menu. Not only can you make it look similar to the original screen, but it even lets you adjust the brightness on the fly. Besides actually having an OLED Game Boy Color, I think my favorite feature is being able to change the color of the logo.
Would I do this again? Absolutely. The only thing I would change would be to do everything in my power to get a different shell color. Like I said before, Grey is fine, but Translucent Red or Purple would be perfect.
[button link=”https://rh-go.link/Q10_AMOLED_GBC” color=”red” newwindow=”yes”] GBC OLED Screen Kit[/button]
What did you think of this article? Let us know in the comments below, and chat with us in our Discord!
This page may contain affiliate links, by purchasing something through a link, Retro Handhelds may earn a small commission on the sale at no additional cost to you.


1 Comment
Hello Retro Handheld friends, moving through the high-tech 21st century I’d like to suggest this materials that is sought after in the keyboard industry, that many retro gamers really long for (we retro gamers are all tired of the the same plastics like ABS and rubber buttons that crumble overtime). I’d also like to suggest another part that hopefully you will be first to market at:
– use what’s called PBT plastic with letterings etched by dye sublimation for the housing and buttons of say the Game Boy Color
– although I mentioned Game Boy Color, what I really meant was make a PBT plastic shell with PBT buttons with dye sublimation lettering in the form factor of the Game Boy Color (vertical) that’s compatible for the innards of the Game Boy SP so that it’ll have all mechanical button switches
– do source an OLED company to make a Game Boy SP sized OLED screen that’s better than HiSpeedo’s but don’t used touch for the menus like HiSpeedo, program the menus with easy to use and access button combinations (this is at least what one reviewer said as a negative for the HiSpeedo Game Boy mod).
Retro gamers, especially the Game Boy SP community which are still in the millions truly want these 3 things.
Thank you for listening and we look forward in buying these innovative Game Boy SP mod which can trickle to other retro gaming gadgets.
God bless you,
Alvin