
Last month, we covered the DSpico, the first fully open-source, Raspberry Pi Pico-powered DS flash cart that can be obtained on AliExpress for roughly five whole dollary-doos. Well, yours truly decided that was definitely cheap enough to warrant a dart throw, so I ordered one to give it a try! Spoiler: it’s pretty neat for something that costs less than a coffee.
Check out the video from our own Zu Reviews below on the DSpico as well!
Version Differences
If you’re okay with a little DIY, then you can get the version from AliExpress for between $5 and $10 dollars. This will come with the card itself, along with a transfer cable. You’ll have to source your own microSD card. For those looking for a pre-assembled model, you can find one for $20 on Phenom Mod, and for $30 on Laser Bear Industries, neither of which is affiliated with the LNH Team. Some models also come with a USB-C instead of Micro USB port.
As easy as the setup has been, I’d recommend taking a flier on the DIY version for less than $10.
What Makes the DSpico Special?

Everything for the DSpico is open-source, meaning that the LNH team that built everything for this device, from the PCB to the shell to the firmware, made it all available publicly. This allows for community support and improvements, like additional software and hardware updates, custom firmware, or additional functionalities (like game cheats, or infrared sensor functionality for games like Pokemon SoulSilver and HeartGold).

Running on the RP2040 microcontroller allows the DSpico to provide faster load and boot times for games, lower battery and power consumption, better game capability, and full speed gaming over your more common R4 flash carts. The DSpico also does not come with any “timebomb” features often found in other R4 flash carts (essentially a piece of code that make them stop working after a set date). These can often be be worked around by using alternative kernels or firmware, but it’s nice to not even worry about it.

It’s also faster to boot, load, and play than a device with custom firmware modifications like ndsbootstrap, which I was surprised by at first. I would’ve thought CFW on a DS system would be quicker, but sure enough, it took quite a bit longer to load my DSi XL with CFW and TwilightMenu++ than I remember, and certainly longer than Pico Launcher. Some of that software is simply outdated and can’t keep up with what is on offer with the DSpico, which will potentially be made even better by being open-source for further community customizations and improvements.

Another neat feature is that it has native DSi mode support, meaning that the DSpico supports running games in DSi mode on 2DS and 3DS systems, including native DSiWare support. This is notable because, until the DSpico, none of the other flash carts available were able to run DSi-enhanced games or DSiWare titles. Since those other carts ran the games in DS mode, it required manually patching DSi-enhanced ROMs to get them to work properly, and DSiWare games wouldn’t play at all. This is not an issue with the DSpico!
Flash Cart or Emulation

Worth noting, especially because we are in the Retro Handheld community, but using any flash cart like the DSpico will lose out against emulation in terms of QOL improvements we’ve gotten used to in the modern day. We’re talking about save states, rewind and fast-forward, upscaling and HD textures, and better hardware. It’s admittedly hard to go back to playing on an original DS or 3DS after playing on something like the AYN Thor.
However, consider that the DSpico allows you to play on original hardware without any potentially frustrating or damaging custom firmware modifications (it’s real easy though), and that you can use this one cartridge across multiple Nintendo DS, 2DS, and 3DS systems. Not only that, but the DSpico specifically allows you to play those DSi-enhanced and DSiWare games that you simply couldn’t before now, even if you were using a flash cart. For less than $10. Which is much less than an AYN Thor.
What’s in the Box?

In our tiny little cardboard box, we’ve got the branded device box with the user manual QR code, the flash cart itself, an assortment of shiny stickers to cover the cartridge, and the USB-A to Micro USB connector. There is no microSD card here, unless you happened to source one of the aforementioned pre-assembled versions.
microSD Card Setup

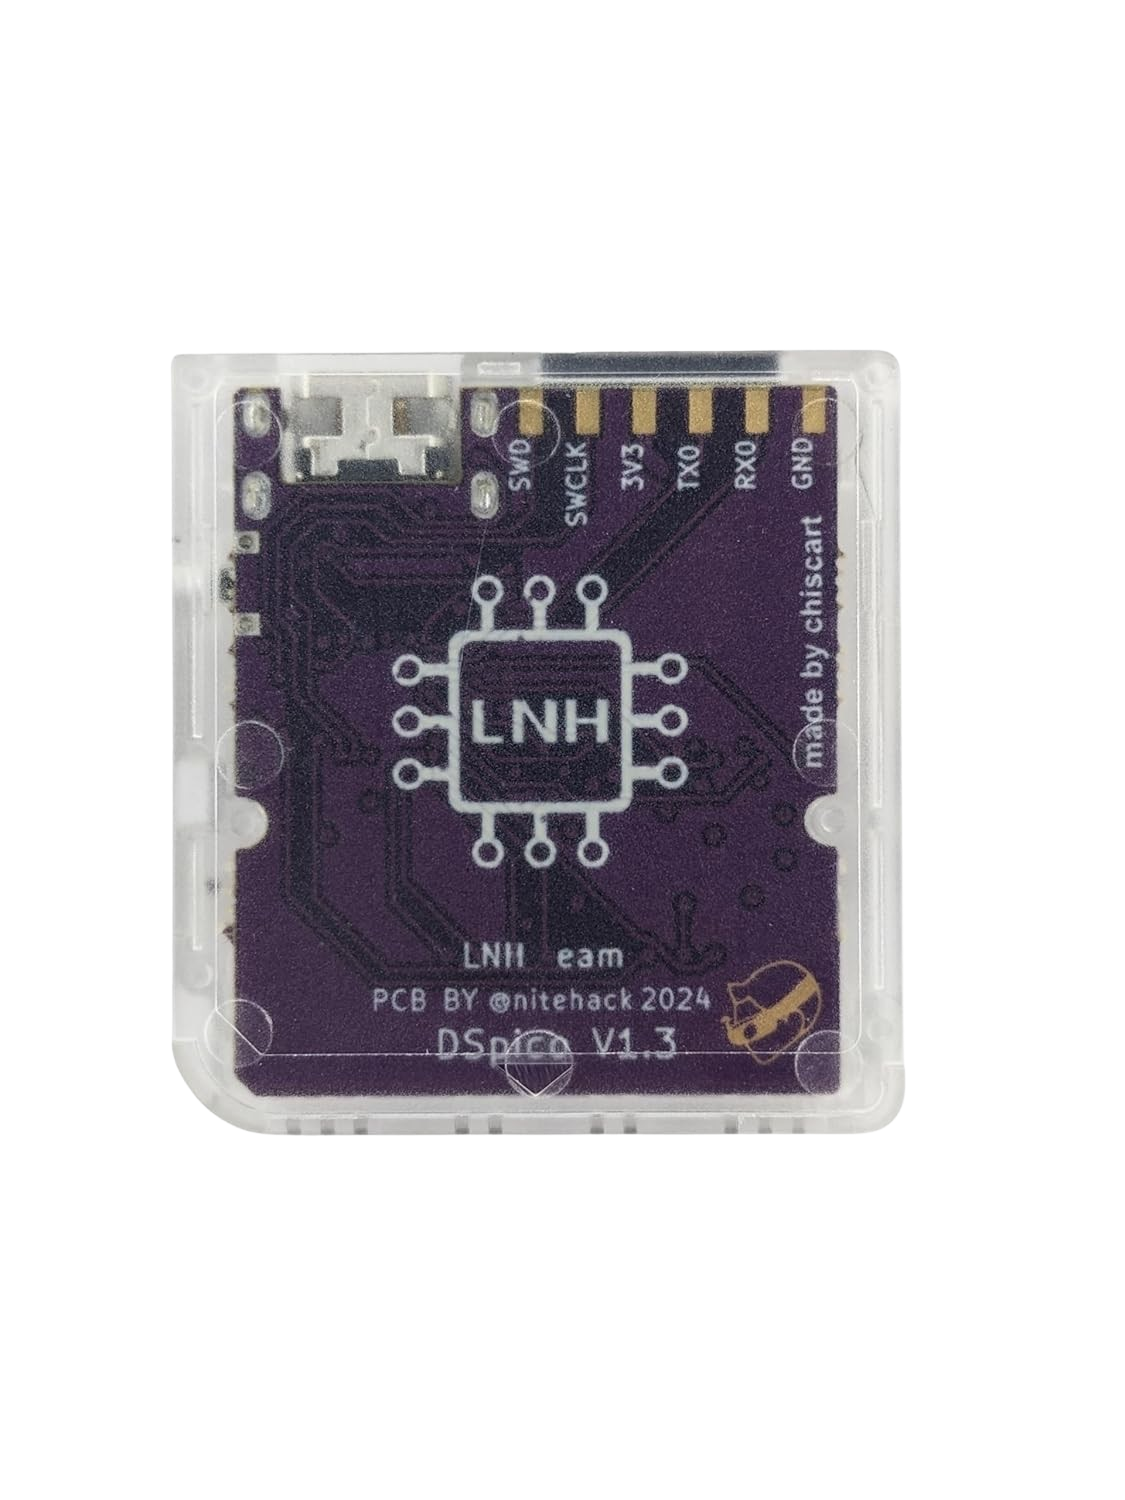
Following the instructions via the QR code on the back of the box, we’re taken to the DSpico User Manual, which is a brief four pages long. The instructions are easy enough to follow along, but we’re going to use a secondary guide on the sanrax/flashcart-guides GitHub page that has better instructions and downloads.
Firstly, we need to format our SD card to FAT32. It is recommended to keep the microSD card to under 32GB so you’re not fussing with 3rd party format tools, which shouldn’t be too hard considering the current state of memory pricing. Also, DS ROMs are very small.

Follow the formatting tutorial to format the microDS card before you start. Again, this process is much easier if you use a microSD card that is 32GB or smaller. Download SD Memory Card Formatter, insert your microSD card into your PC, unzip the SDCardFormatter file, and run the .exe file inside to install the program. Launch immediately after installation (or from the Start Menu), select your microSD card file path, ensure Quick Format is selected, and then click Format. Click OK, wait for it to finish, and then close the program.

Download the latest Pico Package for DSpico, which will give you the pico launcher, pico loader, and have every file moved into the `_pico` folder as it should. This is much easier than the steps provided in the DSpico manual found on the QR code on the box, where you have to do all this yourself. If you need to extract zipped files, 7-Zip is my preferred extraction tool.
Once that’s done, create a folder called `Games` on the root of your microSD card. Move all of your DS Roms that you obviously got as copies from your legally owned physical DS library into the newly created `Games` folder. When you’re done, the file structure of the microSD card should look similar to the one below:

Eject the microSD card from your PC, but don’t place it back in the DSpico just yet.
Updating Firmware
Note: It is recommended that you flash the cart with firmware found on the page below. The pre-flashed firmware that comes on the cart itself could be days/weeks/months outdated, and missing important stability and compatibility patches found on more recent builds.
We’re given two versions of firmware for the DSpico on the sanrax/flashcart-guides GitHub page: Hybrid and WRFUxxed. The instructions state that Hybrid allows you to play the DSpico on a stock Nintendo DS and DS Lite, as well as modded DSi and 3DS models, while WRFUxxed allows you to play the DSpico on stock Nintendo DSi and 3DS systems. If you notice you’re having issues, maybe switch and try the other.

Connect your DSpico to your PC using the included USB-A to Micro USB cable (or any, if you have one lying around). Make sure that the microSD card is still removed from the DSpico. Once connected, you should see a drive called `RPI-RP2`. Drag and drop the `DSpico_hybrid.uf2` or `DSpico-Wrfuxxed-v1.0.1` file onto this drive. It will update with a progress bar, then automatically refresh. You can now eject the DSpico and place the microSD card inside.
DSpico Setup

Insert your microSD card into the DSpico itself, and then place the DSpico into your Nintendo DS, DSi, 2DS, or 3DS console. Turn on the DS device, and the DSpico image should appear in the menu options where you would select a game from the cartridge slot.
Note: The instructions say the DSi will just automatically launch DSpico, but I couldn’t get it to work on my DSi XL, so I’m unsure as to the validity of that statement.

If you get “an error has occurred”, ” as I did initially, you probably have the wrong firmware flashed to the DSpico itself. Try again with a different firmware mentioned earlier in the guide (i.e., switch from Hybrid to WRFUxxed, or vice-versa). I was doing this on a stock New Nintendo 3DS XL, for example, so I needed the `DSpico-Wrfuxxed-v1.0.1` firmware and had the Hybrid firmware instead, which gave me the error.


Launch the DSpico app from the menu, and the Pico Launcher should start and show a couple of folders. Select the `Gam` folder, and you should see a list of DS games you transferred onto the microSD card. If you want to change the look of the game covers/tiles, you can go to PicoCover to change up the cover art for your curated collection. Pick a game, and start playing!
Closing Thoughts

This is pretty freakin’ cool when you consider that the DSpico can be had for less than $10 on AliExpress. The setup was simple, and the flash cart just worked. Will I use it over installing CFW on my 3DS/DS consoles? Not likely. Will I use it over my AYN Thor or AYANEO Pocket DS? Also not likely.
However, considering that other DS flash carts manage to engineer expiration dates and bricking software into them, the DSpico is a breath of fresh air that has the opportunity to keep getting better and better. It’s especially cool for those who prefer to keep their gaming hardware stock; it can be had for a ridiculously low price, and it’s fairly painless to set up.
7 Comments
Your editor really okay calling this a review? You barely mention any of the features that actually make this flashcart different. No mention of natively GBA support no comparison to TwiLight Menu on DSi or actual R4 carts and no explanation of the features. This is a bad post that no one should be proud of.
The whole article basically like “it’s cool, I can play DS games.” You can do that with almost any flashcart. Feels like the reviewer did not do much research or testing beyond the basics. You are also using not real DSpico the team making DSpico doesn’t like people not linking to them officially sold on laser bear and pheonix
Been here starting 2020, but honestly getting more disappointed with the lack of effort in almost all post lately.
You know what? This is completely valid. This came off more as an impressions article, while being titled as a review article, and leaving out what makes the DSpico so special in the flash cart space right now.
I’ve updated the article with additional information and details, so thank you for bringing this to my attention!
Totally agree.
My Acecard X is still working just fine in my 2da XL.
I got the Pico a few weeks ago just to try it out but really don’t find any difference to my Acecard apart from the interface.
I have a few flashcarts and have found that the pico boots to game noticeably faster than them, and considerably faster than twilightmenu on my modded DSi.
I also like that it’s open source so there is a possibility that someone could add more features and functionality.
This is a really bad article, but I might get one, if only to support the creator.
Thank you for your feedback, the article has been updated and further details and information added.
Не моя тема, но получить такуго полезного и универсального малыша, за 5$, это занятно!