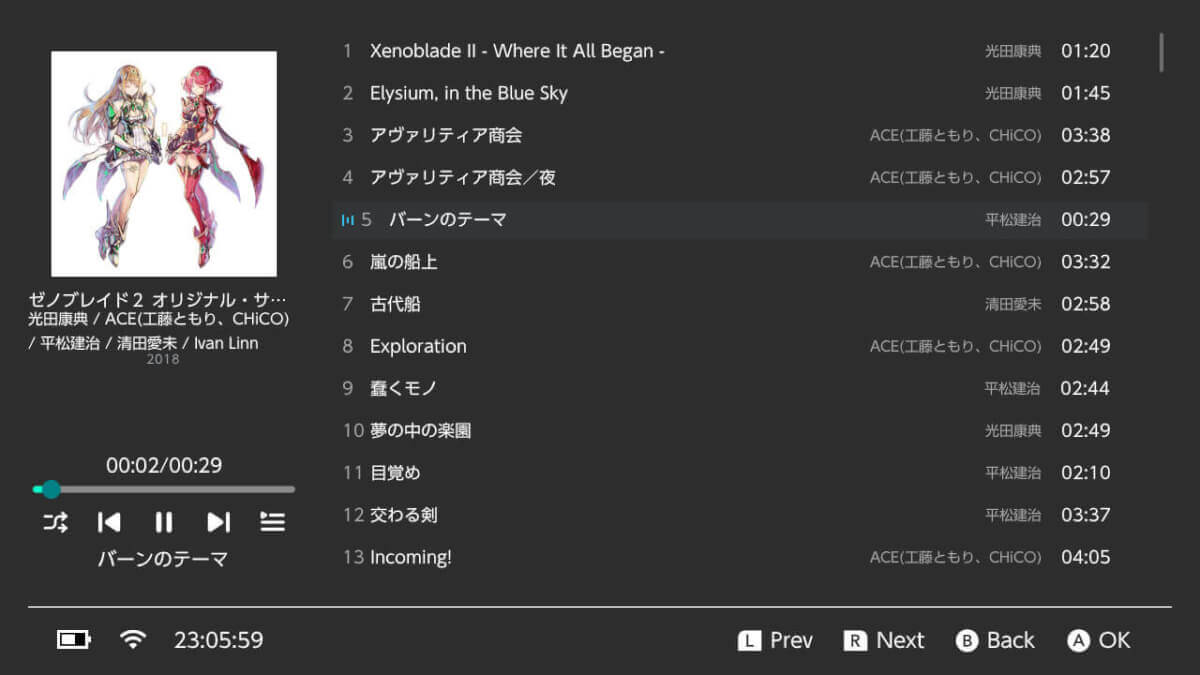
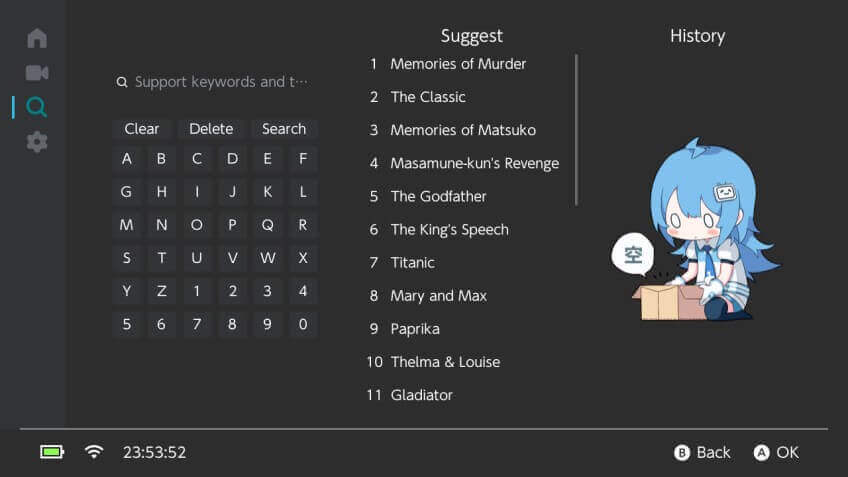
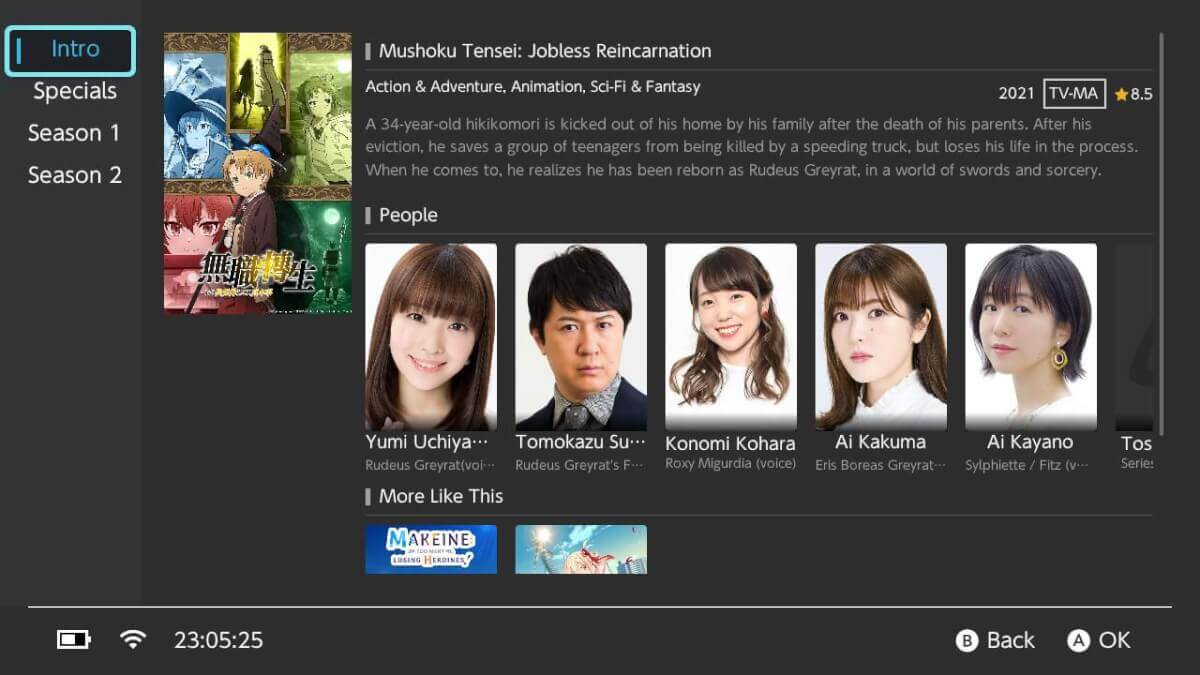
PortMaster has had an incredibly busy few weeks, with 18 new ports added to its already impressive library in August alone. From time to time, utilities like KOReader or LibreSpot get added as well, adding entirely new functions to these already versatile devices. Recently, one such utility was released that turns your PortMaster device into a full-blown media player.
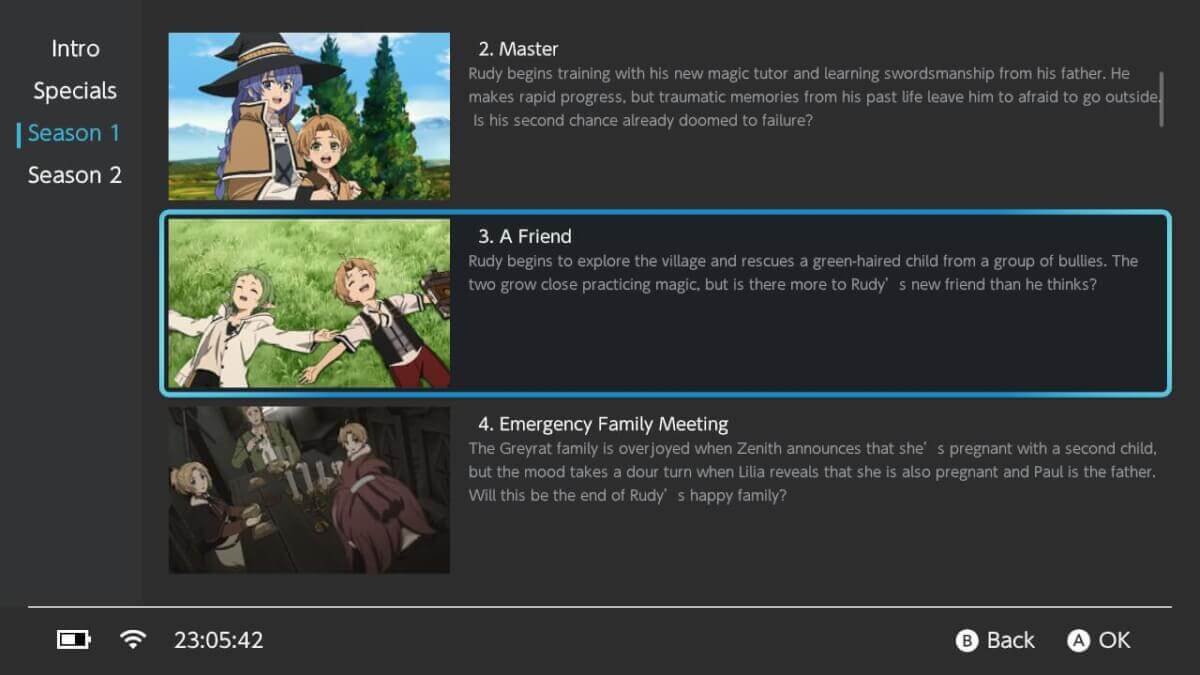
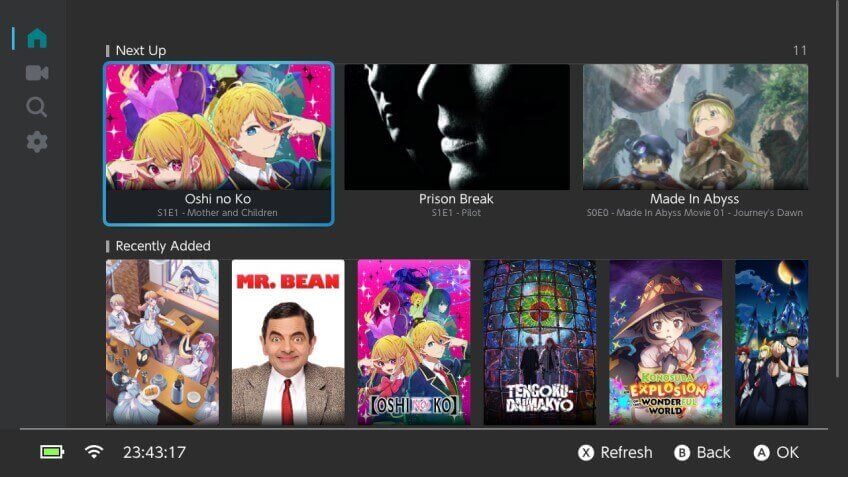
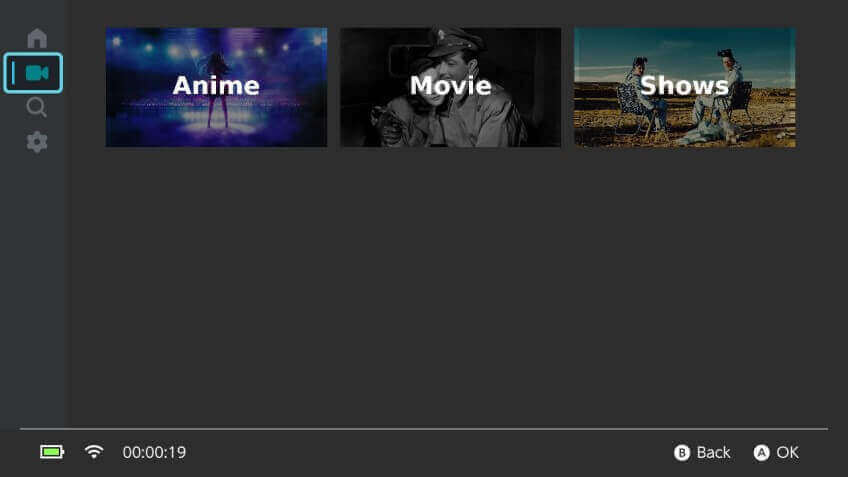
Switchfin is a Jellyfin client originally for the Nintendo Switch, with an attractive UI, impressively low overhead, and support for the most common file types. For those not in the know, Jellyfin is a media server application, not unlike Plex or Emby. If you don’t already have a Jellyfin server set up, check out their installation page here.
Before you can install Switchfin, PortMaster must be installed and working on your device. Thankfully, many firmwares now come with PortMaster pre-installed. However, since the setup process can vary slightly depending on your handheld’s specific configuration, it’s best to consult the official documentation for your preferred firmware.
For the most popular systems currently, refer to the corresponding guide below:
- For Knulli: PortMaster on Knulli
- For Rocknix: Rocknix Ports Guide
- For muOS: muOS PortMaster Installation
- For CrossMix-OS: CrossMix-OS GitHub
Part 1: Installing Switchfin
With PortMaster ready, installing Switchfin is straightforward.
- Connect to Wi-Fi: Ensure your retro handheld has an active internet connection. PortMaster needs this to download the files and dependencies for Switchfin.
- Launch PortMaster: Open the PortMaster application from wherever it’s located on your device. It may perform a self-update on the first launch.
- Install the App: Scroll through the alphabetical list until you find “Switchfin.” Select it and choose the “Install” option. PortMaster will handle the download and installation process automatically.
- Exit PortMaster: Once the installation is complete, you can exit the application.
Part 2: Launching and Configuring Switchfin
- Launch Switchfin: After installation, Switchfin will appear as a new item in the “Ports” section of your firmware’s main menu.
- Configure Your Jellyfin Server: To get started, you must manually edit a configuration file to connect to your Jellyfin server. Using your computer, access your handheld’s SD card and navigate to the
ports/switchfin/conf/Switchfin/folder. Open theconfig.jsonfile in a text editor and enter your Jellyfin server’s IP address. This is the only way for the app to connect over your network and stream your library.
Once connected, you’ll have access to your Jellyfin media library to stream movies and TV shows.
Part 3 (Optional): Advanced Server Configuration
For advanced users, Switchfin can be configured to connect to other server types besides Jellyfin or to access local media files from different paths. This is done by manually editing the config.json file.
This allows you to set up connections to WebDav, SFTP, or other remote servers. For specific instructions, code examples, and technical details on how to edit this file, please refer to the bottom of the Switchfin page on the PortMaster website.
With just a little configuration, you can now enjoy your entire media library on the same device you use for retro gaming. It’s a fantastic way to make these versatile handhelds an even bigger part of your daily entertainment setup. Happy gaming, and now, happy watching!
What did you think of this article? Let us know in the comments below, and chat with us in our Discord!
This page may contain affiliate links, by purchasing something through a link, Retro Handhelds may earn a small commission on the sale at no additional cost to you.
