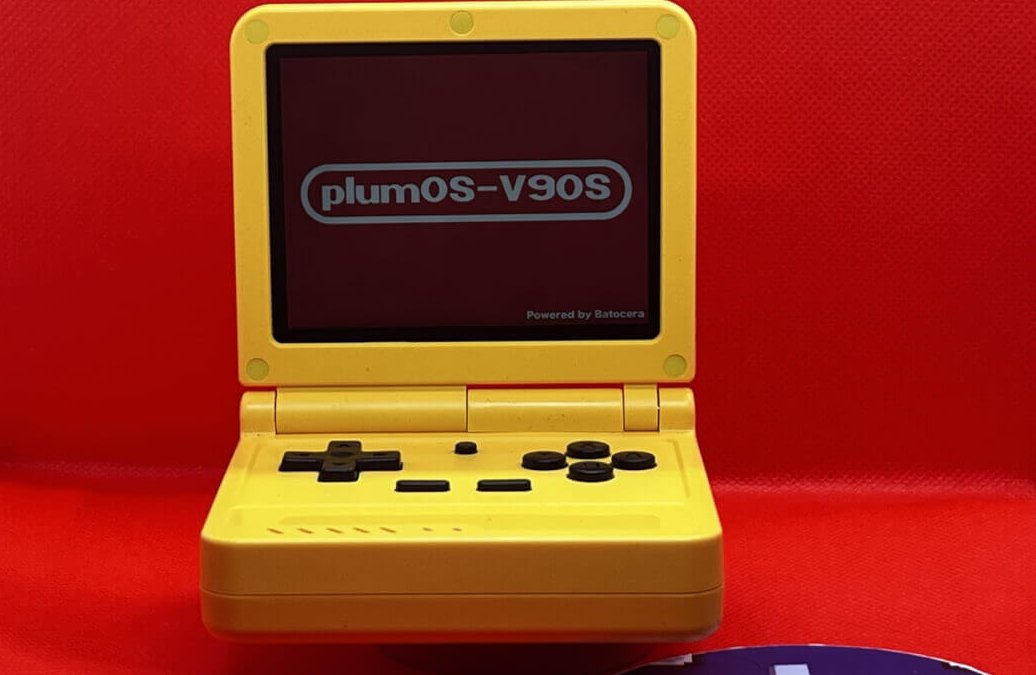
Several weeks ago, everyone’s favorite YouTuber, Zu, made a video about the Powkiddy V90s and whether Knulli could save the device from mediocrity, before eventually deciding the V90s was “the disappointing progeny of one of the all-time greats”. Frequently, I agree with Zu, but this was one of the times where mine and his opinions were polar opposites.
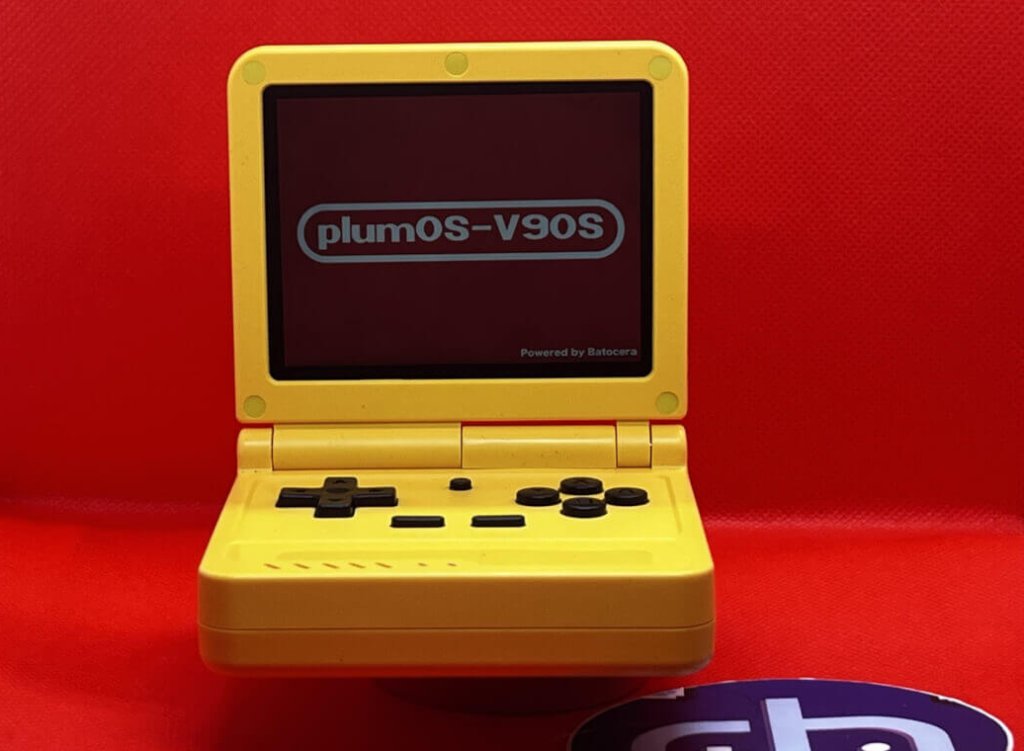
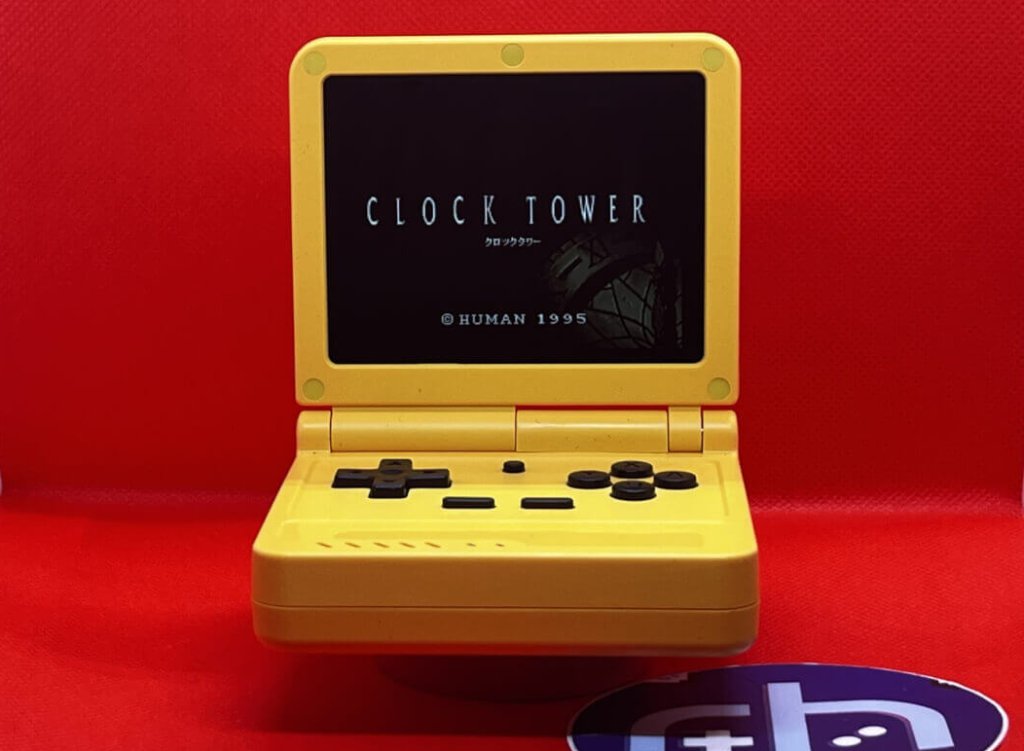
I kinda love the V90s. I love the cheapness of it and how, especially in the yellow colorway I own, it looks like a children’s toy. While I haven’t yet got my hands on the second revision of the Anbernic RG35XXSP or the RG34XXSP, I do own a Miyoo Flip and the first revision of the RG35XXSP, and I prefer the feel of the V90s over both of them. The fact that the device is also so cheap (it’s available direct from Powkiddy for $40 with a coupon at the time of writing) also endears it to me.
None of my warmth towards the device allows me to forgive Powkiddy for their stock OS. I am a fan of Batocera as a retro OS, and so I was optimistic to receive a device that used a form of Batocera for its stock OS, at least until it arrived. When I first switched it on, it was clear that Powkiddy had butchered my beloved Batocera.
This includes making it impossible to load unless there was a correctly formatted ROMs SD card in the second slot, essentially preventing people like me who bought the base configuration from being able to use the device. Retro Game Corps discussed this issue in his review video.
Knulli & PlumOS
When Knulli announced an alpha build of their software for the V90s, I thought this would fix all the problems, but I didn’t find it reliable enough, which makes sense if it’s only an alpha. At some points, it would freeze at the configuration screen during loading, and changing or removing the SD2 card present.
And rebooting would do something to the SD1 card, which would prevent it from booting again, until the card was re-flashed. Enter PlumOS, which, while also not finalized, is an alternative I’ve found much more reliable.
While I used PlumOS on my MagicX XU Mini M, that device’s version of PlumOS is very different from the V90s’. PlumOS isn’t a traditional retro OS; instead, it’s best thought of as a series of customisations to a base Operating System, and the base OS differs between devices. For example, PlumOS on the XU Mini M is based on AmberElec, while PlumOS on the V90s is based on Batocera.
While PlumOS for the Xu Mini M went through several builds over a short space of time, quickly reaching the finalized v1.0, PlumOS for the v90s has been on version 0.4 since June. Despite it not being finalized, it’s a very stable build. However, it’s not a build you can flash directly to an SD card, and it’s a build that benefits from a few customisations of my own design.
This article is designed to be a guide to getting PlumOS set up and getting the best out of a device which is, believe it or not, my favorite budget device for a while. I even voted for it in the RH writers’ 2025 half-year picks.
Installing PlumOS
While it is possible to use PlumOS in a 1 SD card setup, it is much easier to set it up using 2 SD cards; one for the operating system, and one for the ROMs. For the purpose of this guide, I’ll assume that everyone wants to use a 2-SD card setup. I use a 32GB card for the system files and a 128GB card for the ROMs.
Step 1: Preparing SD1
There isn’t a currently available downloadable image file for PlumOS v0.4, so instead, we’re going to have to download the image for v0.3 and manually update it.
The v0.3 image files can be downloaded from here. 3 files need to be downloaded, these are the files with 001, 002 & 003 at the end. The auto-mono output files do not need to be downloaded.
Once all three files are downloaded, make sure that the three files are in the same location, then extract the 001 files using 7-Zip. This should result in a file called plumOS-V90S_v0.3 being created.
This image file can now be burned onto the SD card using any of the usual programs like Balena Etcher or Win32 Imager. I like to use Raspberry Pi Imager.
Step 2: Preparing SD2 & First Boot Up
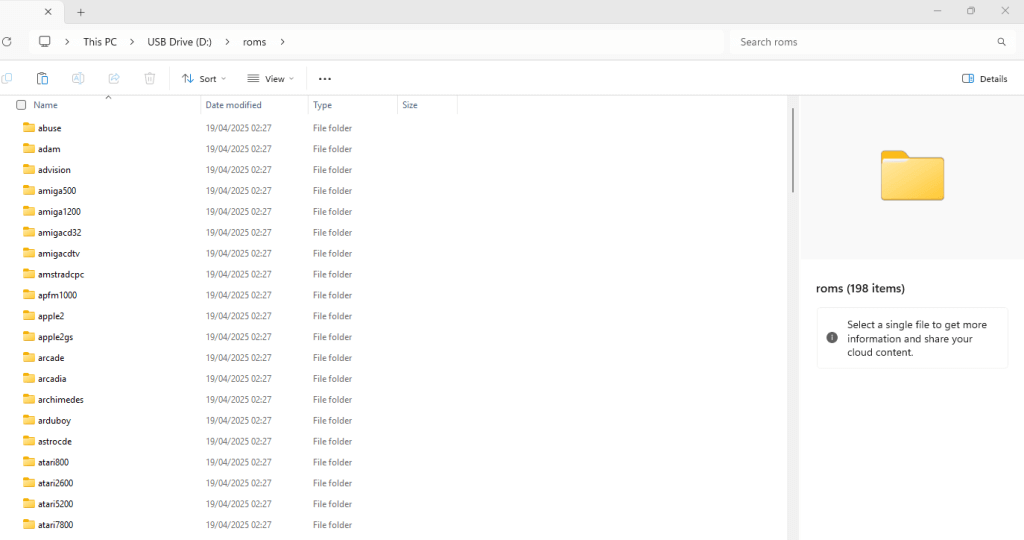
The second micro SD card needs to be fully wiped and formatted to either a FAT32 or exFAT format. Either should be fine since we won’t be putting PS2 or GameCube files on this device (FAT32 can’t deal with single files larger than 4GB). Once formatted, 2 folders need to be created on the SD card: these are “Roms” and “BIOS”. Despite most Batocera forks creating these automatically, PlumOS doesn’t, for some reason.
Once these are created, it’s time to boot up the V90s. Unlike Anbernic devices, SD1 needs to go on the right and SD2 on the left.
Once PlumOS has loaded, switch off the device (press Start, then go to Shutdown -> Shutdown the device), take SD2 out, and connect it back to a PC. Check the contents of the Rom folder, which was created. PlumOS should have populated it with folders for each system (NES, GB, PSX, etc.). If it hasn’t done this, there’s probably a problem with the name of the folder, so it’s worth checking the name and retrying this step if you come across this error.
Step 3: Populating the ROMS and Upgrading to v0.4
Before doing anything else, if you feel motivated, this is a good point to populate SD2 with all the required BIOS and ROM files. ROMs should be put in the respective folders for the system they belong to, for example, Game Boy ROMs go in the GB folder, and PlayStation 1 ROMS go in the PSX folder. The folder structure will be very familiar to anyone who has used Batocera or Knulli previously.
In order to upgrade to 0.4, the zip file “Portmaster_xz_libs” will need to be downloaded from here
Once downloaded, extract the file from the zip and put it directly into the Roms folder you’ve just created on the SD2 card, and you’ll need to put the SD2 card back in your PC for this. Once the file is in place, eject the card, put it back into the V90s, and boot that device up.
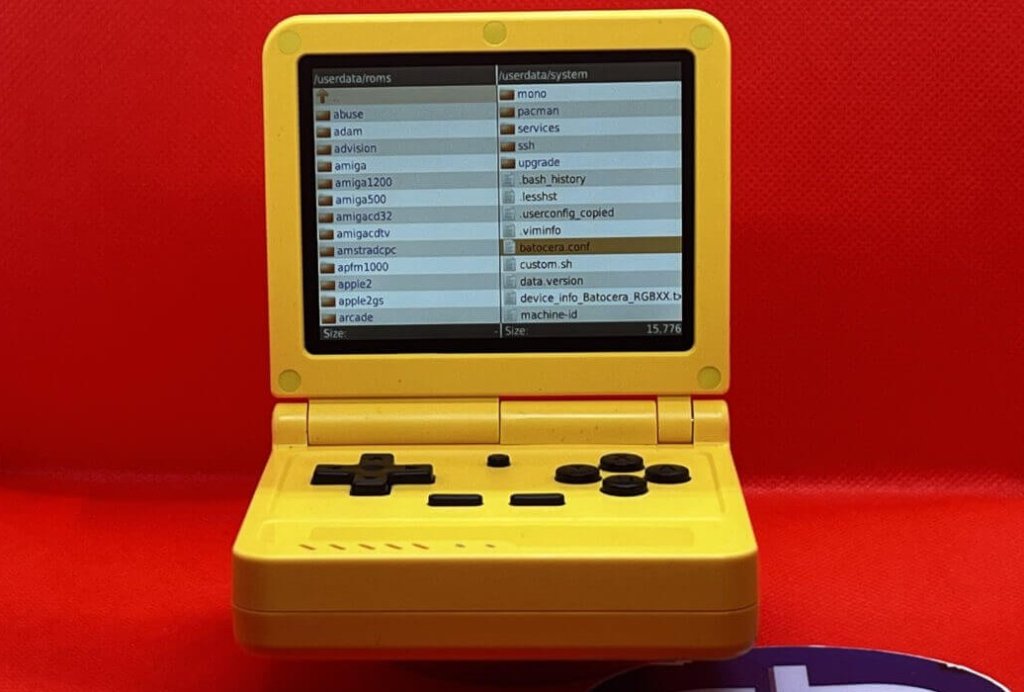
- Once it is booted up, launch OD-Commander (which is basically a file manager) from the Tools section.
- OD-Commander will open with the screen split into two, each showing a different location.
- On the left side, navigate to: /userdata/roms/Portmaster_xz_libs
- On the right side, navigate to: /userdata/system/.local/share/PortMaster/libs
Once both panes are in the right place, click on a file on the left-hand side with the X button, choose “Select All” and confirm with the A button, then press the Y button, choose “Copy >” and confirm with the A button. Select “Yes to all” and confirm with the A button.
Once the copy is complete, we can quit OD-Commander by pressing X and selecting Quit, and confirming with A.
[Optional] Step 4: Fixing the Hotkeys
One of the things I like about PlumOS is that it changes the default hotkey binding away from the Batocera defaults to those used by ArkOS, AmberElec, and ROCKNIX; however, there are three changes I would like to make.
- In PlumOS, the hotkey button is set to Select. While this works on many handhelds, where a handheld has a dedicated menu button, like a TrimUI device of the Anbernec RGXX series, I like to use this as the hotkey button instead.
- Additionally the pressing the hotkey and left or right, to change the selected save state slot, works in the opposite fashion to how it works on other handhelds. Presumably, this is deliberate and is due to the way left and right are interpreted in China as opposed to America.
- I like to have incremental save states switched on while playing. This means that, when saving a savestate, RetroArch automatically moves to the next slot before saving, preventing any overwriting.
PlumOS prevents any changes to the RetroArch configuration file from being saved on the device, which means we can’t implement these changes within the RetroArch menu; instead, we’re going to manually edit the config file to implement these changes..
The file in question is called retroarchcof.cf, and it’s hidden in a patrician readable only by Linux. Luckily, we can use the OD Commander tool in Plum OS, which is basically a file manager, to move it.
When opening OD Commander, the screen will be split into two; the left side will show the top folder, and the right side will show the system folder. If we navigate the left window to the ROMs folder, we’re now seeing SD2. Now we can move to the right-hand side of the screen, find the file “Batocera.conf” and press Y to open the menu, copy it across to the other side, just like we did with the portmaster files in Step 3. Once the file is transferred, we can shut down the device, remove SD2, and put it back in our PC to access the file, which will be in the ROMs folder.
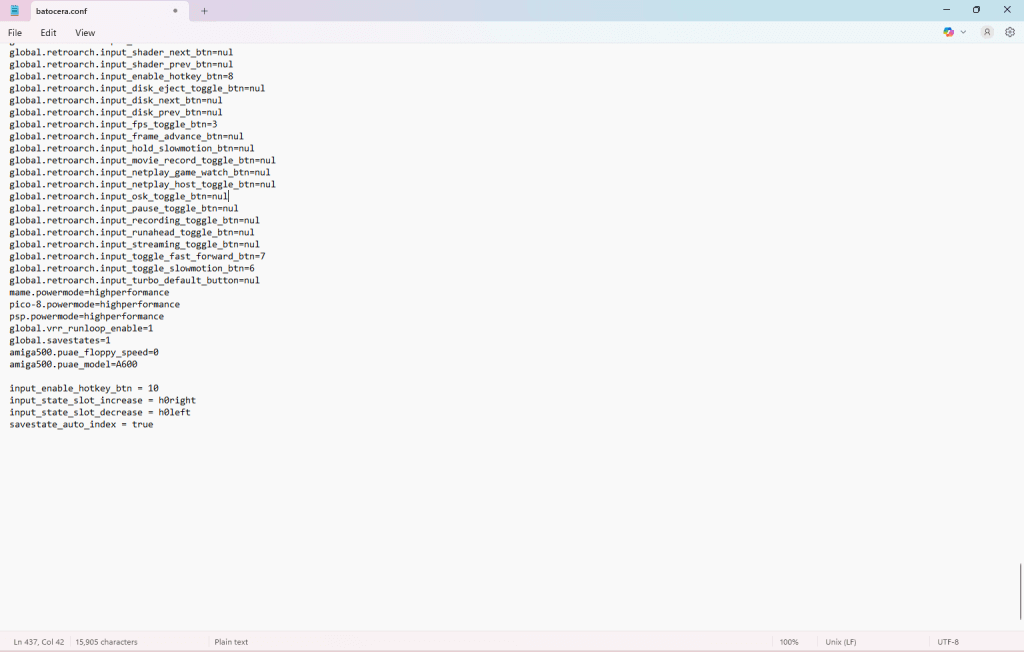
Once the file is open, the following 3 lines need to be added to the bottom of the file, in the same way as I’ve shown in the screenshot.
input_enable_hotkey_btn = 10
input_state_slot_increase = xxxx
input_state_slot_decrease = xxxx
savestate_auto_index = true
The file should open in any usual text editor. I use Notepad on Windows. Once the changes are made and the file is saved, then the SD cards can be removed and reinserted into the V90s. After that, this budget device should be ready to roll.
What’s Next?
My next steps are to try and see whether I can get the device working with a Bluetooth audio adapter and a USB Wi-Fi dongle. Knowing Powkiddy, the journey is unlikely to be smooth, but such is the charm of this device, I think it’s likely to be worth the effort. I just need to make sure to remember that it doesn’t go to sleep when the lid is closed.
What did you think of this article? Let us know in the comments below, and chat with us in our Discord!
This page may contain affiliate links, by purchasing something through a link, Retro Handhelds may earn a small commission on the sale at no additional cost to you.
This is fabulous. You are a hero. The v90s IS the best sp style clamshell there IS….period.
Thanks for the great tutorial. Concerning Wifi the RTL8821CU Chipset is plug & play. It works without any adjustments, but 30 min usage will drain the battery by 50%.
The PlumOS github page is mentioning the TP-Link Archer T3U nano which has the RTL8812BU chipset (high power consumption).