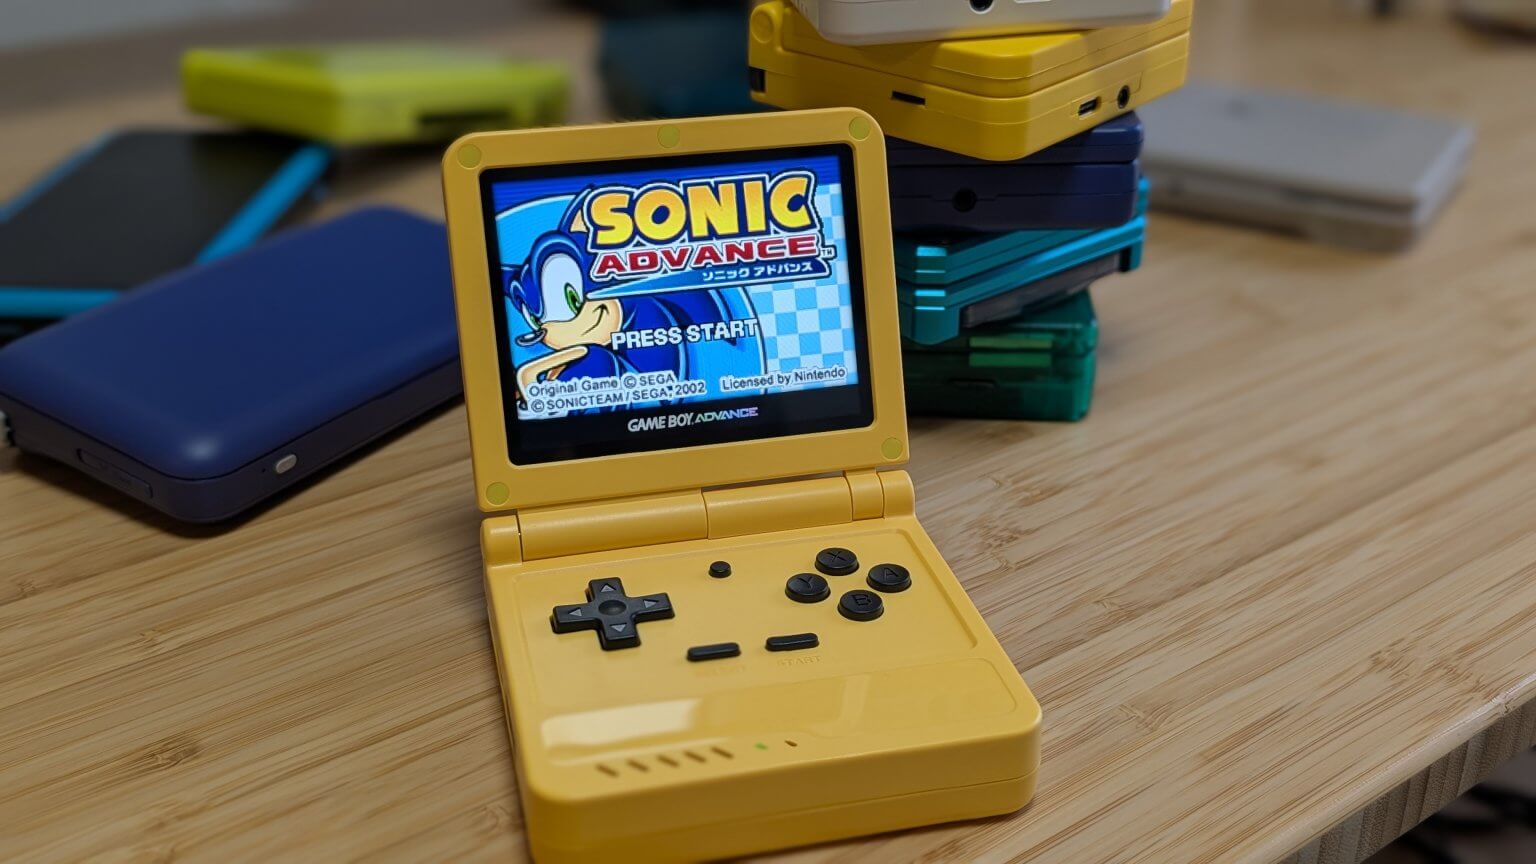
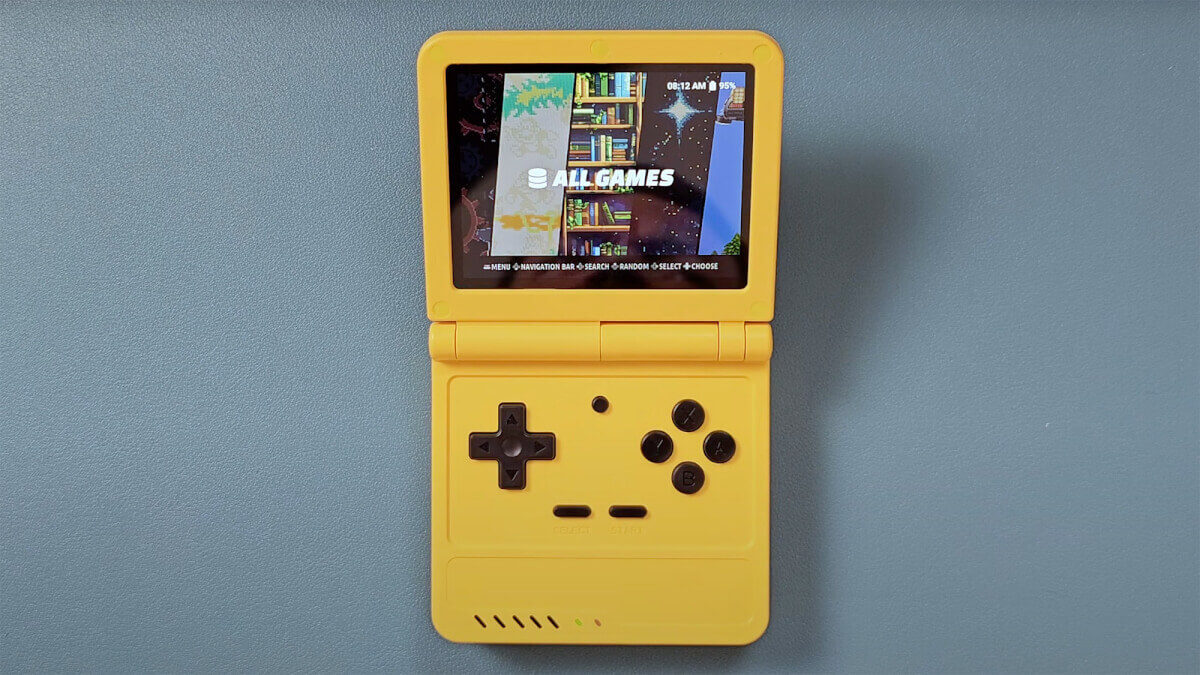
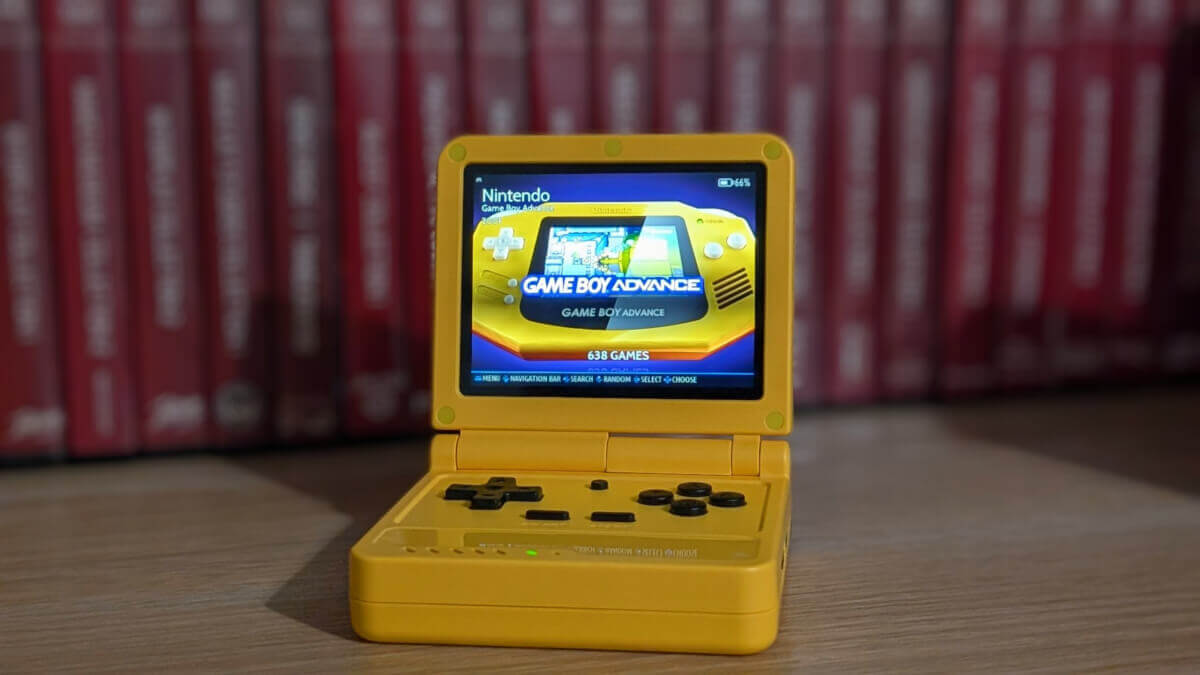
It had about five years since the PowKiddy V90 was released when its successor, the PowKiddy V90S, finally arrived. In that time, the V90 became a fan favorite, despite all of its flaws, as it was one of the first and only available clamshell retro handhelds. Now that it’s replacement is here, we’re here to help walk you through getting it set up from start to finish.
Table of Contents
Where to Buy
PowKiddy V90S Specs
- Display: 3.5-inch IPS
- Resolution: 640 x 480
- Form Factor: Clamshell
- Processor: Allwinner A133 Plus
- GPU: 1GB DDR3
- Storage: 2x microSD (Supports up to 256GB)
- TF OS
- TF2
- Battery Capacity: 3000mAh (~6 hours)
- Charging: 5V/2A via USB-C (~2 hours)
- Ports: 2x USB-C (DC/OTG), 2x microSD
- Audio: 1W Speaker
- Dimensions: 89 x 85 x 26.5mm
- Colors: Yellow, Red, Grey, Transparent Black
Recommended Accessories
- Powkiddy V90S Case Storage Bag
- Screen Protector
- Wi-Fi Adapters
- microSD (Supports Up To 2TB)
KNULLI
- Download the Knulli build from the GitHub page.
- Plug your microSD card into your PC.
- Extract the Knulli Build.
- Open your USB formatting utility of choice. Here are a few recommendations:
- Flash your microSD card by selecting the Knulli Disc Image that just extracted.
- After the card is finished being flashed, remove it from your PC.
- Insert the card into your Powkiddy V90S.
- Wait for it to finish booting.
Use the Second microSD Card
- Turn off your Powkiddy V90S.
- Insert the extra microSD card into the TF2 slot on the left.
- Turn on your handheld.
- Press Start, then select System settings.
- Select Storage.
- Select the name of the second microSD card from the list.
- To save the changes, press the Start button, then select Restart system.
- While the device is restarting, KNULLI automatically adds the necessary folders that you’ll need for the various compatible systems.
- After the V90S has finished restarting, power it off and remove the microSD card from the TF2 slot.
- Connect it to your computer, then transfer all of the ROMs and BIOS files you’ll need.
- Once complete, eject it from your computer, place it in your V90S, and power on the handheld.
- Start playing!
plumOS
Unlike some other custom firmware options, plumOS assumes you’ll be using a two-microSD-card setup, with the TF1 slot housing the firmware, and everything else on the TF2 card. Here are the steps to install plumOS on the PowKiddy V90S based on that method.
- From your computer, download the latest build of plumOS for the PowKiddy V90S. (There will be three main files
.7z.001,.7z.002,.7z.003) - Navigate to your Downloads folder.
- Select all three, then right-click, hover over the 7-Zip menu, and select “Extract to folder_name“.
- This will combine all three of the .7z files into one .img file.
- Connect your microSD card to your PC.
- Use your preferred USB formatting utility to flash the
plumOS.imgfile that you just extracted.- If using just one microSD card, skip to the next section.
- After the firmware is finished being flashed, safely eject it from your computer.
- Connect your second microSD card to your computer.
- Use your preferred USB formatting utility to reformat the microSD card as either
FAT32orexFAT. - Once formatted, create a
romsfolder and abiosfolder and place them at the root of the microSD card. - Place both microSD cards into their corresponding slots on the V90S and power it on.
- After verifying that everything works as expected, turn off the V90S.
- Remove the TF2 card, and connect it to your computer.
- Transfer the necessary ROMs and BIOS files that you want to have.
- Eject the card from the computer, place it back into your V90S, and power it on.
- Enjoy!
One microSD Card Method
The following steps are for those who are using just one microSD card with plumOS and the PowKiddy V90S.
- With plumOS successfully flashed to the microSD card, download MiniTool Partition Wizard Free on your computer.
- Once installed, open the app, locate, then highlight (click) the plumOS microSD card.
- Right-click on the partition named
GAME(FAT32).- If you don’t see that partition, it could also be named
ROMS(FAT32).
- If you don’t see that partition, it could also be named
- Select Move/Resize from the menu that appears.
- Drag the slider all the way to the right and click the OK button.
- Double-check that the partition has expanded correctly.
- Click the Apply button.
- Safely eject the microSD card from your computer.
- Place it into your V90S and power on the handheld to verify that everything is working.
- If so, turn off the handheld, connect the microSD card to your computer, and transfer the necessary ROMs and BIOS files you’ll need.
Stock Firmware
Out of the box, the PowKiddy V90S runs its own custom build of Batocera, similar to what you’ll find on most of the company’s other handhelds. However, things are a bit different now that PowKiddy no longer sells its most recent clamshell with a microSD card dedicated to ROMs. Currently, it only comes with a 16GB microSD card, which houses the OS and nothing else.
However, even if you plop your own microSD card into the V90S, none of the ROMs or BIOS folders will actually populate, as is usually the case with other handhelds. Instead, you’ll need set everything up yourself to ensure that you can start playing games as quickly as possible. So here are the steps you’ll need to take:
- Download the folder linked below, which contains the correct folder structure for the V90S (h/t /u/briefingone)
- Insert a microSD card into the TF2 slot on the PowKiddy V90S.
- Bring up System Settings, then navigate to Advanced > Frontend Dev > Options > Format a Disk.
- Make sure you’re formatting the correct microSD card.
- Once complete, remove the TF2 card and connect it to your computer.
- Unzip the file you downloaded in Step 1.
- Transfer the entire contents of the folder to the TF2 card.
- Copy and paste your BIOS and ROM files into the appropriate folders.
- Safely eject the microSD card and put it back into the V90S.
- Turn on the V90S, find a game you want to play, and get rolling.
[button link=”https://github.com/game-de-it/testrepo/releases/tag/V90S_stockOS” color=”red” newwindow=”yes”] PowKiddy V90S Stock Firmware Download[/button]
More V90S
What did you think of this article? Let us know in the comments below, and chat with us in our Discord!
This page may contain affiliate links, by purchasing something through a link, Retro Handhelds may earn a small commission on the sale at no additional cost to you.


