A few weeks ago, I was browsing Reddit and came across one of the more exciting posts that I’ve seen in a while. Someone managed to turn their Steam Deck into a hacked-together, yet modern, 3DS. The idea of doing someone similar never really left my brain, resulting in an itch that *needed* to be scratched.
Acquiring and Assembling, Hastily
While the post included a list of materials, the original screen used wasn’t in stock on Amazon. But, after scrolling through hundreds of different options, I thought I had struck gold. Not only is the one I found the perfect size, but the listing claims it’s a QLED touchscreen.
I meant to add the list, but have since realized that I forgot to. So, here’s a list of what I used in case you want to try this for yourself:
- Original Display: Waveshare 7-inch QLED Touch Display
- End Result: ROADOM 7-inch Touch Screen Monitor
- Skull & Co. GripCase SD
- Rolling Square Edge Pro Tablet Kit
- Hagibis USB 4 Cable (0.8-ft)
- CalDigit SOHO USB-C Dock
It landed on my doorstep a day later, along with some new cables, a case, and some MagSafe accessories. Much to my dismay, I quickly realized that this wasn’t going to be as cut and dry as I had hoped. The display itself was nicely packaged and included a ribbon cable and pi-hat for actually connecting the screen to something else.
Problems Begin, but No Turning Back
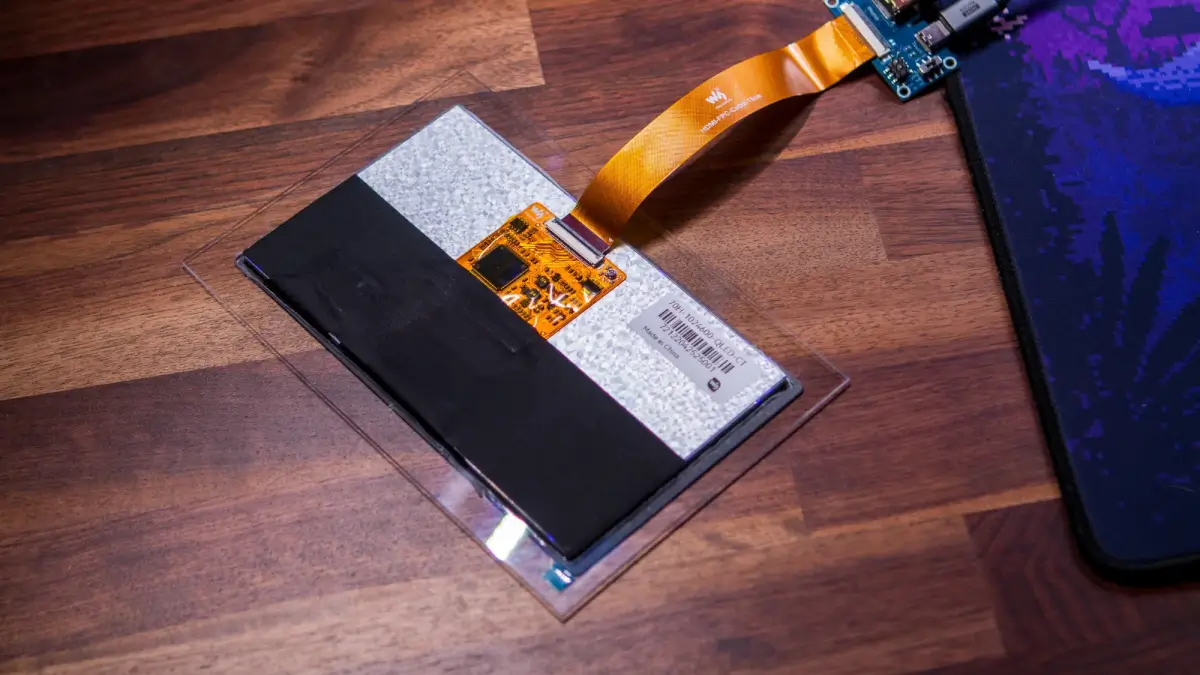
Unfortunately, this kit doesn’t include a case, so I racked my brain and spent even more time figuring out how to make this work. If I had a 3D printer, the next few days would have gone a lot smoother, but alas, I do not. At least, not yet.
Unable to find a suitable case that wouldn’t take forever to get here, I had just about thrown in the towel. That is, until I came across some acrylic boards at a local hobby shop. I already own a Dremel for a previous project that I’ve since forgotten about.
Naturally, I figured that I would just chop up the acrylic boards, attach the display and other necessary pieces, and be on my way. Not the most elegant solution, and not what I originally had in mind, but desperation was growing.
After deciding the layout for my display sandwich, I tried to make very precise measurements to fit the screen. As it turns out, they weren’t quite precise enough, because I spent more time going back and forth, sanding or cutting away even more out of the acrylic border. This lasted at least for an hour until I could finally get the screen in place.
Almost Throwing in the Towel
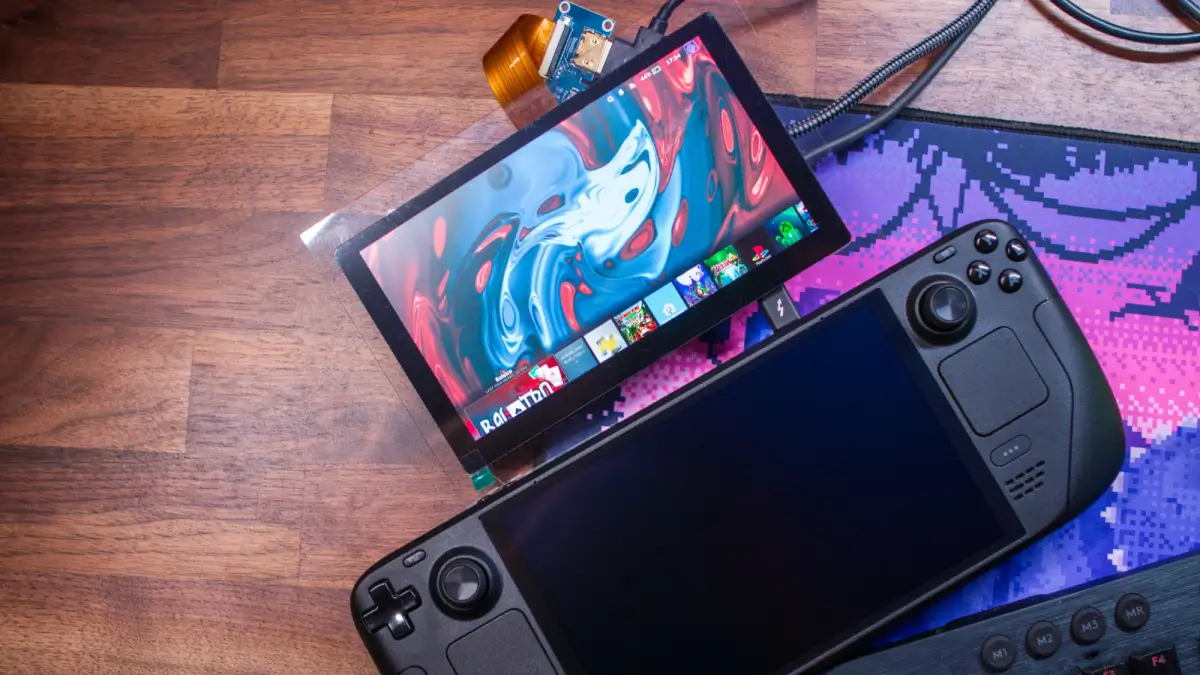
Excited, I grabbed the display, plopped it into place, and took advantage of the adhesive that was already on the back of the frame. Then, I reached for the display ribbon cable and the monstrosity that was my “hub”. Plugged it all in, connected the Steam Deck, and promptly wanted to cry.
For whatever reason, I couldn’t get the display to output correctly with the Steam Deck, whenever I went into Desktop Mode. Just to make sure that I didn’t break the screen itself, I plugged it into my Legion Go, and everything worked fine.
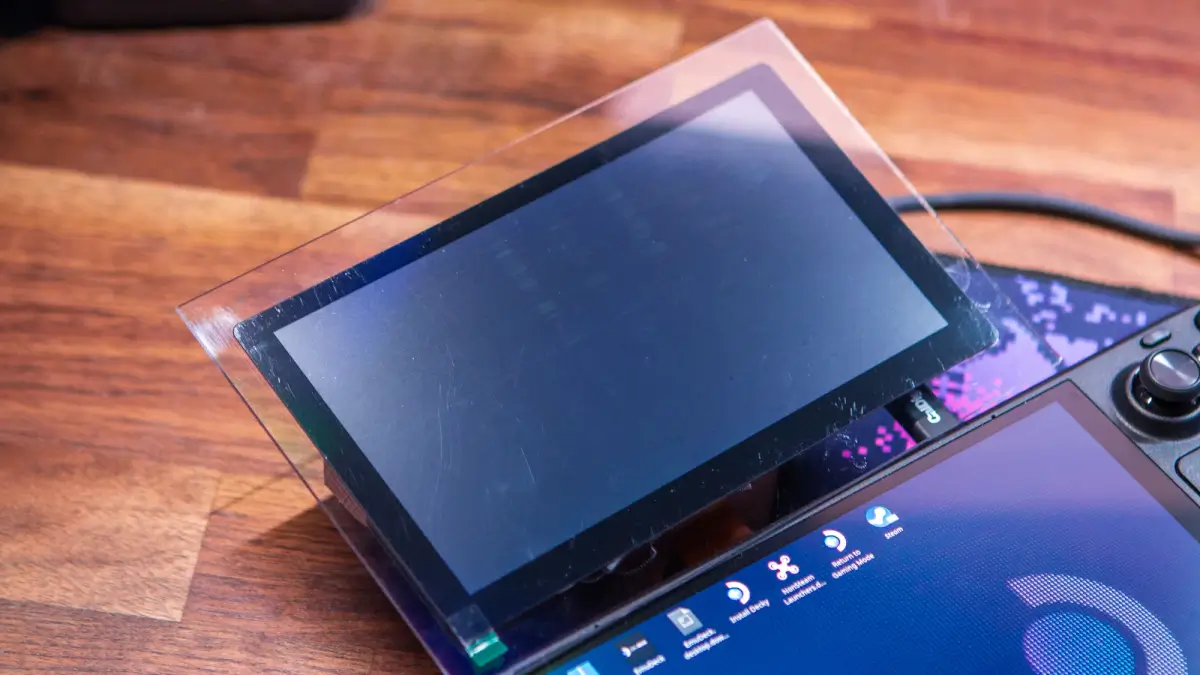
I tried using a few different USB-C hubs and adapters, but nothing worked as I anticipated. Needless to say, I threw the project off to the side for a few days.
Back to the Drawing Board with the Steam Deck 3DS
I had finally come to the decision that “enough was enough” and I threw in the towel with trying to make this case-less display work. After scrolling through a few listings, I found a suitable replacement and one that comes in an enclosure. No need to fiddle around with ribbon cables or try to make precise cuts in acrylic.
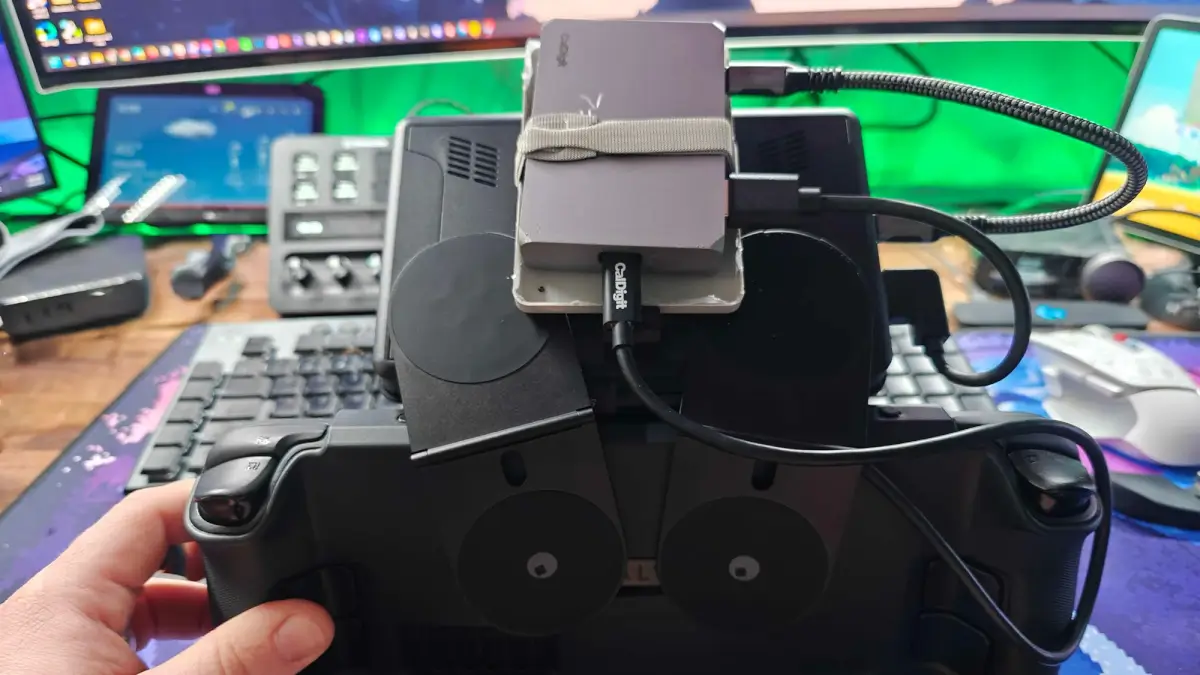
After it arrived, there wasn’t too much that I needed to figure out. One set of magnetic rings for the Steam Deck case, and another set for the back of the new screen. Almost everything lined up and worked the way I had expected the first screen to work.
The only exception was trying to keep the USB hub in place so that it didn’t fall out. Speaking of which, I just want to say that having USB-C on everything is incredible until it isn’t. Certain dongles and hubs work with certain devices but don’t work with others. I picked through a bucket (yes, a bucket) of dongles trying to find one that worked.
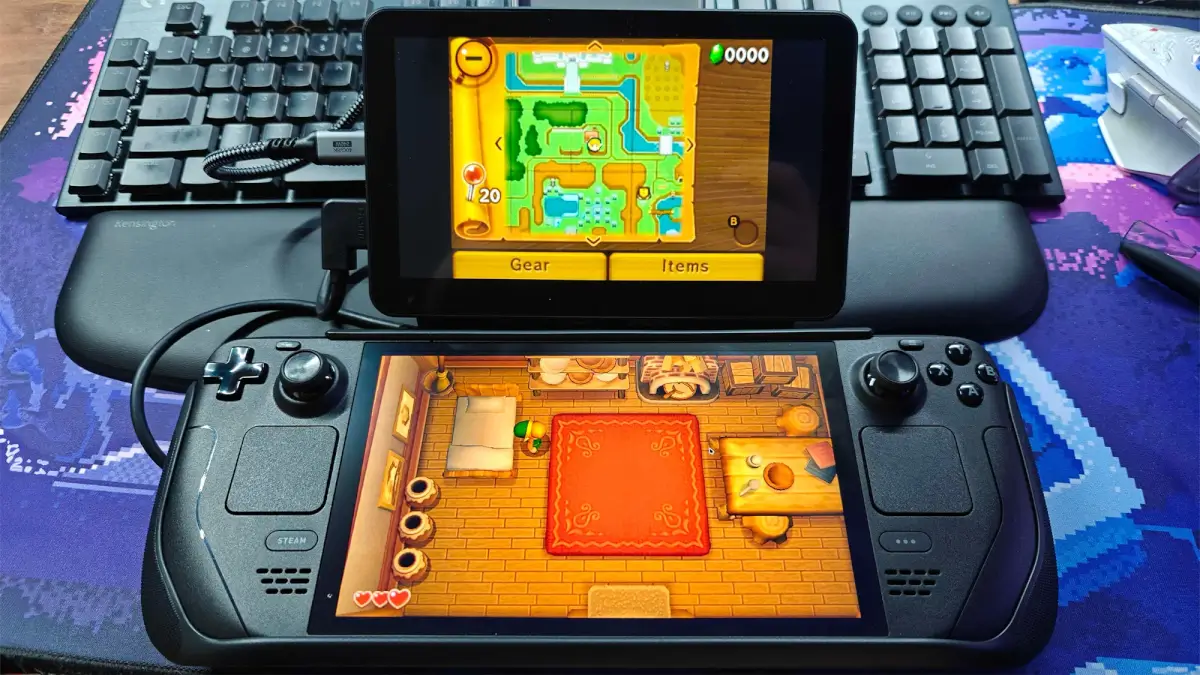
The only one that let me move forward was the CalDigit SOHO Dock. It really is a great little hub, but it’s made out of aluminum and the port selection is definitely overkill for this application.
Back to the case at hand. Thankfully, I have a couple of small cube organizers from the bargain bin at Target. I just popped off the sides, drilled a few holes, and screwed them into the back of the display case. Then, secure the USB hub using a Velcro cable wrap.
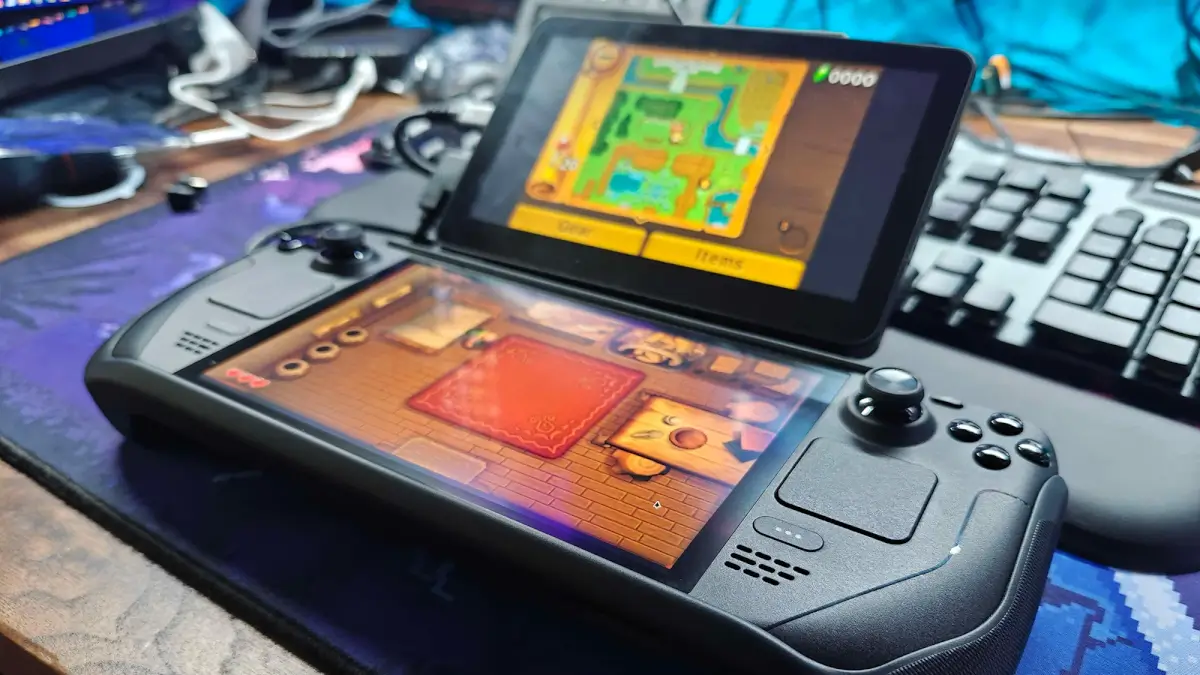
With this monstrosity assembled, I plugged in everything, and voila! Nothing looks broken and I successfully transformed my Steam Deck OLED into a Nintendo DS.
The Software
I can’t but think that there’s a bit of irony in that in the time since I started this project, the emulation community has been turned upside down. Thankfully, I already had Citra installed on my Steam Deck, so I didn’t need to go dumpster diving to find a build.
If you venture down this path yourself, just be sure to get your displays set up the right way. It’s easy enough to do in Citra, but you might want to connect or pair a mouse. I found out the hard way that it’s practically impossible to move a window between screens using just a finger, without snapping a window.
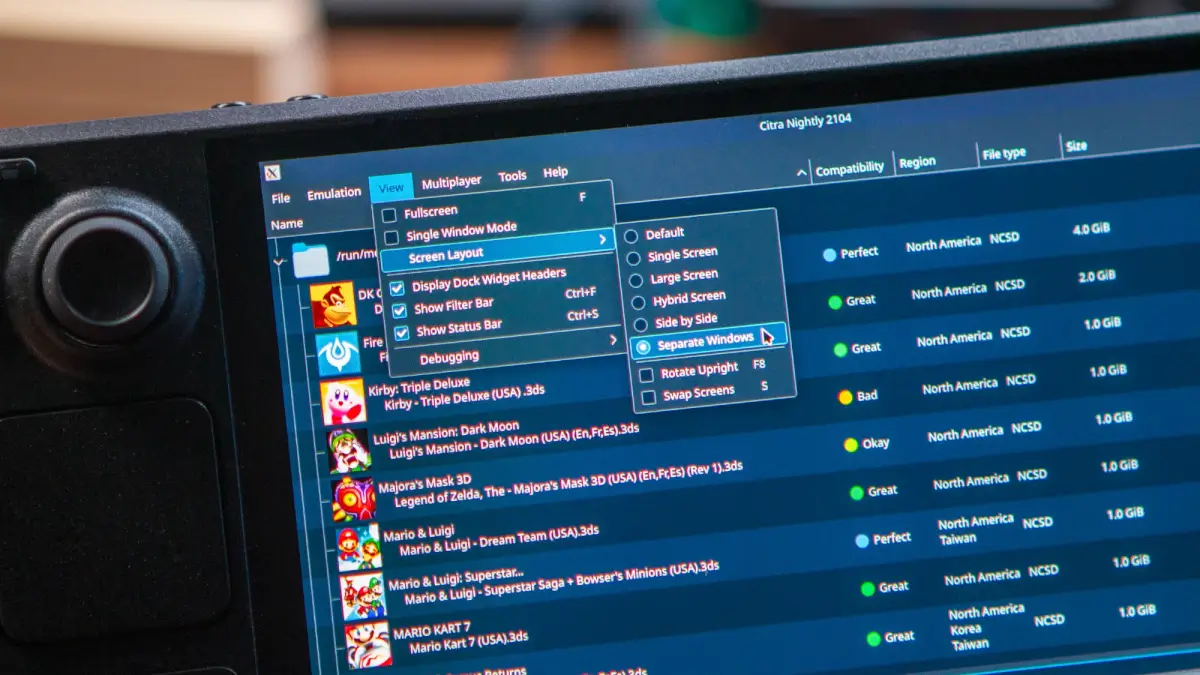
That being said, if you’re trying to do the same thing, here’s how you set up the screens:
- From Desktop Mode on your Steam Deck, open the Citra app.
- Click View in the Menu Bar.
- Hover over Screen Layout.
- Select Separate Windows.
- Launch the game that you want to play.
- Drag the secondary window to whatever screen you want the “bottom” of the DS/3DS interface to be.
- Drag the primary window into its proper position.
- If you want, you can right-click the icon in the top left corner, hover over More Actions.
- Select Fullscreen.
With everything in place, it’s time to make sure the controls are set up correctly and you can fire up your favorite 3DS games!
What Did We Learn?
I’m going to pull a trick out of Zu’s book here.
Well, we learned that even with patience, the right tools, and a little know-how, you shouldn’t try and reproduce every cool thing you see on the Internet. While Im ecstatic that I managed to get everything working and connected, I lost so much time.
In hindsight, would I try and undertake this project again? Ha, no. What I would do, is buy a display that already has a case attached, and maybe do a bit more research about USB hubs. The one I have works, but it’s from CalDigit and is made of metal. This adds a helluva lot of weight, and while the magnets are pretty strong, one wrong move and this behemoth is teetering over.
Plus, it kind of removes the whole “portability is king” idea that the DS and now Steam Deck stand for. Seriously, having a second screen is cool, but it doesn’t really matter. Just map Citra to switch between screens with a shortcut.
What did you think of this article? Let us know in the comments below, and chat with us in our Discord!
This page may contain affiliate links, by purchasing something through a link, Retro Handhelds may earn a small commission on the sale at no additional cost to you.

3 Comments
Be great if you included what you used to create this so others could do the same. I’d love to do this for myself but without knowing what screen to use, this article is less useful
Identity theft is not a joke Jim.
Millions of families suffer every year