We’ve seen a bunch of frontends, but a new service called RetroAssembly is offering a new way to access classic titles by offering a “retro game cabinet” directly in your web browser. The platform allows users to upload their legally obtained ROM files and play them on demand from anywhere via in-browser emulation, with saves automatically synchronized to the cloud.
I was right in the middle of writing this guide when they launched v2 of this incredible tool, so let’s jump in and explore some of the features of this update. What makes this service particularly exciting for tinkerers is that the entire platform can be self-hosted via Docker, giving users complete control over their own private retro game collection (Think Plex, but for games!)
RetroAssembly: Supported Platforms and Getting Started
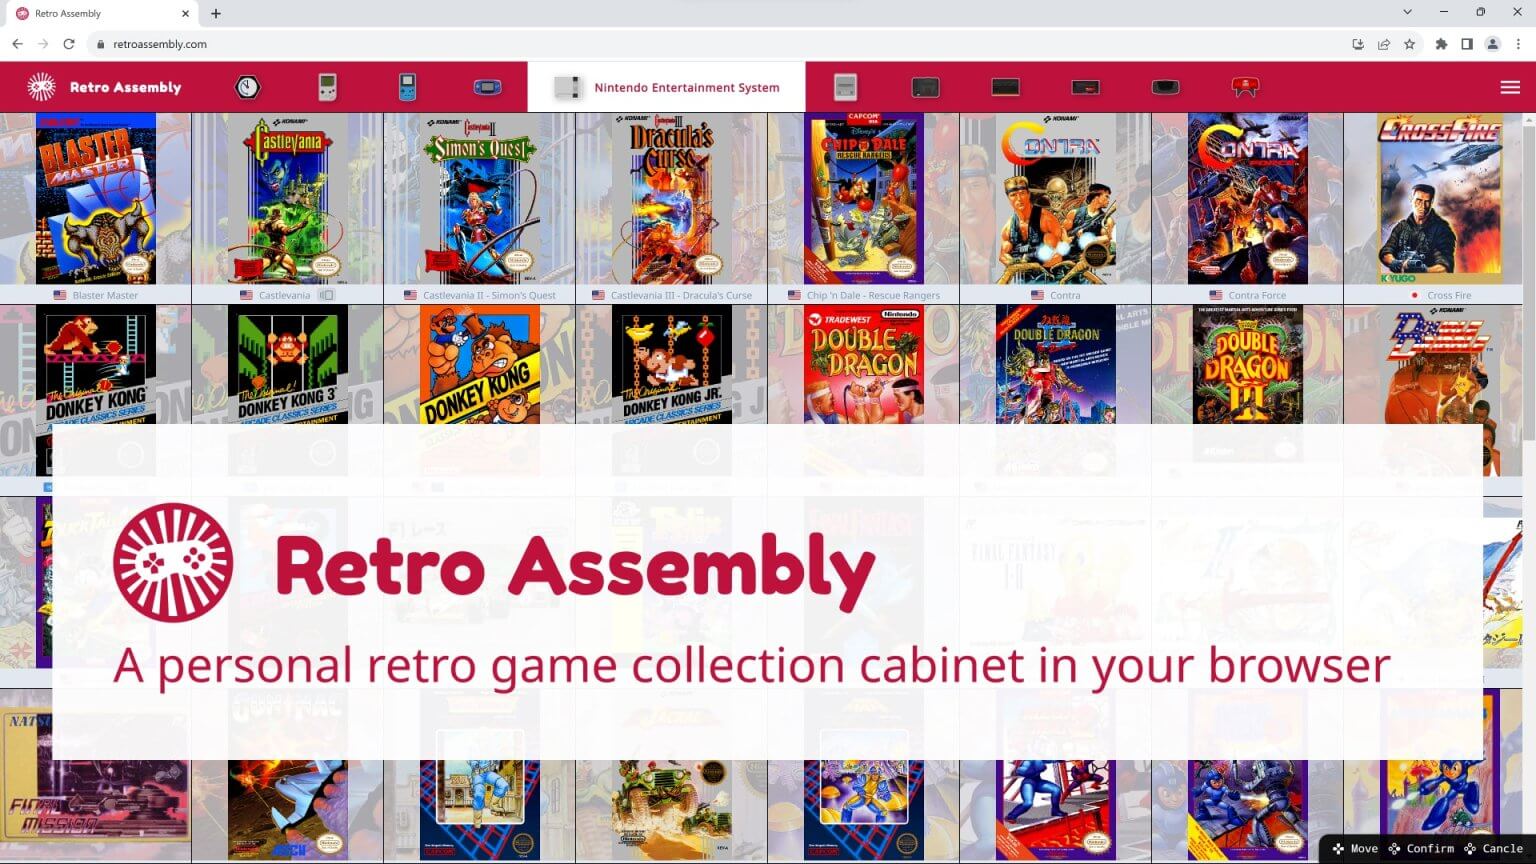
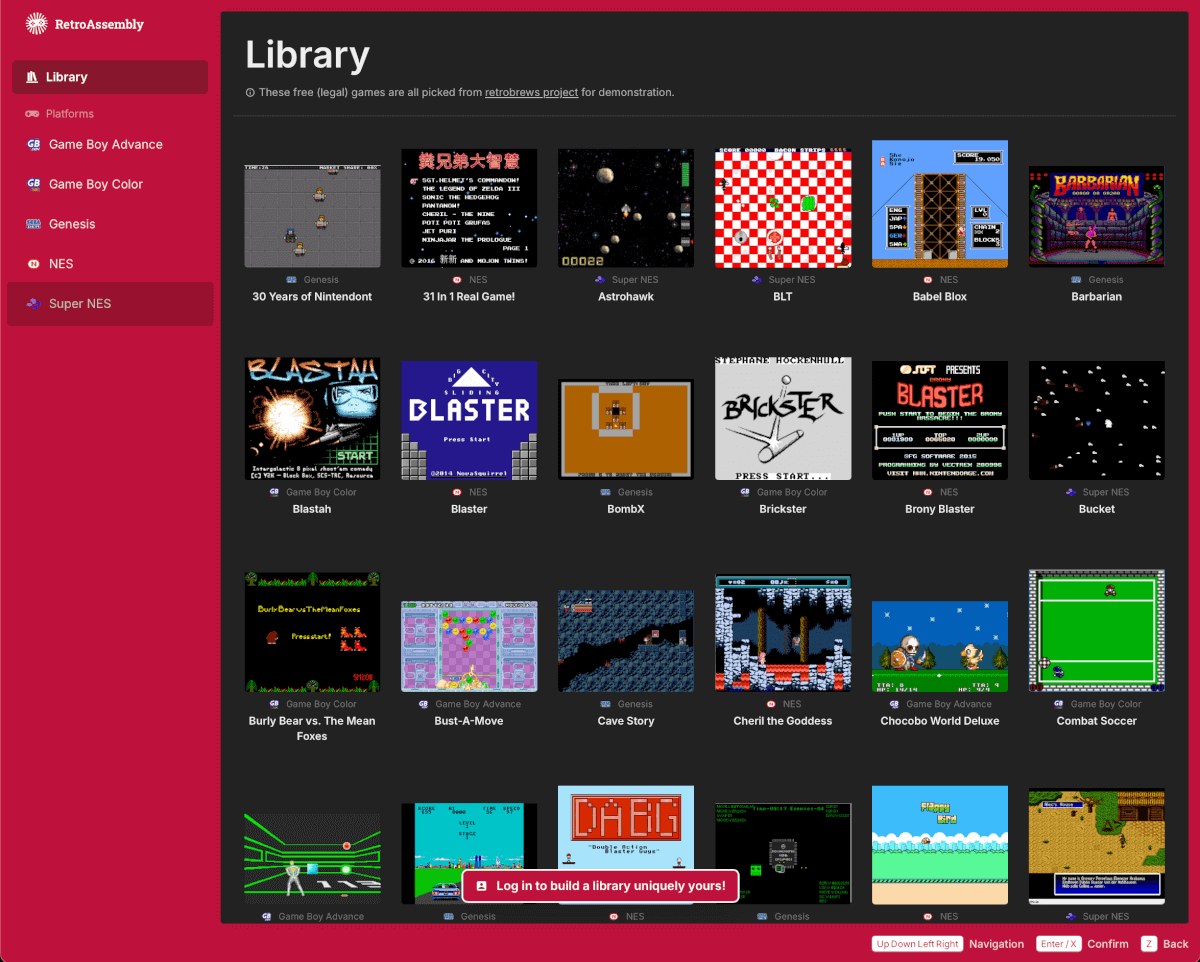
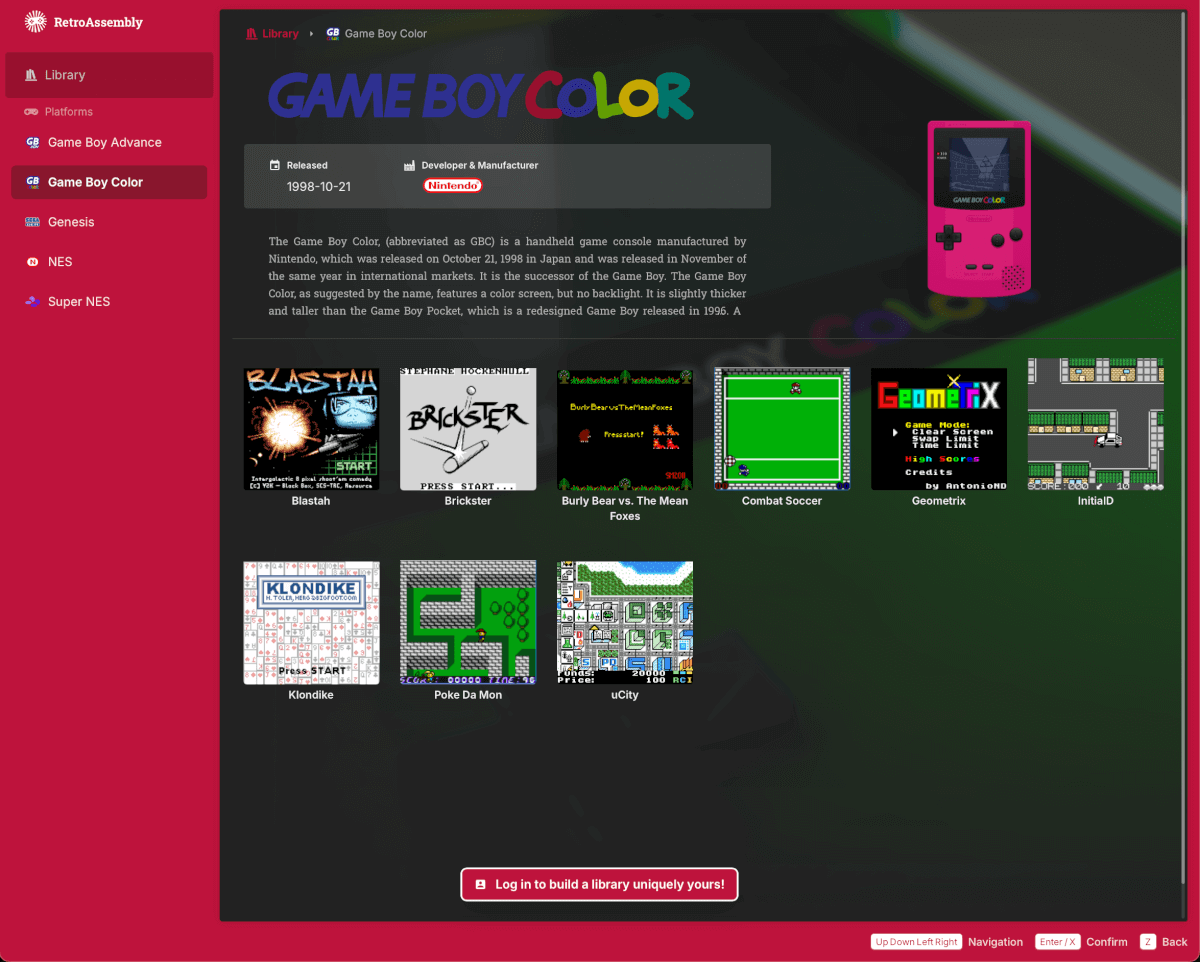
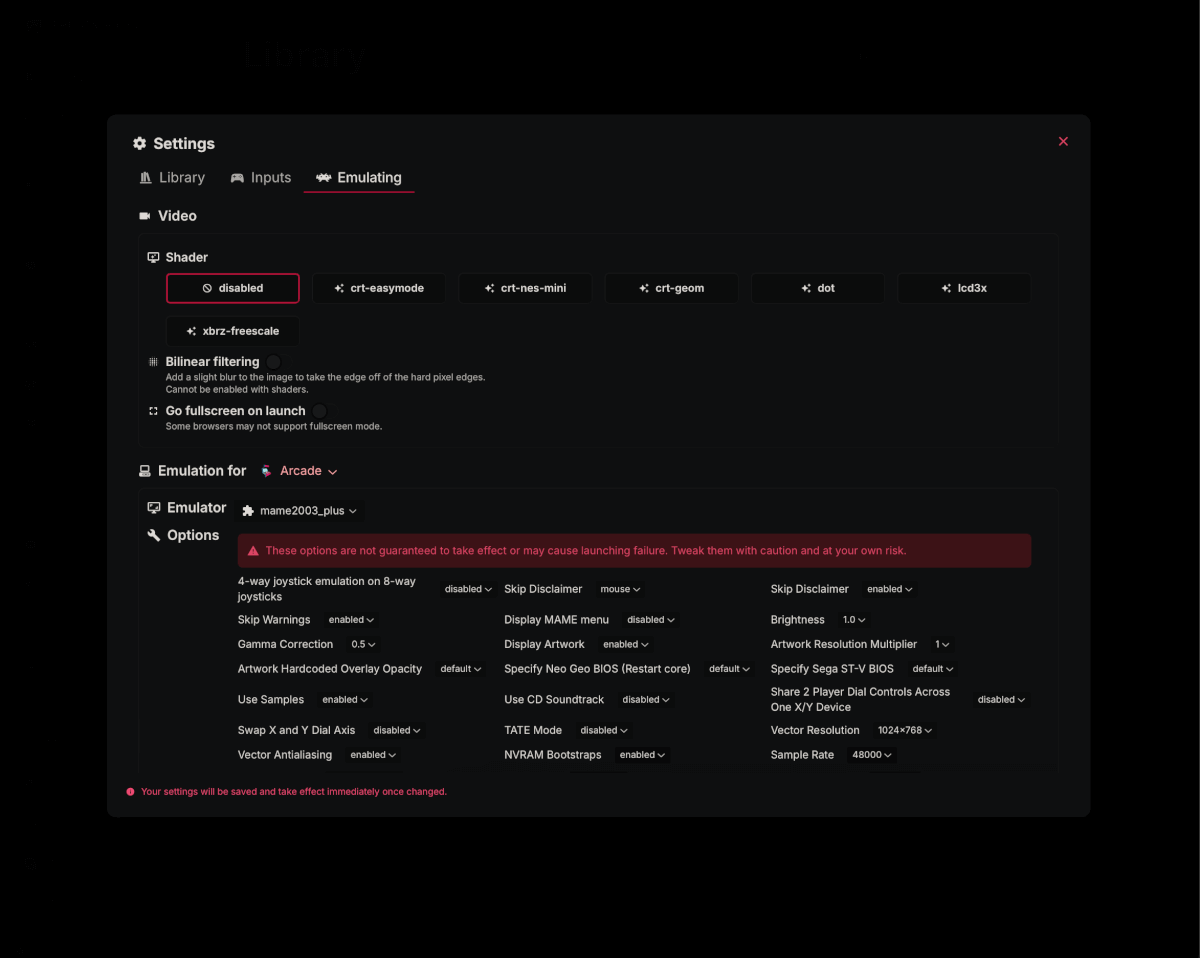
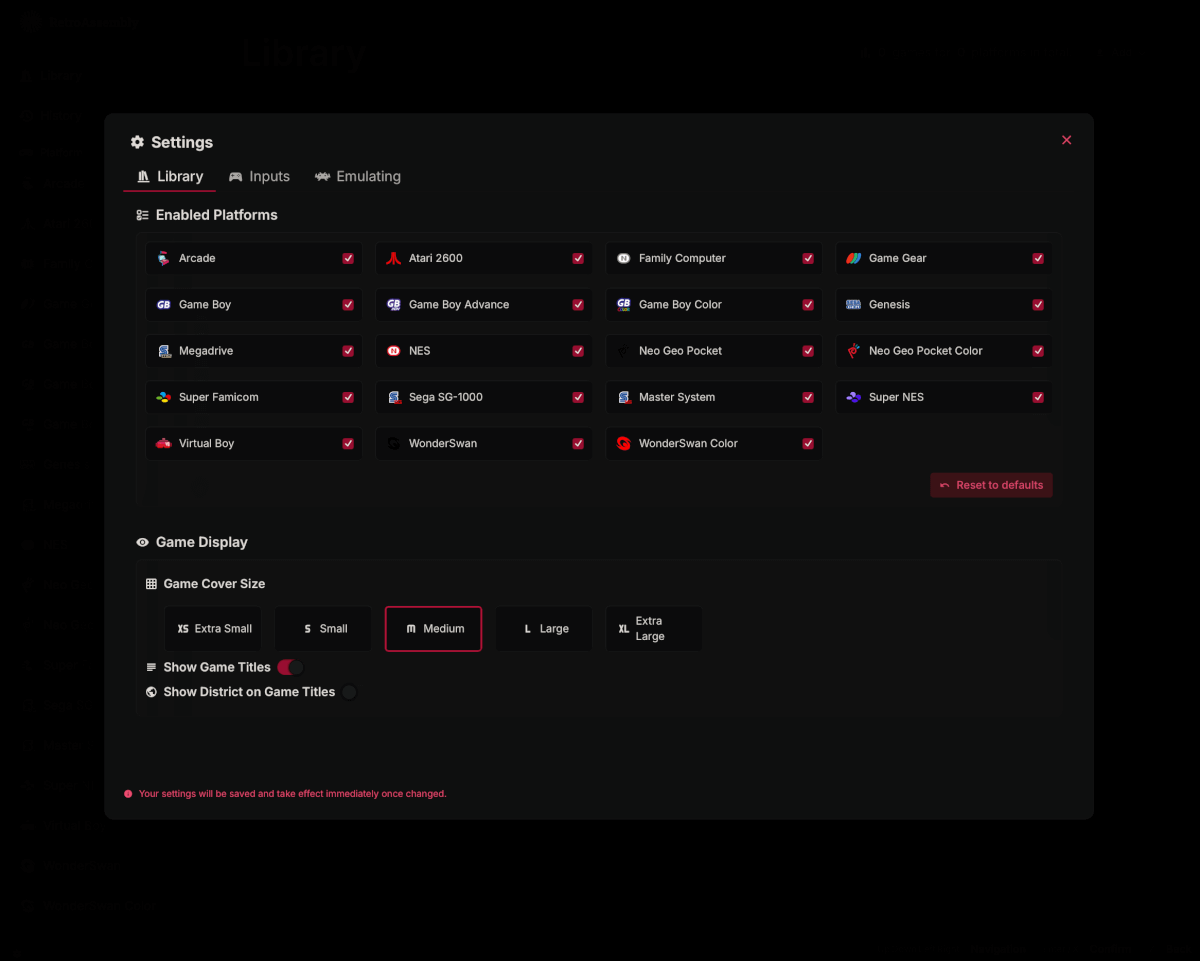
RetroAssembly supports NES, SNES, Genesis, Game Boy, Arcade, Atari 2600, Game Boy Advance, Game Gear, Master System, Neo Geo Pocket, Sega SG-1000, Virtual Boy, and WonderSwan, with emulation powered by the versatile Nostalgist.js library. Its interface is designed for ease of use, automatically scraping box art and supporting navigation with either a keyboard or controller. There is also shader support and other settings for power users. You can check out a demo of the platform in action here.
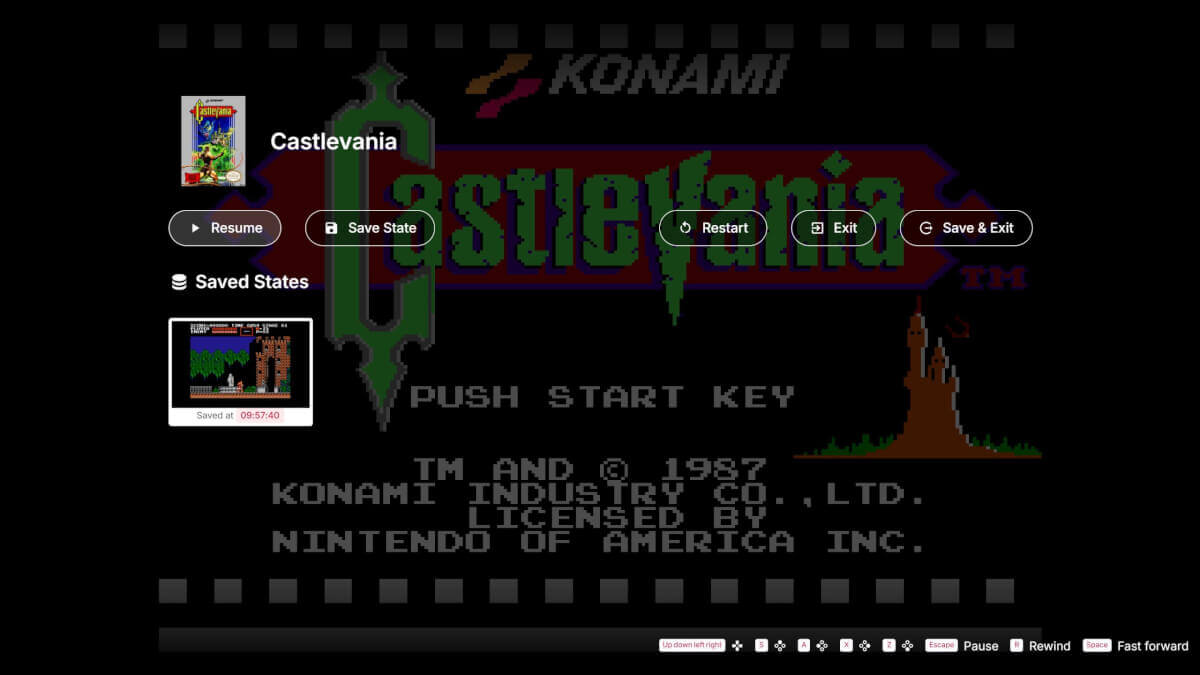
Version 2 introduces the ability to customize metadata and images, batch delete ROMs, customize menu controls, and other admin tools useful for self-hosters. Other conveniences include on-screen controls, the ability to rewind gameplay, and the ability to resume save states on launch.
For those eager to get started, there are two options: use the official hosted version or set up your own instance via Docker. Instructions for both are provided below.
Option 1: Use the Official Hosted Version (Recommended)
This method is perfect for users who want to jump straight into RetroAssembly without any technical setup.
- Visit retroassembly.com in your web browser.
- Log in and begin creating your personal game library by uploading your own ROM files.
- Once your ROMs are uploaded, simply select any game from your library to launch it directly in your browser.
- You can use the in-game menu to save your progress, which will be automatically synchronized for you to resume at your leisure.
Option 2: Self-Host RetroAssembly with Docker
This option is for advanced users who want full control and prefer to host their own private instance of RetroAssembly.This ensures your games and data remain entirely on your own hardware.
Prerequisites
- Docker must be installed and running on your system.
Setup Steps
- Create a Data Directory: First, create a folder on your host machine where RetroAssembly will store its data, such as your uploaded ROMs and save files. For example:
- Bash:
mkdir -p /path/to/your/data
- Bash:
- Run the Docker Container: Open your terminal or command prompt and run the following command. Be sure to replace
/path/to/your/datawith the actual path to the folder you just created.- Bash:
docker run -d --name retroassembly -p 8000:8000 -v /path/to/your/data:/app/data arianrhodsandlot/retroassembly -druns the container in the background.--name retroassemblygives your container a memorable name.-p 8000:8000maps port 8000 on your computer to port 8000 inside the container. You can change the first number if that port is already in use (e.g.,-p 8081:8000).-vmounts your local data directory into the container.
- Bash:
- Access Your Instance: Once the container is running, open your web browser and navigate to
http://<your-local-ip-address>:8000. You can now log in, upload your ROMs, and enjoy your self-hosted retro game cabinet.
How to Upload Your ROMs to RetroAssembly
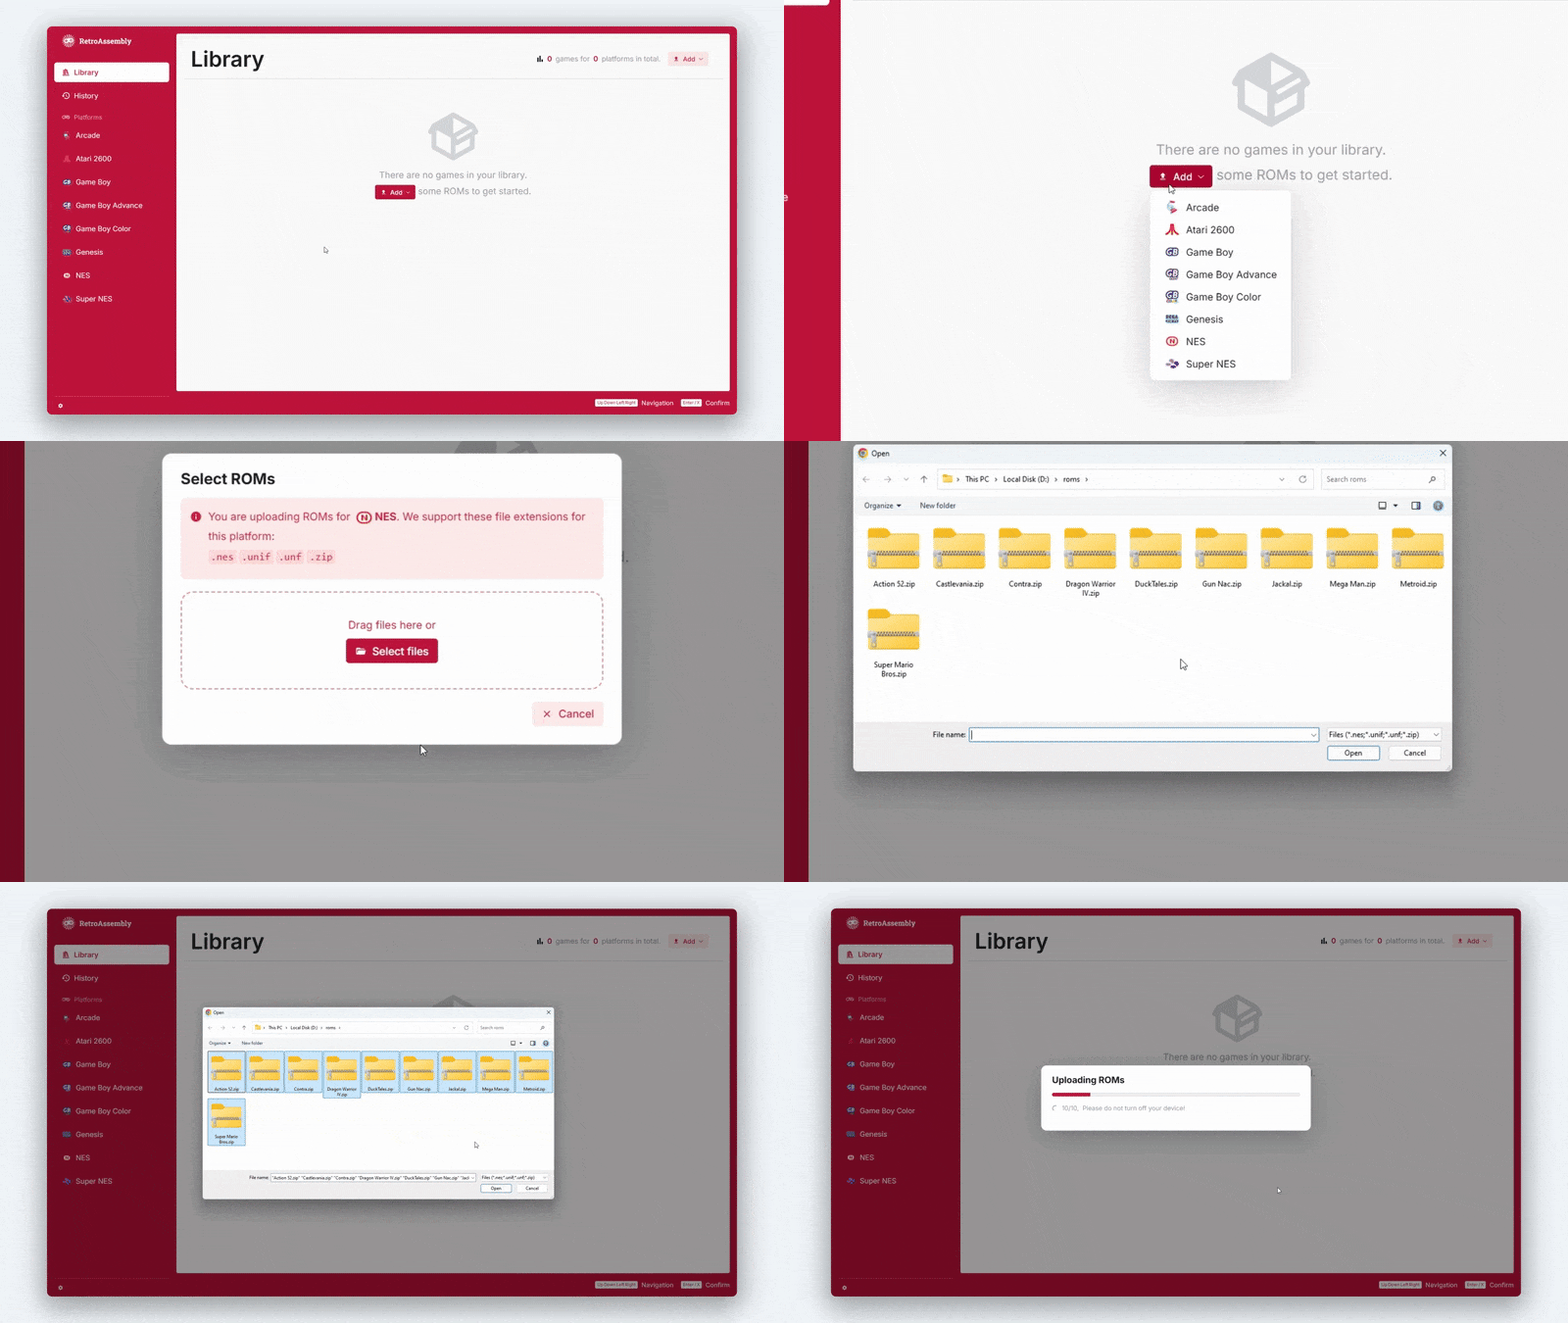
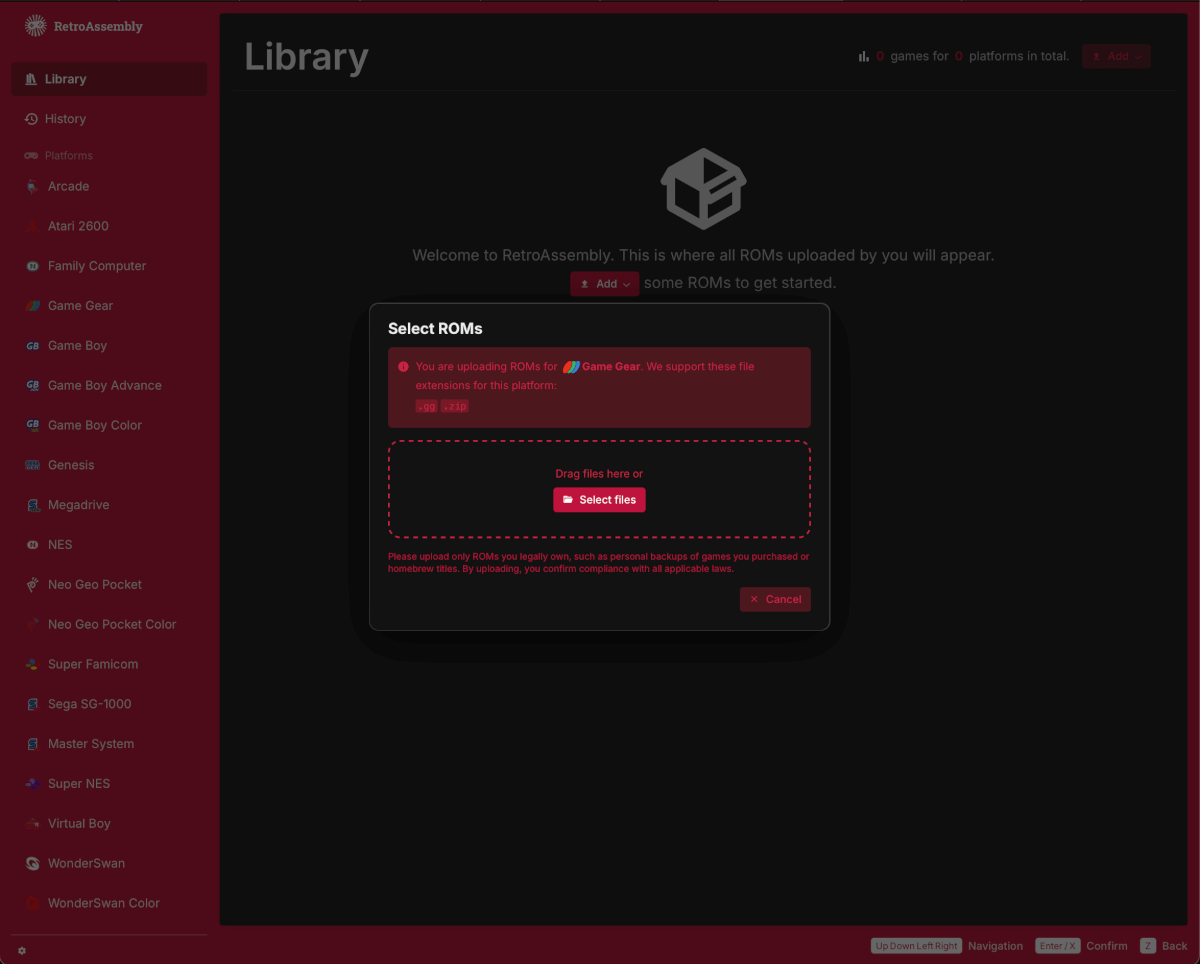
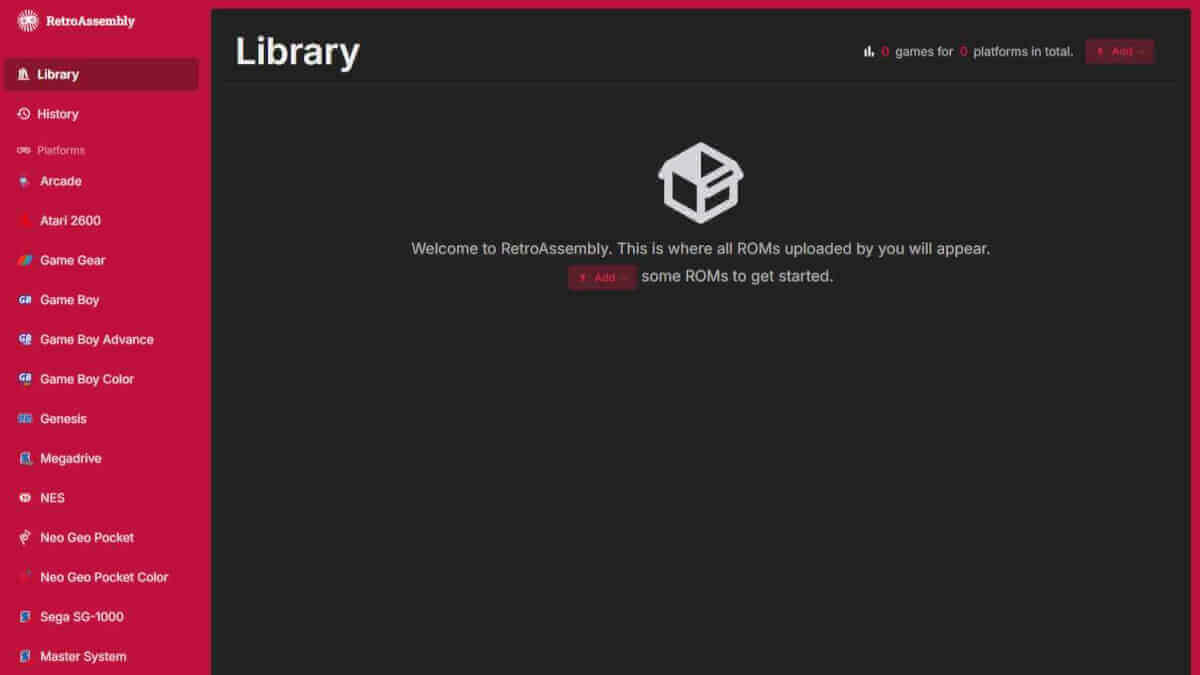
Regardless of which install method you choose, after the dust has settled, you’ll notice that your library is pretty barren. That’s an easy enough fix, however, as there’s a nice “Add” button right in the middle of the screen, so you can start uploading your collection of ROMs.
- Log in to your RetroAssembly instance.
- Click the Add button.
- Select a Platform from the drop-down menu.
- Either drag-and-drop the file or click the Select files button. Then, navigate to and select the ROM(s) you want to upload.
- You’re able to upload up to 100 files at a time.
- After a few moments, the game will appear in your Library!
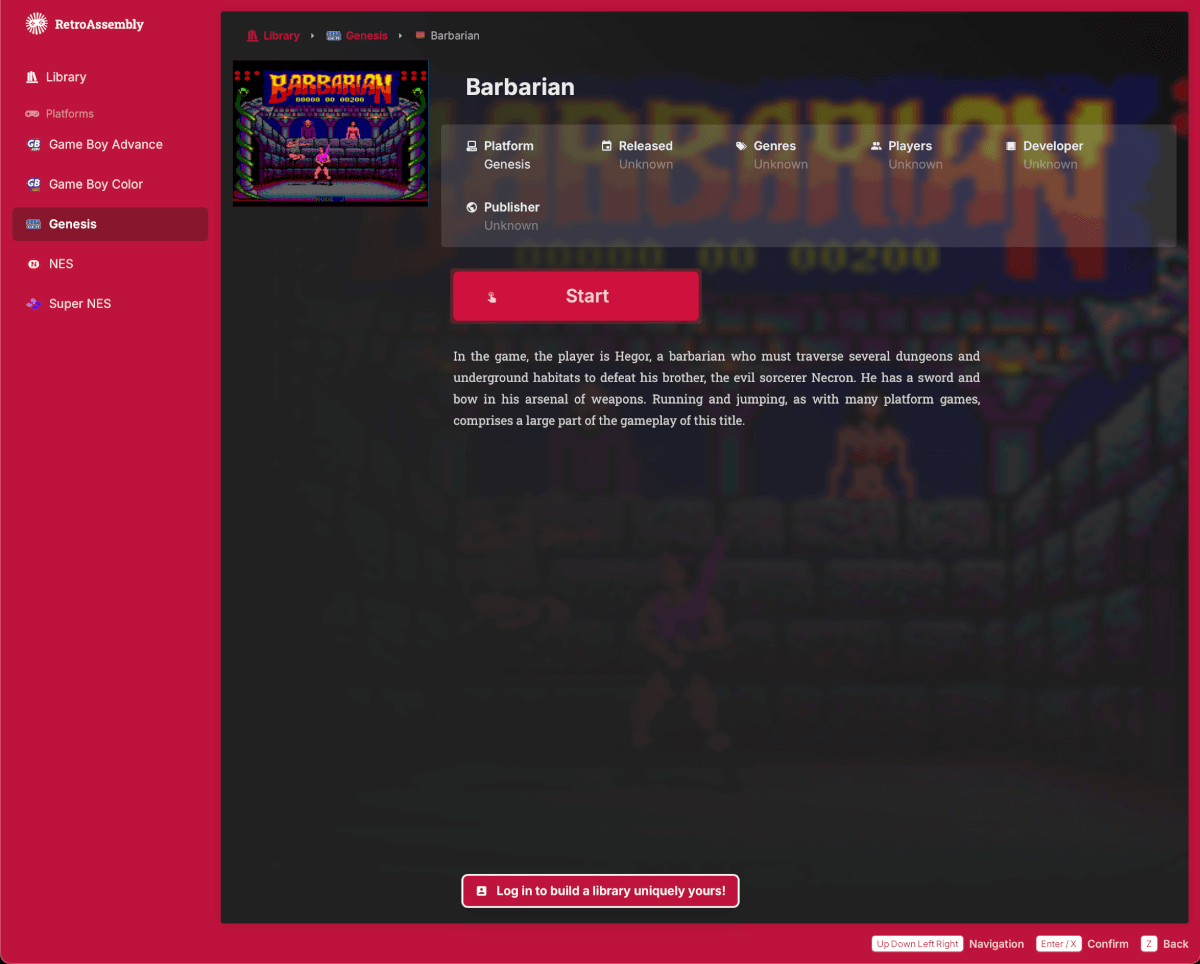
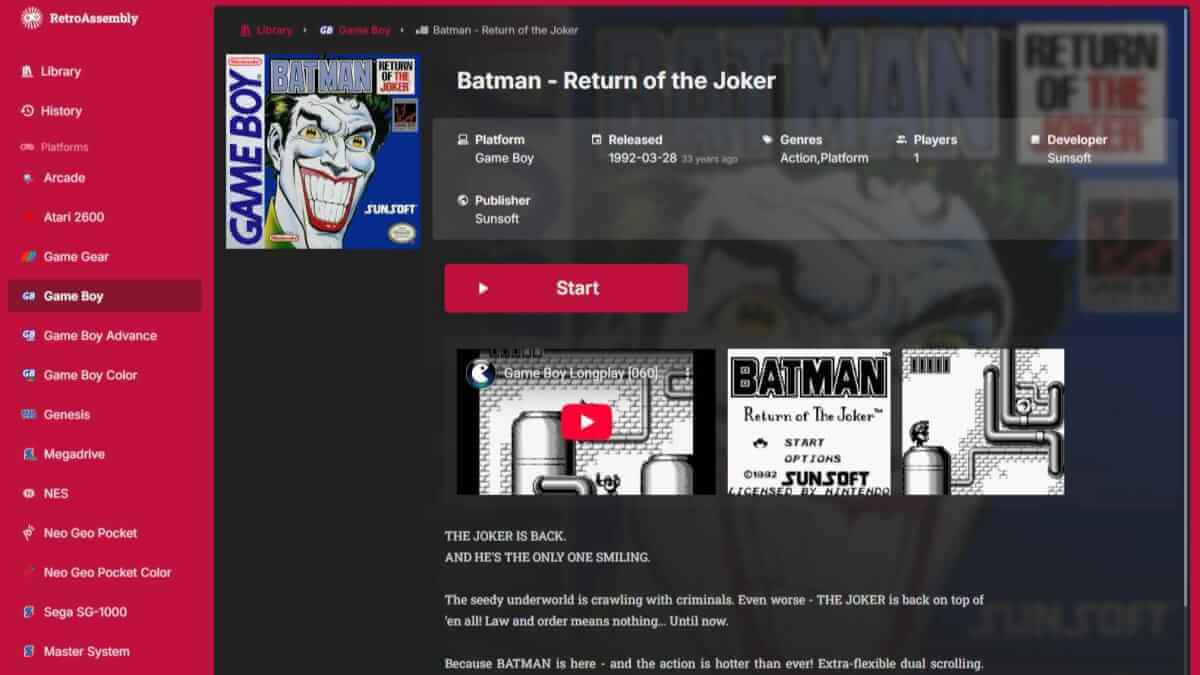
Each game has its own landing page, complete with artwork, game-specific information, and of course, a big ole’ Start button. Just click the button to start playing and enjoy!
Access Your ROMs From Anywhere
It’s one thing when you have a massive library of retro games at your disposal, but that doesn’t do you any good if you left your handheld behind. Or maybe you want to get started on the latest Game of the Month, only to realize that it’s not on your handheld for one reason or another. RetroAssembly aims to help with that, as your entire collection is accessible right from the browser.
What makes this great is that RA isn’t even the only web-based ROM cloud server out there. There are actually more options than you might realize, with RomM likely being one of the first that comes to mind. But instead of “competing,” each of these offers a different experience from the next, giving you the flexibility to choose the app that works best for you and your needs. And as we’ve shown in this RetroAssembly setup guide, getting up and running is rather effortless and doesn’t take up too much time.
What did you think of this article? Let us know in the comments below, and chat with us in our Discord!
This page may contain affiliate links, by purchasing something through a link, Retro Handhelds may earn a small commission on the sale at no additional cost to you.

4 Comments
Would a chrome browser on an android handheld have enough power to use this well?
The games should run just fine. It’s the controls you may need to worry about. Not sure how much work has been put into touch screen integration
It’s not great.
The controls work, but they don’t capture the screen so the phone will get confused if you’re using the controls or trying to Interact with the browser
Does this play nice with RetroAchievements?