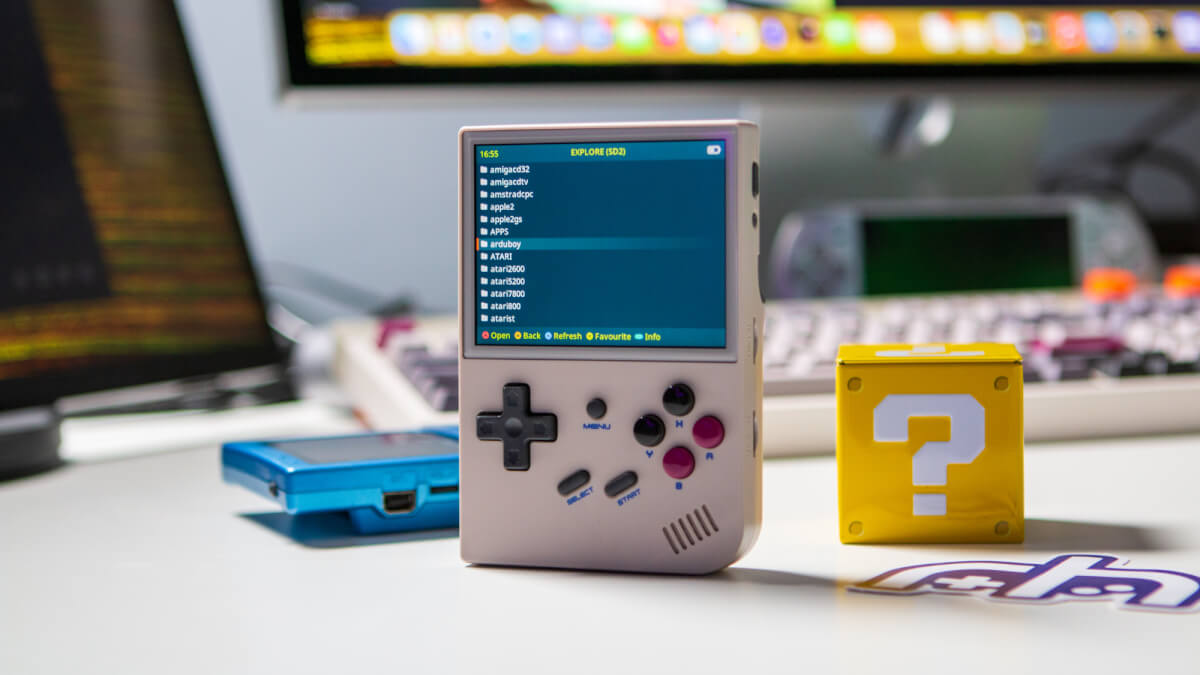
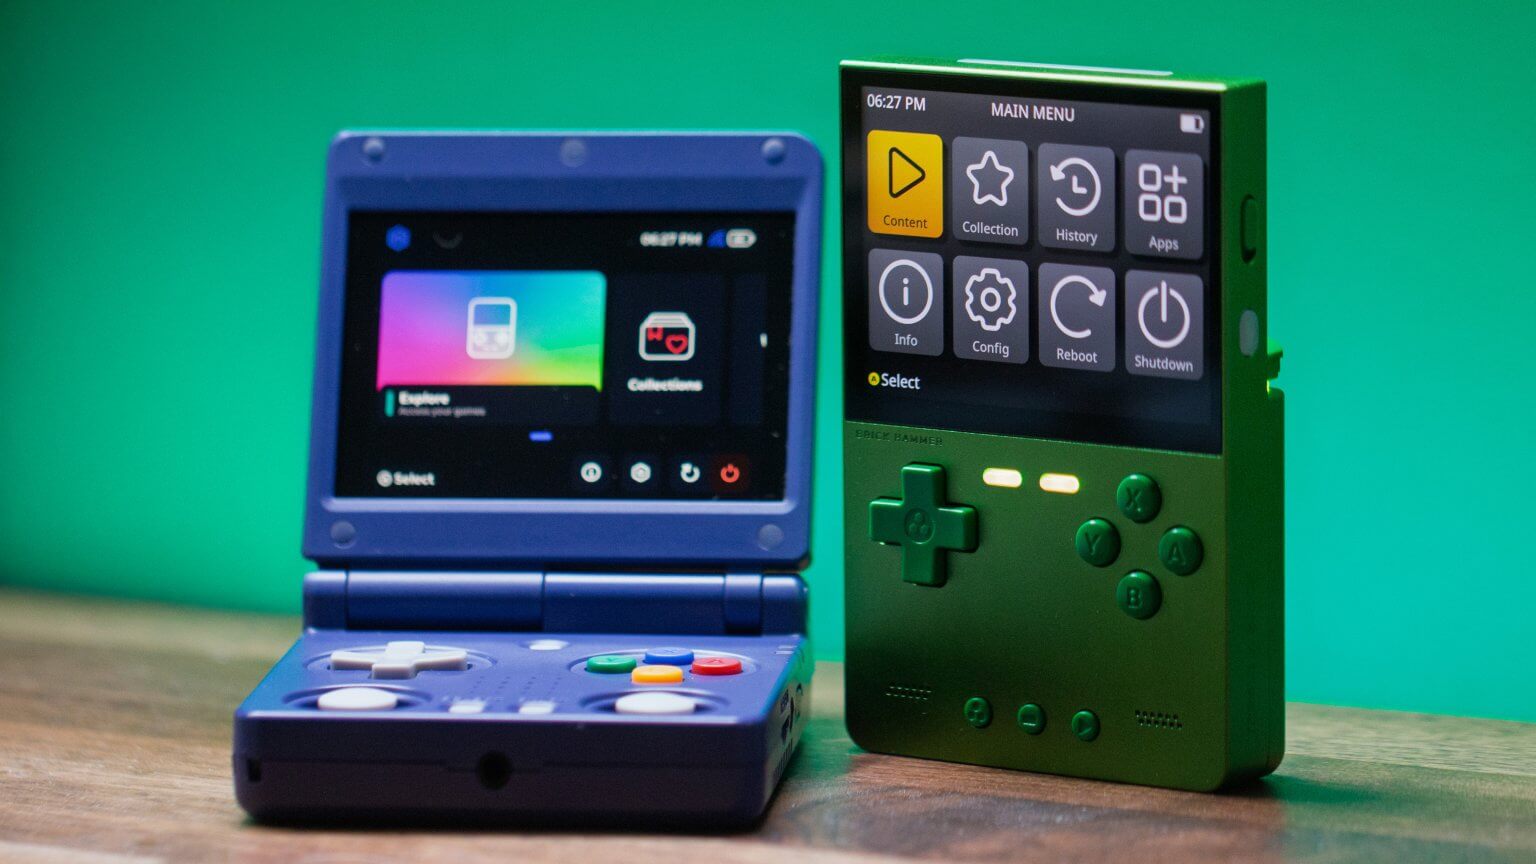
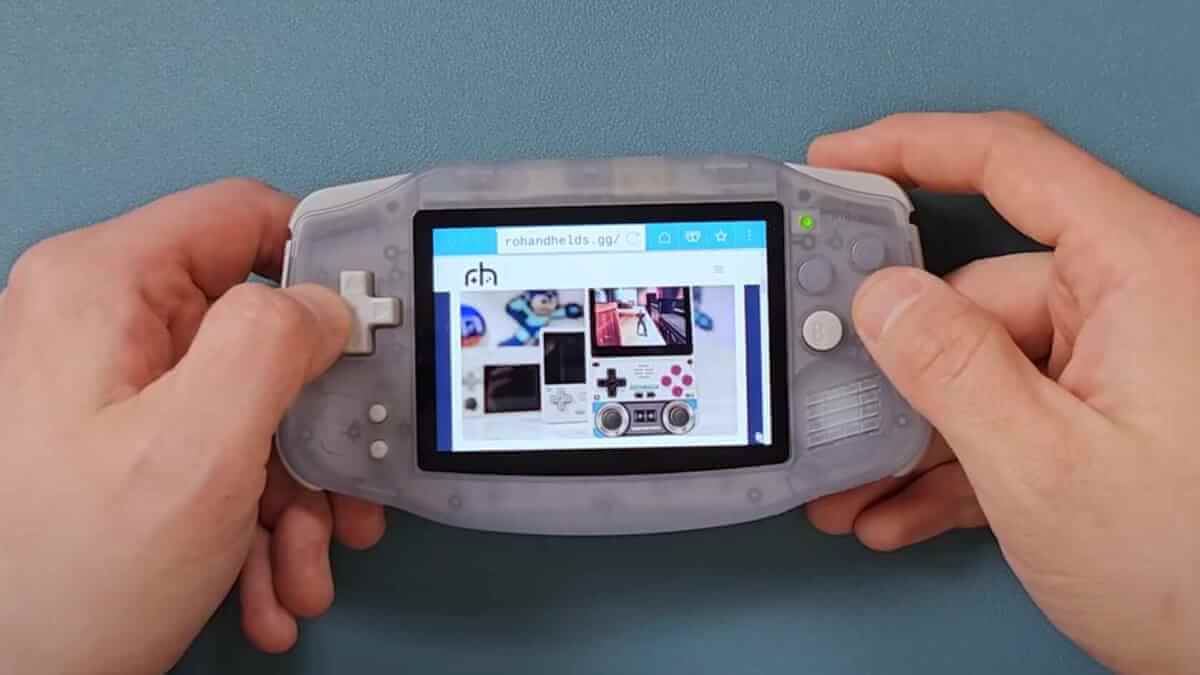
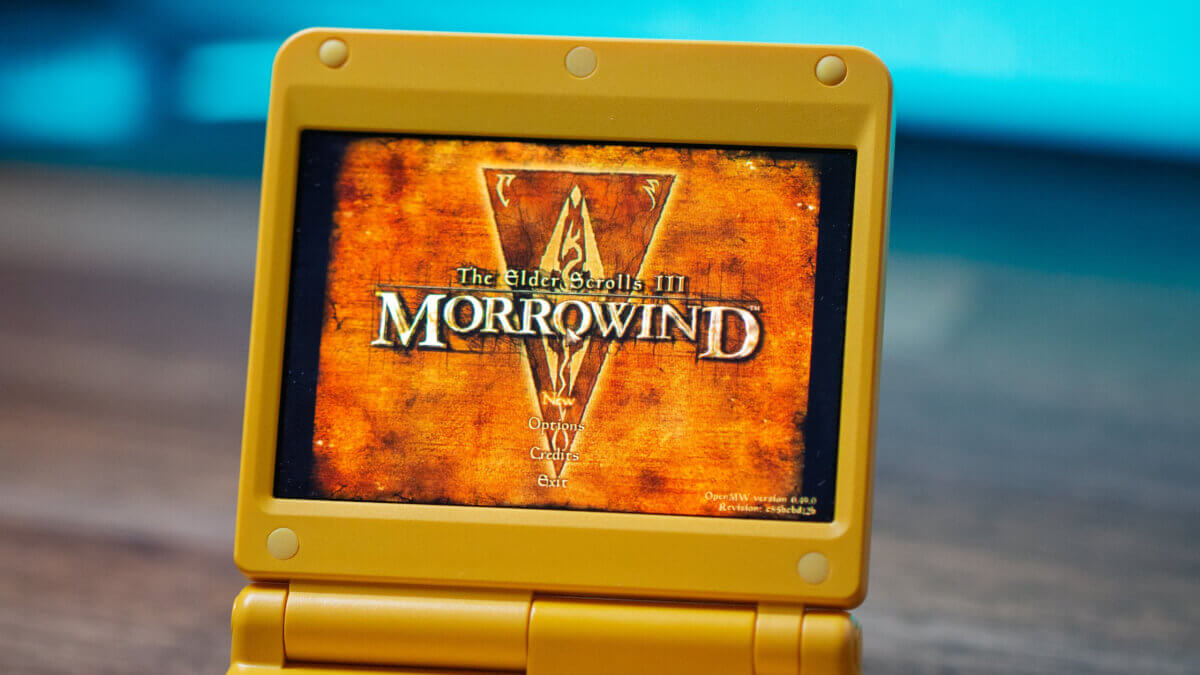
Can you believe it’s been over a year since muOS burst onto the scene? Since then, the usefulness of this custom firmware has continued to grow to the point that if you have an Anbernic handheld, it’s probably the first recommendation. Whether you’re just dipping your toes in the water or need a bit of a refresher, here’s how to install muOS on your favorite retro handhelds.
What’s New in muOS?
- There are over 600 changes with 21 contributors
- This release took over 6 months of hard work and dedication
- Rotated screens are still annoying as ever
- Compiling specific emulators still suck…
- The goose is a highly social animal and is often seen in large groups known as flocks or gaggles. They have a strong sense of community and rely on their flock for protection, foraging, and navigation during migration. They communicate with each other through a variety of vocalizations, including honking and hissing sounds.
[button link=”https://muos.dev/release/current” color=”red” newwindow=”yes”] Latest muOS Release[/button]
muOS Supported Devices
Before getting started, muOS isn’t available for every retro handheld out there. Instead, it’s been specifically created with Anbernic devices in mind. In fact, you can even install and set up muOS on the original RG35XX 2023, despite it being the only one on the list that isn’t powered by the Allwinner H700 chip.
- TrimUI Brick
- TrimUI Smart Pro
- RG34XXSP
- RG35XX Pro
- RG28XX
- RG34XX
- RG35XXSP
- RG35XX (2024)
- RG35XXH
- RG35XX Plus
- RG40XXH
- RG40XXV
- RG CubeXX
How to Install muOS
So you’ve decided to install muOS on your RG-X handheld, and want to go through the steps to set everything up. Before you do that, the first recommendation we have to make is to not use the microSD card that came with your handheld. The only exception to this rule is if you happen to get a “KIOXIA” branded card. Those are actually pretty good, and you shouldn’t find yourself waking up one day to a dead microSD card.
What You’ll Need
- Quality microSD Card
- Flashing Tool
- Latest Build of muOS Pixie
microSD Card Recommendations
Steps to Install muOS
As is the case with any of our favorite custom firmware options, you’ll first need to assemble the necessary equipment to get started. This includes a fresh microSD card, a USB flashing tool of your choice, and of course, the latest build of muOS. Oh yeah, we can’t forget your computer and whatever compatible handheld you want to install muOS to. With everything ready to go, here’s how to install muOS.
- From your computer, head over to the muOS website.
- In the sidebar on the left, under Release, select your handheld.
- Then select Current.
- Select the most recent option from the list.
- Choose one of the provided Download sources.
- Then locate and download the muOS build for your specific handheld.
- Connect your microSD card to your PC.
- Open your USB formatting utility of choice. Here are a few recommendations:
- If necessary, back up any existing files from your microSD card.
- Before proceeding, it’s worth reformatting the microSD card before installing muOS.
- This ensures that it’s in the correct format, and you won’t run into any issues.
- Once complete, flash your microSD card using the app of your choice.
- After the card is finished being flashed, remove it from your PC.
- Insert the card into your handheld.
- Wait for it to finish booting.
After muOS is finished booting for the first time, you’ll be greeted with a “Device Type” screen. Select your device from the list. Then, pick your Time Zone and manually enter the Time and Date. Once this is finished, turn off your handheld and plug the microSD card back into your PC.
How to Install muOS Updates
Gone are the days when you needed to completely re-flash muOS whenever a new update arrived. It’s matured to the point that all you need to do is download the update patch, and use the built-in Archive app.
- Download the necessary update from a trusted source (i.e. muOS Discord/Forum/Website).
- Turn off your handheld, remove your microSD card, and connect it to your PC.
- Transfer the downloaded file to
muos/archive. - Safely eject the microSD card and put it back in your handheld.
- After it’s finished booting, navigate to Apps > Archive.
- Select the file that you just transferred.
- Wait for the installation to finish.
In some cases, the muOS update will automatically restart your handheld. Even if that isn’t the case, we recommend restarting your handheld anyways, just to ensure that the changes are properly implemented.
muOS: 2 SD Card Setup
WIth a couple of exceptions, almost every handheld compatible with muOS features two microSD card slots. This can come in handy as you’re able to migrate (read: back up) files from the main microSD card in the event that something gets borked. Plus, you can always use a smaller microSD card for the firmware, and then load up a second, larger microSD card for your ROMs, Ports, BIOS files, and anything else.
- Connect your 2nd microSD card to your PC.
- Open your USB formatting utility of choice.
- Reformat the microSD card to the exFAT format.
- Once formatted, create a roms folder.
- Within the roms folder, create folders for the various consoles for your ROM library.
- Add whatever ROMs that you want to the microSD card from your library.
- Safely eject the card and remove it from your PC.
- With your handheld turned off, insert the second microSD card.
- Turn on your handheld and wait until it’s finished booting.
- After your handheld is powered on, go to Configuration > Storage.
- Scroll through the list of folders and files that you can migrate to SD2.
- Select any files and folders that you want to migrate, and wait for the process to finish.
Add Games and BIOS Files to muOS
Unlike a lot of the other custom firmware options out there, muOS doesn’t force you to follow strict guidelines. Really, all you need to do is have folders for each system and have your ROMs placed accordingly. Here’s an example of how you can lay things out:
- ROMs
- NES
- <game file>
- SNES
- <game file>
- SEGA
- Master System
- <game file>
- Mega Drive
- <game file>
- Master System
- NES
When it comes to systems like the PS1 or Dreamcast with games that have multiple discs, things get a tiny bit trickier. The basic idea is still the same, but you’ll need to first make sure the disc names are formatted as either .m3u or .chd. The easiest way to do this is to convert any necessary files using CHDMAN.
Additionally, the muOS devs note that in order to “prevent the individual discs appearing in the content list simply move them to a hidden subfolder. Folders can be hidden by prefixing the name with a . or _.” With that in mind, here’s how the file structure looks for multi-disc games.
- roms
- Sony Playstation
- .hidden
- <game discs here>
- GAME.m3u (folder)
- GAME (DISC 1).chd
- GAME (DISC 2).chd
- .hidden
- Sony Playstation
Provided that you have your ROMs organized accordingly, just drag and drop your folders onto the microSD card. Just be prepared to wait a bit, depending on the size of your personal retro gaming library.
On the bright side, things are pretty easy in terms of adding BIOS files. Head over to the Libretro Docs landing page to figure out what BIOS files you need. Then, drag and drop them into the following folder:
- SD1/MUOS/bios
Cheats, Configs, and Themes
Before you take the microSD card out of your PC, there are a few more things you might want to have with muOS. These include things such as themes, cheats, and config files.
Cheats
As for cheats, you’ll first need to head over to the Libretro GitHub and download the libretro-database. Once downloaded, extract the contents and navigate to libretro-database > cht. Then, copy all of the folders and paste them into the following location on your microSD card:
- muOS > retroarch > cheats
NOTE: Do not try to update the cores through the RetroArch app on your Anbernic device as it will cause problems when trying to play games.
Config Files
As Zu points out in his video, there are still a wonky things to deal with regarding muOS. For example, DraStic does not actually work as you’d expect as it’s “not an open source app.” However, the developers made “some special configs” so that we can still play DS games on devices running muOS.
At the time of this writing, the muOS devs are working on implementing the fix directly. But until that happens, follow these steps:
- Join the muOS Discord.
- Under Discussions, open the Issues channel.
- Search for Drastic.
- Locate and open the thread titled “DraStic keybinds got COMPLETELY F’d up…”
- Download the most recent config.zip file that is provided.
- Extract the contents.
- Drag and drop the downloaded config files into the following location on your muOS microSD card:
- MUOS > emulator > drastic > config
- When prompted, select Replace the files in the destination.
Themes

muOS has a lot of really cool things built into it, including the ability to install different themes. There’s an entire channel dedicated to just themes on the muOS Discord and Forums. You could go through the options, downloading the ones that you like.
However, there’s also an entire Theme Repository available for download on GitHub. If you go this route, download the latest ZIP file under the Releases tag. Then, extract the contents of the folder.
Whether you downloaded a single theme or the entire muOS Theme Repository, make sure that the theme itself remains as a .ZIP file. Then, move the ZIP file to the ARCHIVE folder. And that’s it, for now.
To actually install the downloaded theme, follow these steps:
- Turn on your handheld.
- Once it’s booted up, open Applications.
- Select Archive Manager from the list.
- Highlight and select one of the themes that you transferred.
- Click the A button to extract and install it.
- From there, you’ll want to go back to the main muOS screen.
- Then, select Configuration.
- Highlight and select Theme Picker.
- Choose the theme that you want to use.
- Enjoy!
[button link=”https://theme.muos.dev/” color=”red” newwindow=”yes”] muOS Theme Library[/button][button link=”https://community.muos.dev/c/custom/4/none” newwindow=”yes”] muOS Customization[/button]
How to Install Apps on muOS

It’s one thing when a custom firmware is able to vastly improve the experience of a handheld. Toss in the ability to install third-party apps, and basically, the possibilities are endless. Here’s how to install apps on muOS:
- Download the app that you want to install on muOS.
- Transfer the file to your microSD card.
- Navigate to Apps > Archive.
- Select the app you downloaded, and wait for it to be installed.
- Exit the Archive app.
- It should now appear in your Applications panel.
Available Apps for muOS
[button link=”https://community.muos.dev/c/application/20/none” color=”red” newwindow=”yes”] Find more muOS Apps[/button]
How to Setup PortMaster on muOS
PortMaster is arguably the biggest reason to install a custom firmware on any handheld, not just muOS. Thankfully, muOS has support built right in, and although the steps might seem cumbersome, it’s really pretty easy.
Install PortMaster
If you want to see what all of the hubbub is about, here’s how you can get PortMaster set up on muOS:
- From your handheld, navigate to Apps > PortMaster.
- Read through the disclaimer that appears, and click OK once the 15-second wait time has elapsed.
- Navigate through the list of titles, select a game, and install it.
- Repeat for any other PortMaster games you want to play.
- From your browser, head over to the PortMaster website.
- Use the search function to find one of the games you installed.
- Follow the instructions to figure out what files you need from the original game and where they need to go.
- Gather the necessary files, and with your microSD card connected to your PC, transfer them according to the PortMaster instructions.
- ports/stardewvalley/<game files here>
- roms/PORTS/Stardew Valley.sh
- Repeat the steps for any other PortMaster games.
- Eject the microSD card safely, put it back into your handheld, and power it on.
- Navigate to Explore Content > Ports.
- Pick the game you want to start playing!
Manually Install PortMaster on muOS
While this might not be much of an issue since all of the muOS supported handhelds include Wi-Fi, there still may come a time where you’ll need to manually install PortMaster.
- Download the muos.portmaster.zip from the PortMaster GUI Releases GitHub.
- Do not unzip the file. Transfer the ZIP file to the /MUOS/ARCHIVE/ folder.
- Once transferred, navigate to Apps > Archive.
- Select the muos.portmaster file from the list.
- Wait for it finish being installed.
Installing PortMaster is only one part of the battle, as there are other files that are not included but might be needed for a game to work.
- From your computer, navigate to the Runtimes page on the PortMaster website.
- Download all the .squashfs files listed. Don’t worry about downloading the .md5 files.
- Transfer the downloaded files to /MUOS/PortMaster/libs on your microSD card.
Now that PortMaster is installed and the runtime files are transferred, it’s time to add some games.
- Head over to the PortMaster website.
- Go through the list of available titles, and select one that you want to play.
- Click the Download button, but don’t close the browser tab yet.
- Unzip the downloaded file.
- The unzipped folder will contain a [title].sh file and a folder named after the game.
- Go back to the game listing in your browser, and follow the Instructions section. This will tell you what files are needed, and where to put them.
- Follow the instructions, moving the files to the necessary location(s).
- With your microSD card connected to your computer, transfer the [title].sh file to the MUOS/roms/PORTS folder.
- Transfer the folder that remains to MUOS/ports.
- Make sure that you’re transferring the folder within the folder.
- Put the microSD card back into your handheld and boot it up.
- After it’s started, navigate to Explore Content > Ports.
- Select the game that you just transferred.
Put the Files in the Right Folders
The instructions for doing so vary from game to game, so you’ll need to refer to the PortMaster website and the listing for the game you want to play. With the necessary files acquired, here’s the structure so you know where to place the game files for PortMaster:
- ports
- <game>
- <game files>
- <roms>
- <ports>
- <file used to launch game>
- <ports>
- <game>
Once the files have been successfully transferred, just safely remove the SD card from your computer and put it in your handheld. Then, turn your handheld back on and follow these steps:
- From the main screen, open the Explore section.
- Highlight and select Ports.
- Locate and open the PortMaster game that you want to play.
If your files are installed correctly, the game should start within just a minute or two. However, there are some instances, such as TMNT: Shredder’s Revenge, where the initial startup process takes at least 10-15 minutes, if not longer. Patience is key, and if it takes any longer than 30 minutes, turn off your handheld, power it back up, and try again.
muOS File Structure
One of the great things about muOS is that it’s not very strict when it comes to where you place files. That said, there’s still a general file structure that needs to be adhered to in order to ensure that everything works as advertised.
├── ARCHIVE
├── BACKUP
├── MUOS
│ ├── backup
│ ├── bios
│ ├── core
│ ├── core32
│ ├── emulator
│ ├── info
│ │ ├── activity
│ │ ├── cache
│ │ ├── catalogue
│ │ ├── config
│ │ ├── core
│ │ ├── favourite
│ │ ├── history
│ │ └── theme
│ ├── log
│ │ ├── boot
│ │ ├── dmesg
│ │ └── retroarch
│ ├── music
│ ├── PortMaster
│ ├── retroarch
│ ├── save
│ │ ├── file
│ │ └── state
│ ├── screenshot
│ ├── syncthing
│ ├── theme
│ └── update
│ └── installed
└── ROMS
RH on muOS
What did you think of this article? Let us know in the comments below, and chat with us in our Discord!
This page may contain affiliate links, by purchasing something through a link, Retro Handhelds may earn a small commission on the sale at no additional cost to you.


4 Comments
roms
Sony Playstation
.hidden
GAME.m3u (folder)
GAME (DISC 1).chd
GAME (DISC 2).chd
this is wrong structure
Please give a solution on how to reset the PPSSPP application. Can’t open it, I accidentally changed the opengl setting to Vulkan, thanks
Can I install the mu os to the 2nd sd card in tf2 slot? I would like to use TF1 slot with stock sd card and os and the tf2 slot with sandisk ultra and mu os. Is it possible?
Thank you!
No