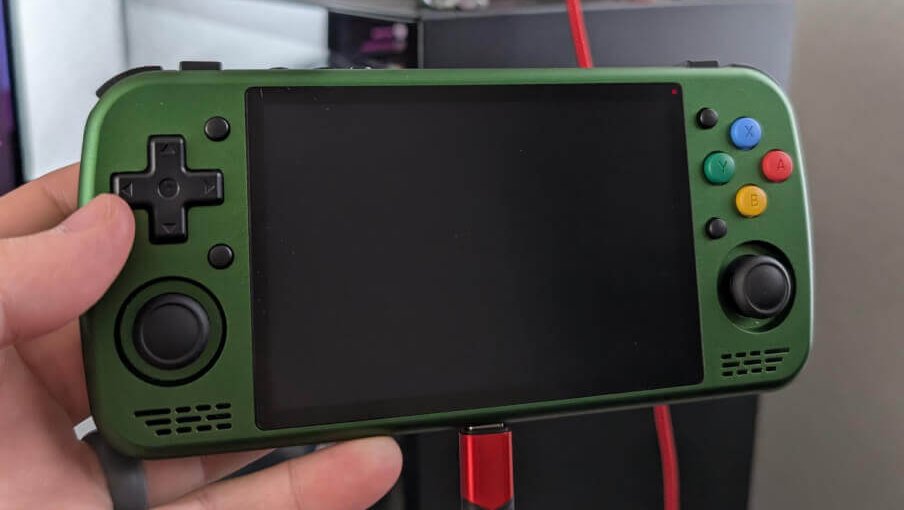
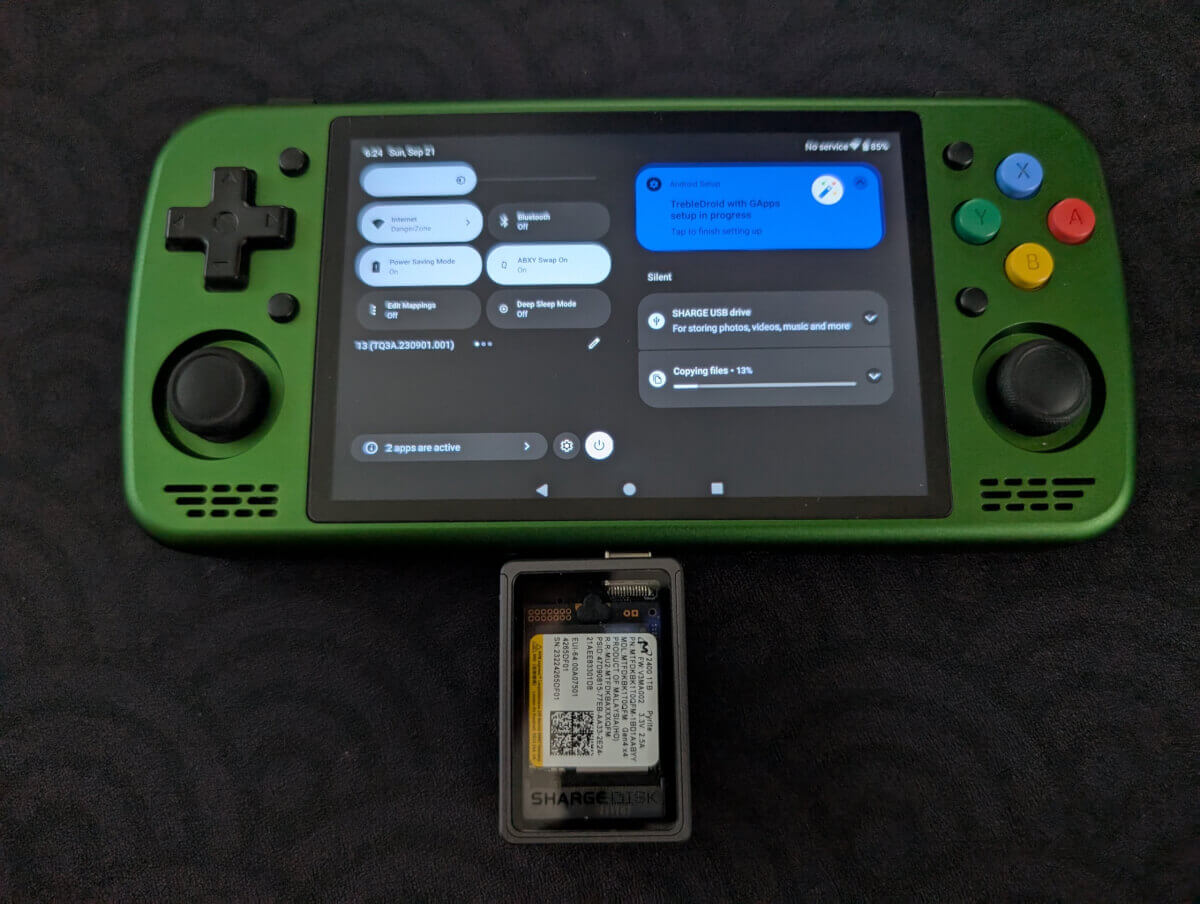
TheGammaSqueeze is a man of many talents, most notably for the excellent GammaOS operating system that he has brought to retro handhelds of many shapes and sizes. While you should definitely support TheGammaSqueeze on Patreon if you are able, the most recent version of GammaOS Next was just made publicly available on August 28, 2025. Having just got my hands on a metal KT-R1, I thought this would be the perfect opportunity to try out GammaOS Next.
This is strictly a setup guide, our own Nick wrote an excellent article about the OS on T820 devices back in June, and while some things have changed in the last few months, I’d recommend reading that article for more information on what’s new with GammaOS Next and the additional features it brings.
Getting Started
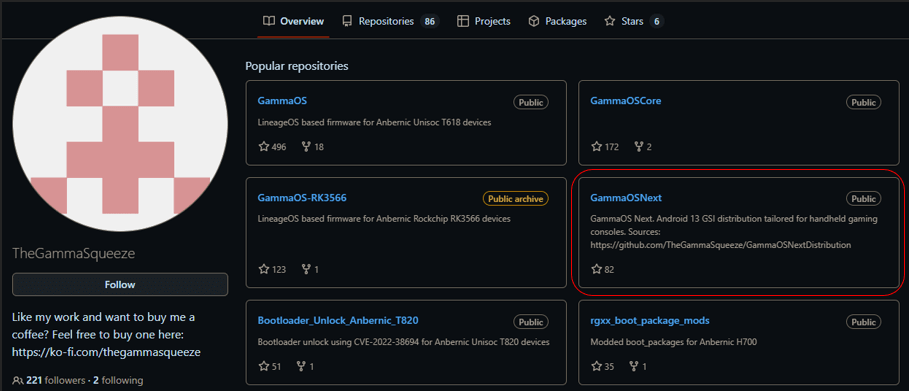
GammaOS GitHub
First things first, we’ll need to head over to TheGammaSqueeze’s Github, and we’re looking for the GammaOS Next page. This page has tons of information on the features of the operating system, requirements and any known issues, as well as a supported devices list. You can see upcoming, or “planned”, devices on this list as well. For the purposes of this article, we’re going with the KT Pocket KT-R1.
GammaOS Next Supported Devices
Currently Supported
- Anbernic RG556 / RG Cube / RG406V / RG406H
- AYANEO Pocket Micro
- Retroid Pocket 4 Pro
- Retroid Pocket Classic
- KT Pocket KT-R1
- ZPG Unicorn A1
- GameMT E6 MAX
Planned
- Anbernic RG Slide
- Anbernic RG405M / RG405V / RG505
- AYANEO Pocket S / DMG
- AYANEO Pocket AIR
- Retroid Pocket Mini v1/v2
- Retroid Pocket Flip 2
- Retroid Pocket 5
- Powkiddy X28
GammaOS Next Files
From there, you’ll want to locate and open the Releases page, which has some device-specific features and those oh-so-important installation files. You can choose between GammaOS Next Lite, a version that entirely removes Google services, or GammaOS Next Full that contains Google Services.
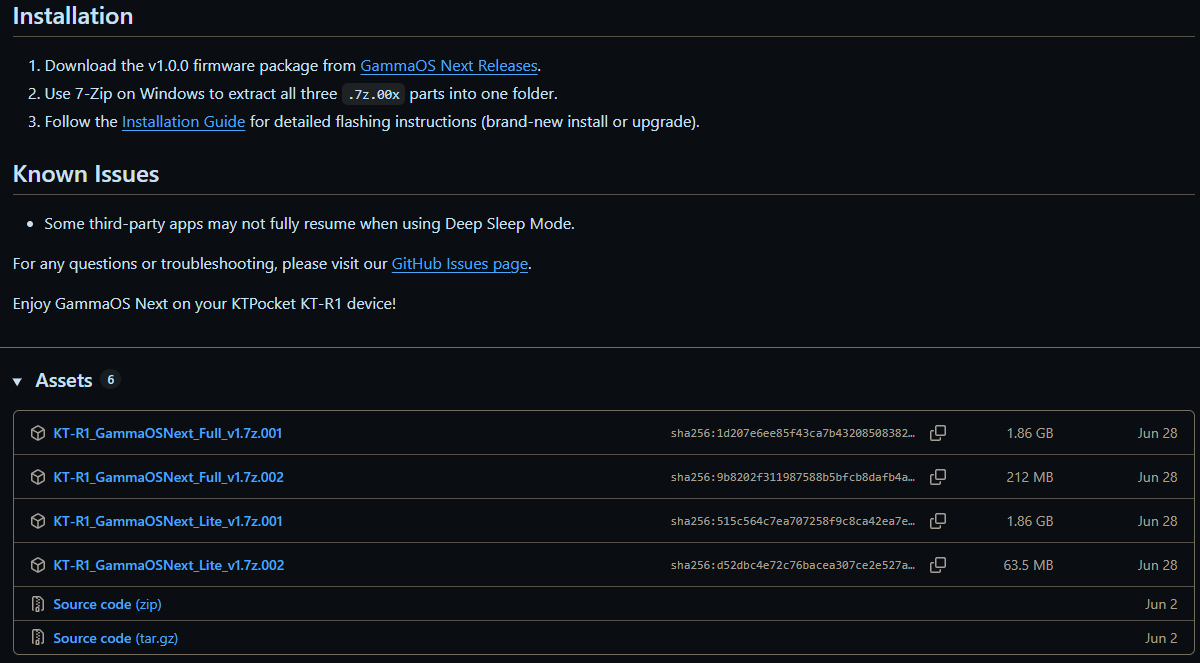
GammaOS Next Release Page
If you’re going Lite, note that you’ll need to use the Aurora Store to install additional apps. I’m going with GammaOS Next Full on my KT-R1 since I prefer to use the Google Play Store.
- From the releases page, locate the most recent release for your device.
- Be sure to download all of the necessary ZIP files (i.e. v1.7z.001 and v1.7z.002)
- Once downloaded, navigate to the folder that they were downloaded to.
- If using 7-Zip, select all of the pertinent files, and right-click them.
- Hover your mouse over the 7-Zip menu item, then select Extract Here.
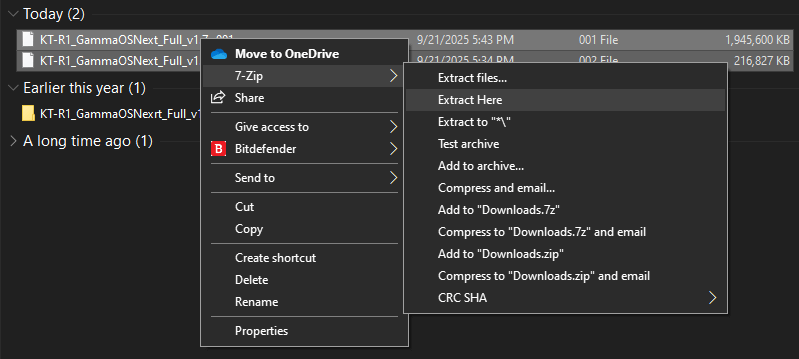
Extract Files Together
You’ll also want to ensure that you unzip these files together, so that you end up with one unzipped file.
PC Prep
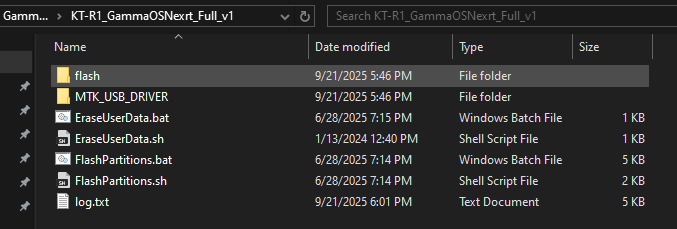
Unzipped GammaOS Next Folder
Next, you’ll want to hop on over to the GammaOS Next Installation Guide and follow the steps depending on the device you wish to set up. There are instructions for both Windows and macOS/Linux users. Some have video installation guides available, but the KT-R1 did not.
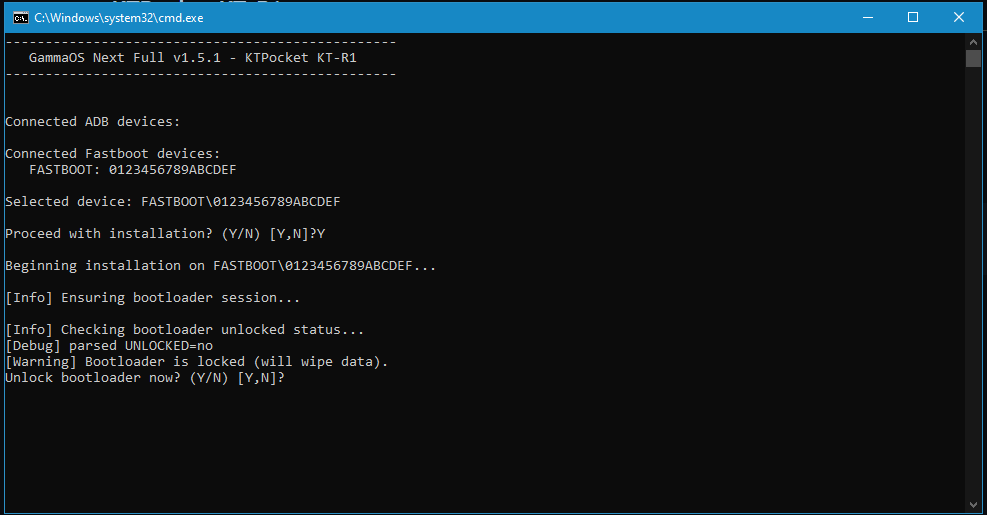
Before the fun can really begin, we’ll first need to unlock the device’s bootloader, which is the case no matter what Android device you’re trying to install GammOS Next onto. But before that, you’ll need to get ADB/Fastboot setup on your PC. Fortunately, Gamma includes the necessary files in the unzipped GammaOS Next folder, because of course he did!
- Navigate to the folder uncompressed folder.
- Find the `ADB-and-Fastboot++_v1.1.1.msi` file, and double-click to open it.
- Once complete, locate and open the `Mediatek_Driver_Auto-Installer_5.1632.00.exe` and `DPInst64.exe`
That will take care of installing ADB, MediaTek drivers, and UniSoc drivers onto your PC. From there, here’s how you can enable USB debugging and OEM unlocking:
- Unlock your device and open the Settings app.
- Look through the list of settings for a section called “Developer Options.”
- If you can’t find it, head into the About section.
- Find the Build Number and tap it seven (7) times until you see a notification appear letting you know that you’re a developer.
- Go back to the main Settings menu and open the Developer Options panel.
- Look for and enable USB Debugging and OEM Unlocking.
Okay, now for the fun stuff. And by fun, I mean potentially tedious, as there are a few commands that you’ll need to enter before we’re in the home stretch. But first, after you’ve enabled USB Debugging and OEM Unlocking, plug your handheld into your computer.
- Open the Terminal app.
- Run the following commands
- adb reboot bootloader
- fastboot flashing unlock
- Close any other adb-related Terminal windows that you might have open.
- Open a new Terminal session, then from File Explorer, navigate to the extracted GammaOS folder.
- Double-click the
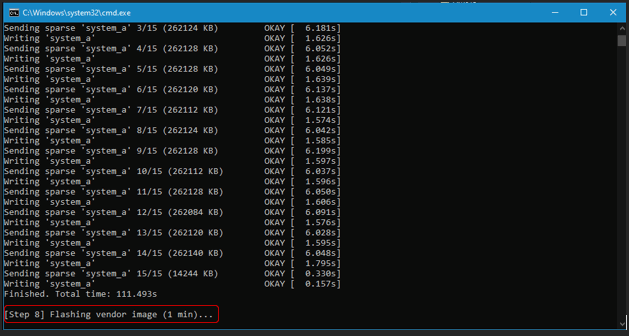
FlashPartitions.batfile. - Gamma warns that this could take up to 10 minutes, so go grab a snack and drink.
- After the partitions have been flashed, double-click the
EraseUserData.batfile. - Wait for the process to finish.
- You should see the fastbootd screen up on your device now
- Once complete, press and release the the Power button on your device to reboot.
- Terminal Window (Command Prompt)
- Installation Prompts and Times
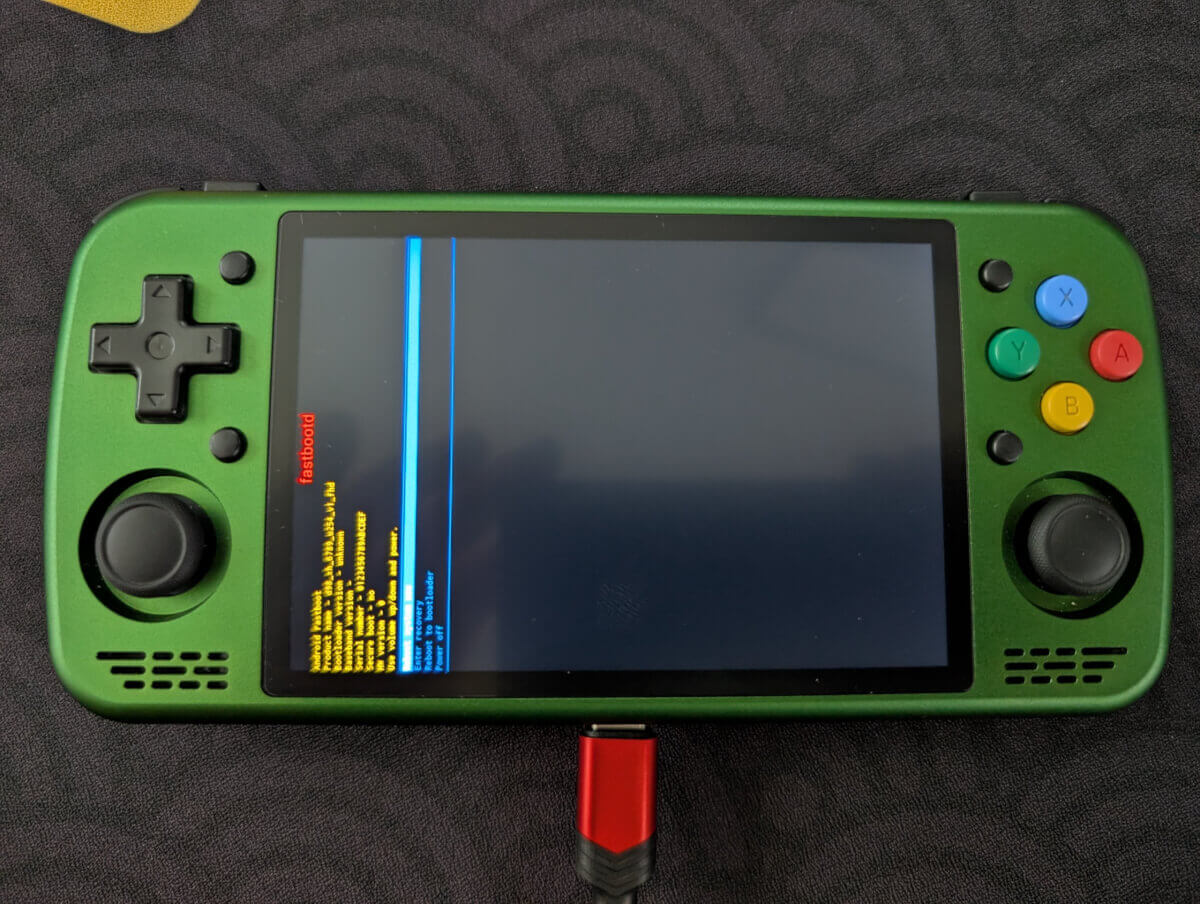
fastbootd screen
There will be helpful prompts and time estimates throughout the process, so you’re unlikely to find yourself confused as to where you are during setup. Once you’ve got that completed, it’s time to move on to the device itself!
Device Installation
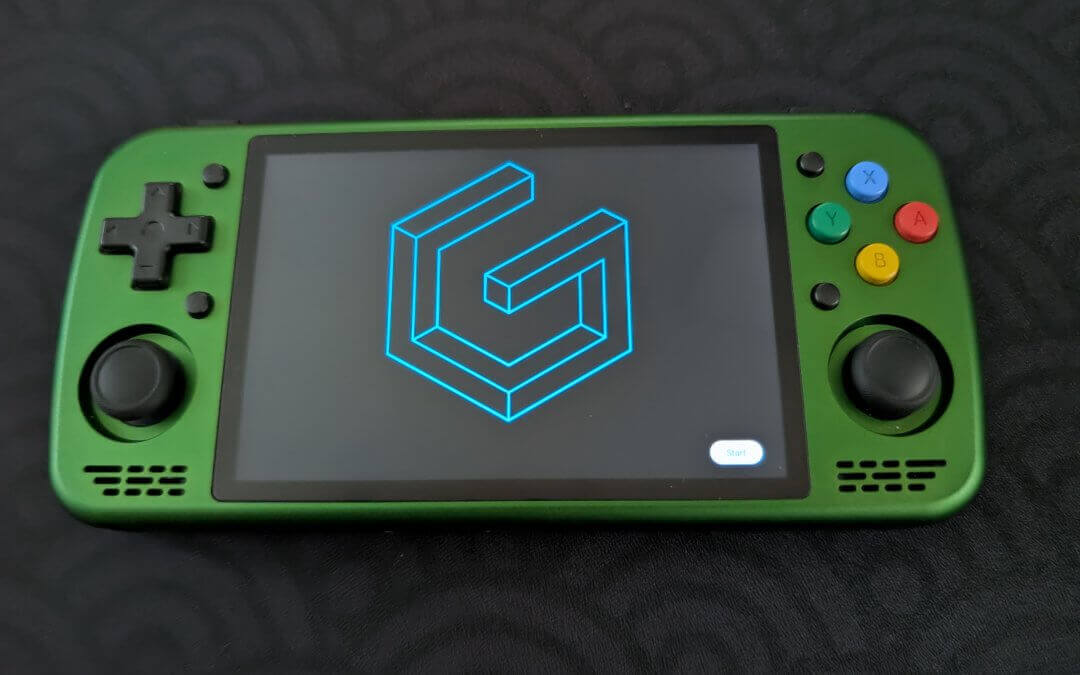
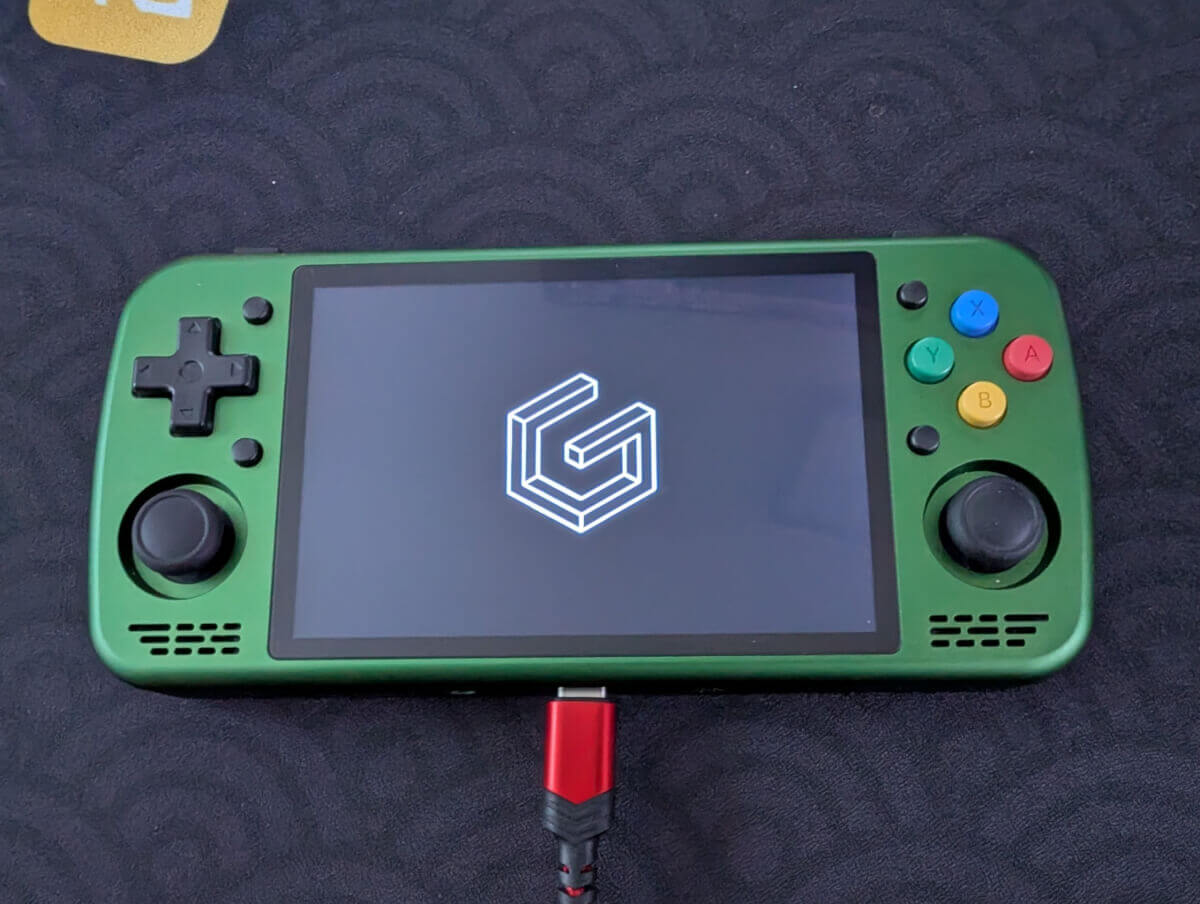
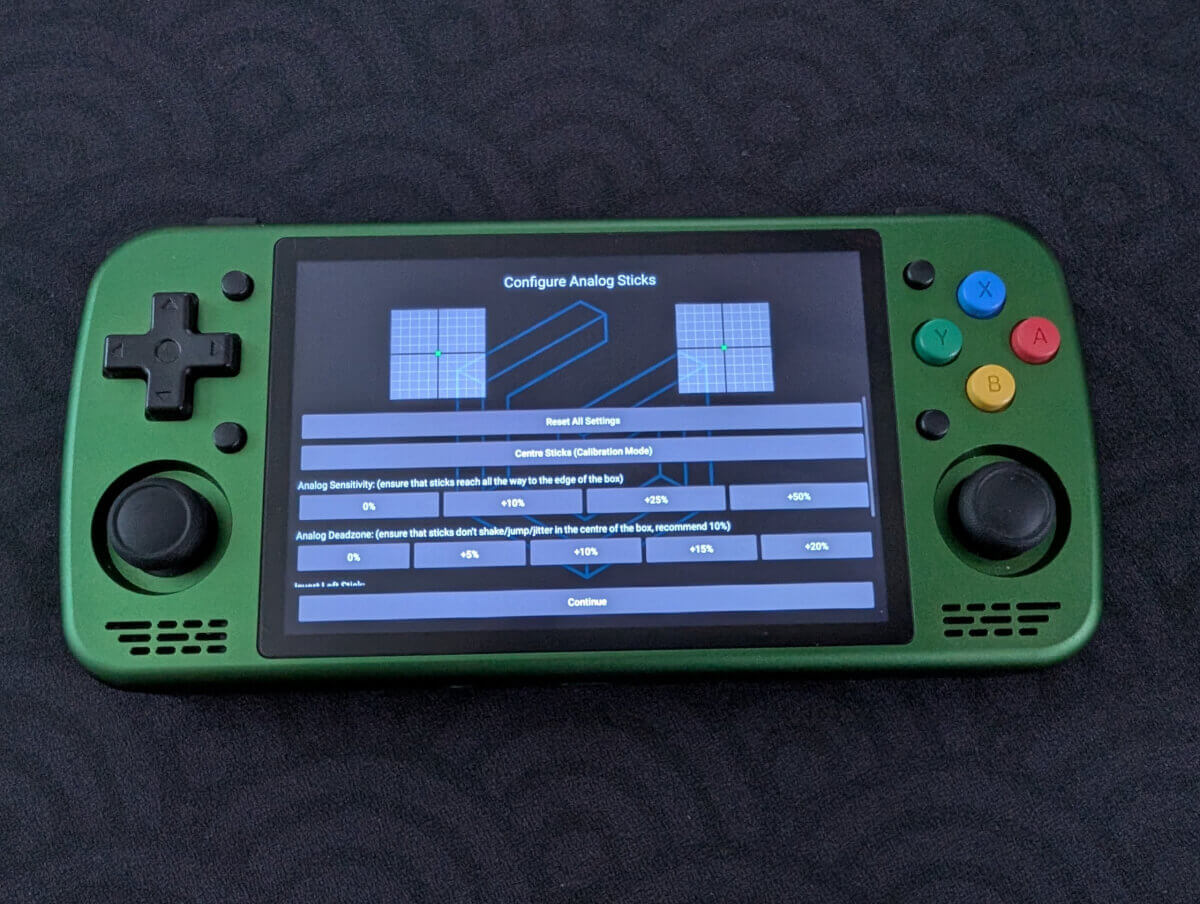
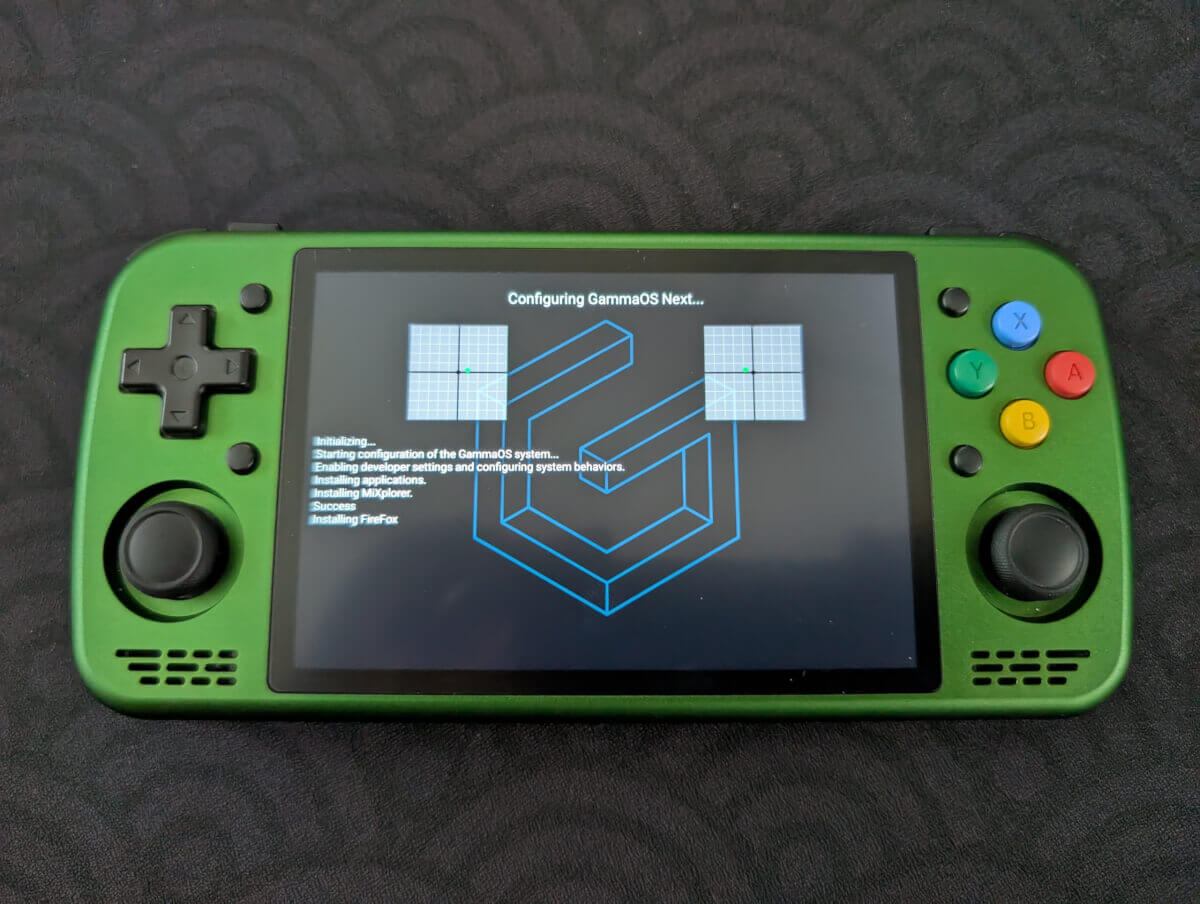
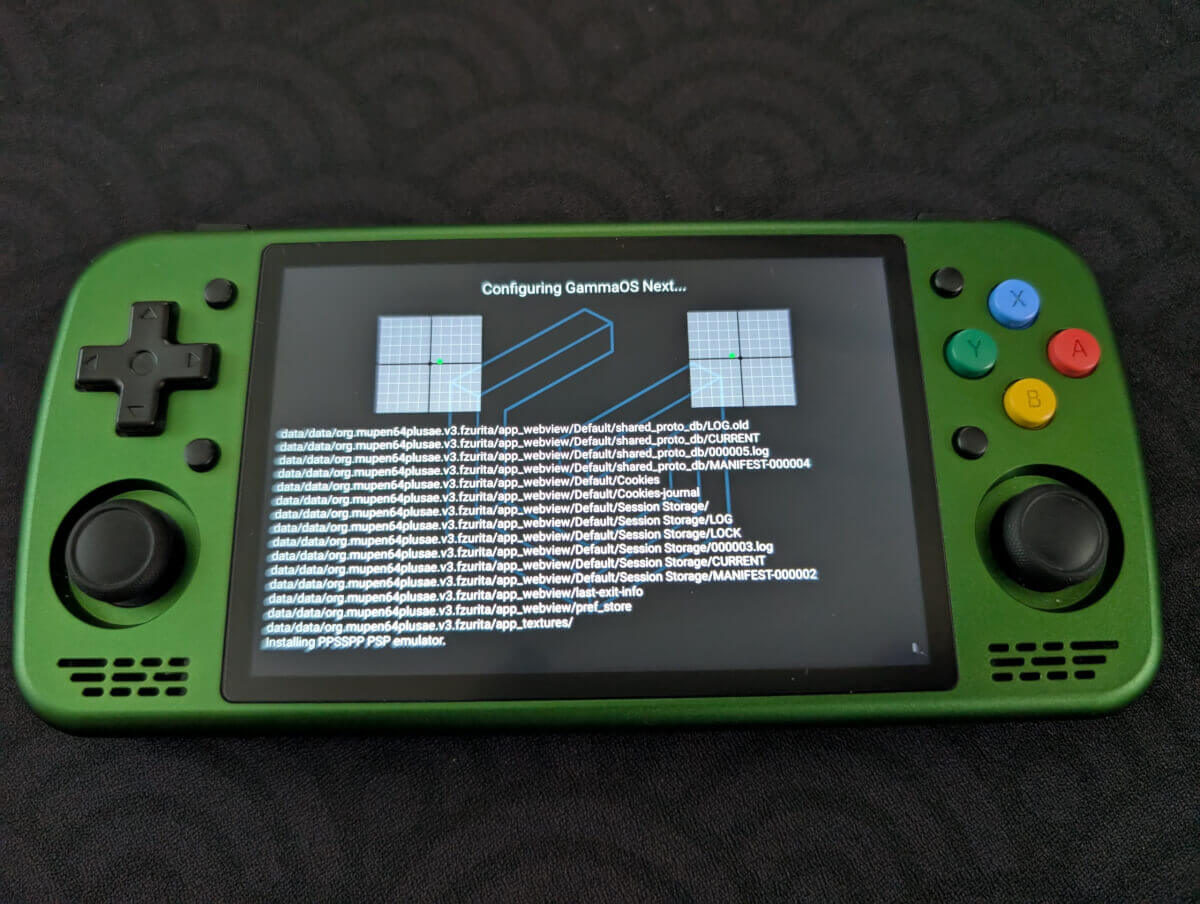
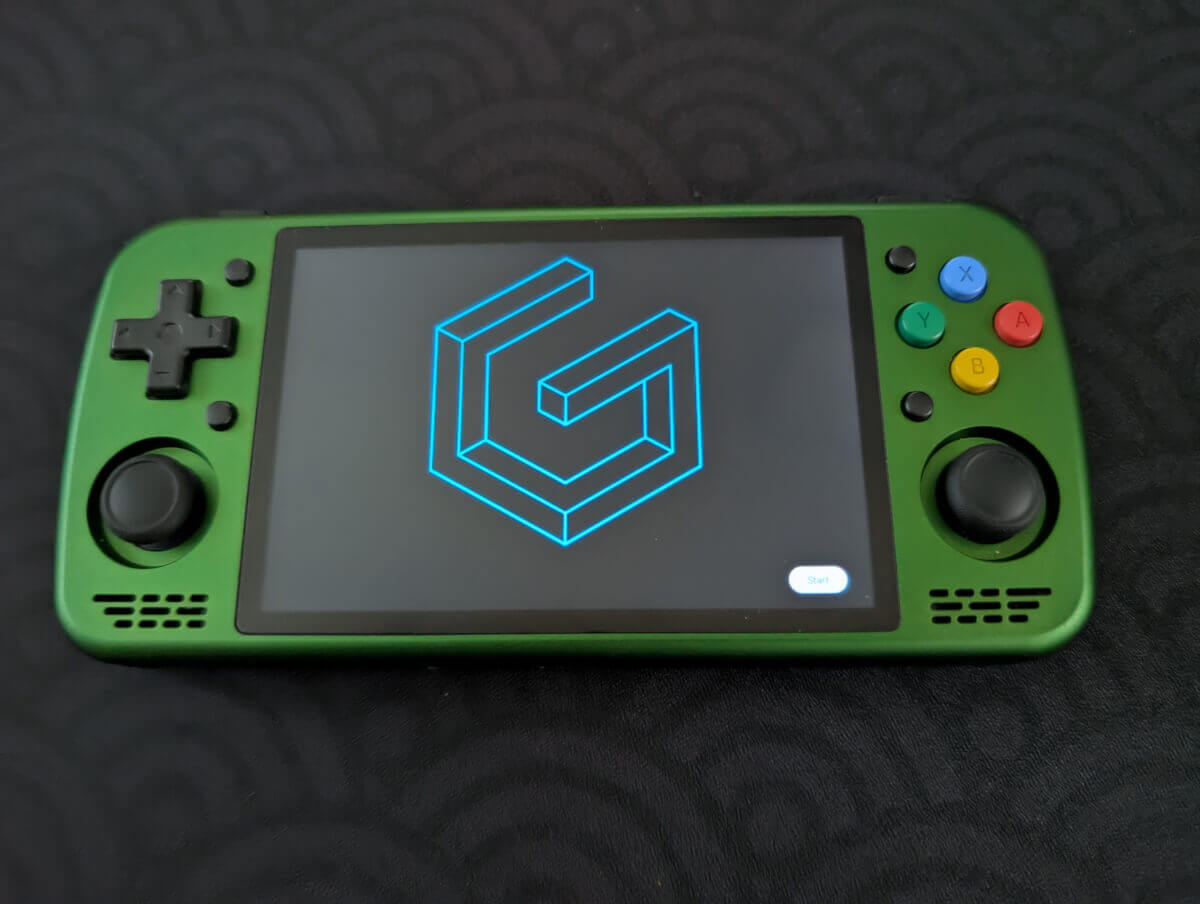
After rebooting, we’re now greeted with the GammaOS logo for the first time and taken into a helpful Configure Analog Sticks prompt. Once you’ve got your settings to your liking (I had Analog Sensitivity set to +25% for the KT-R1), click Continue to start all of the emulator, app, feature, and frontend files installing on the device. Can’t you just feel the excitement!
- GammaOS Logo
- Analog Stick Configuration
- GammaOS Next Configuration
- GammaOS Next Emulator and File Install
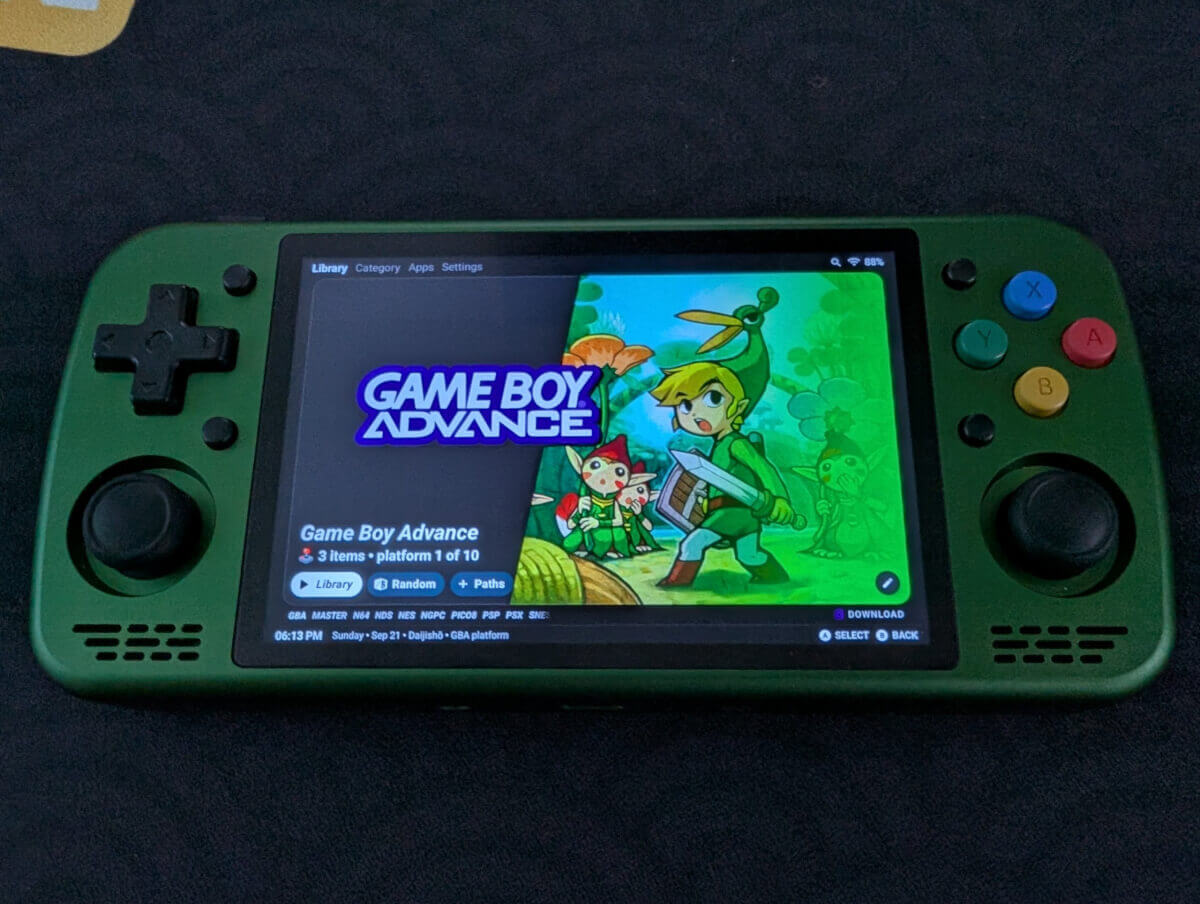
When that’s all done, the GammaOS logo will appear again, this time with a Start button. Click this, and you’ll be dropped into the GammaOS Next system in Daijisho. This is the frontend that GammaOS Next uses, as well as the home page that you will now see every time you turn on the device.
- GammaOS Next Start
- Daijisho
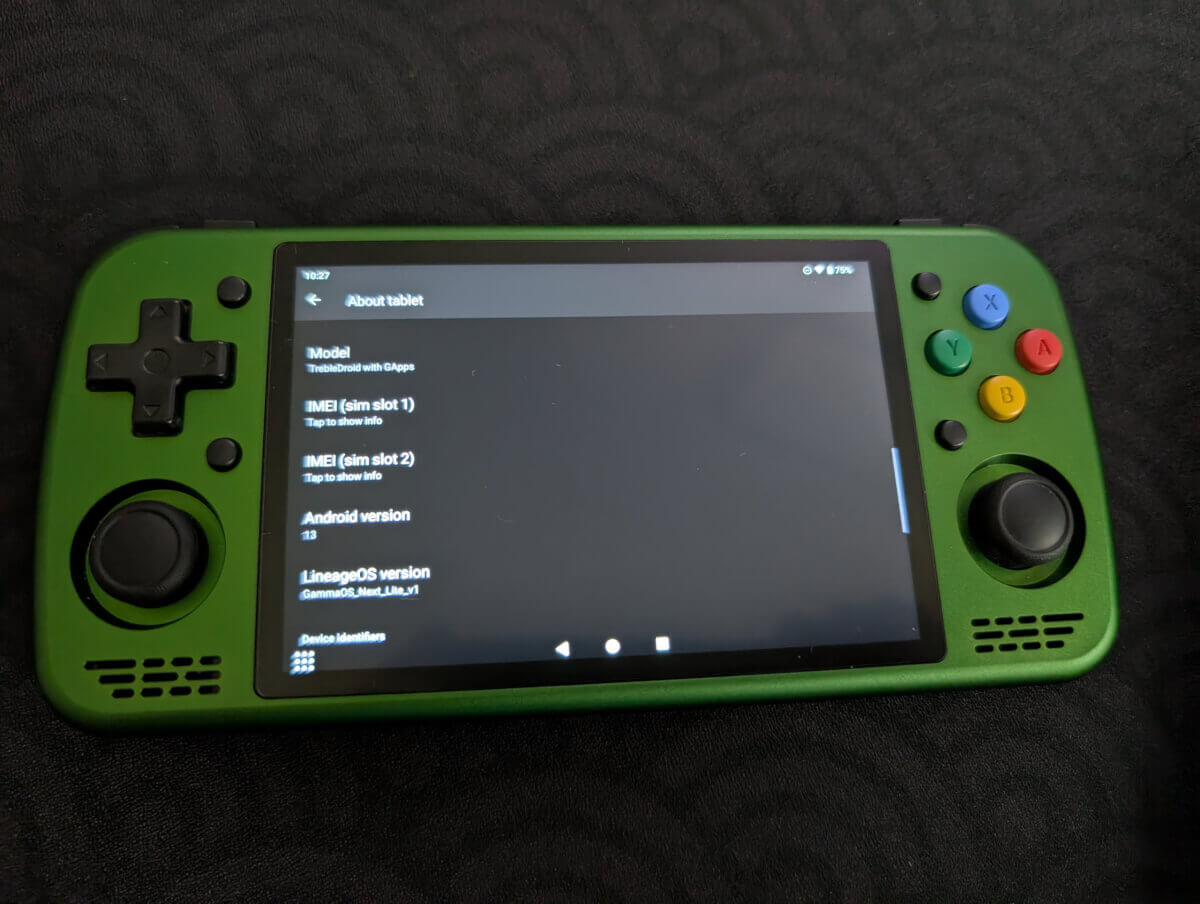
- Android 13
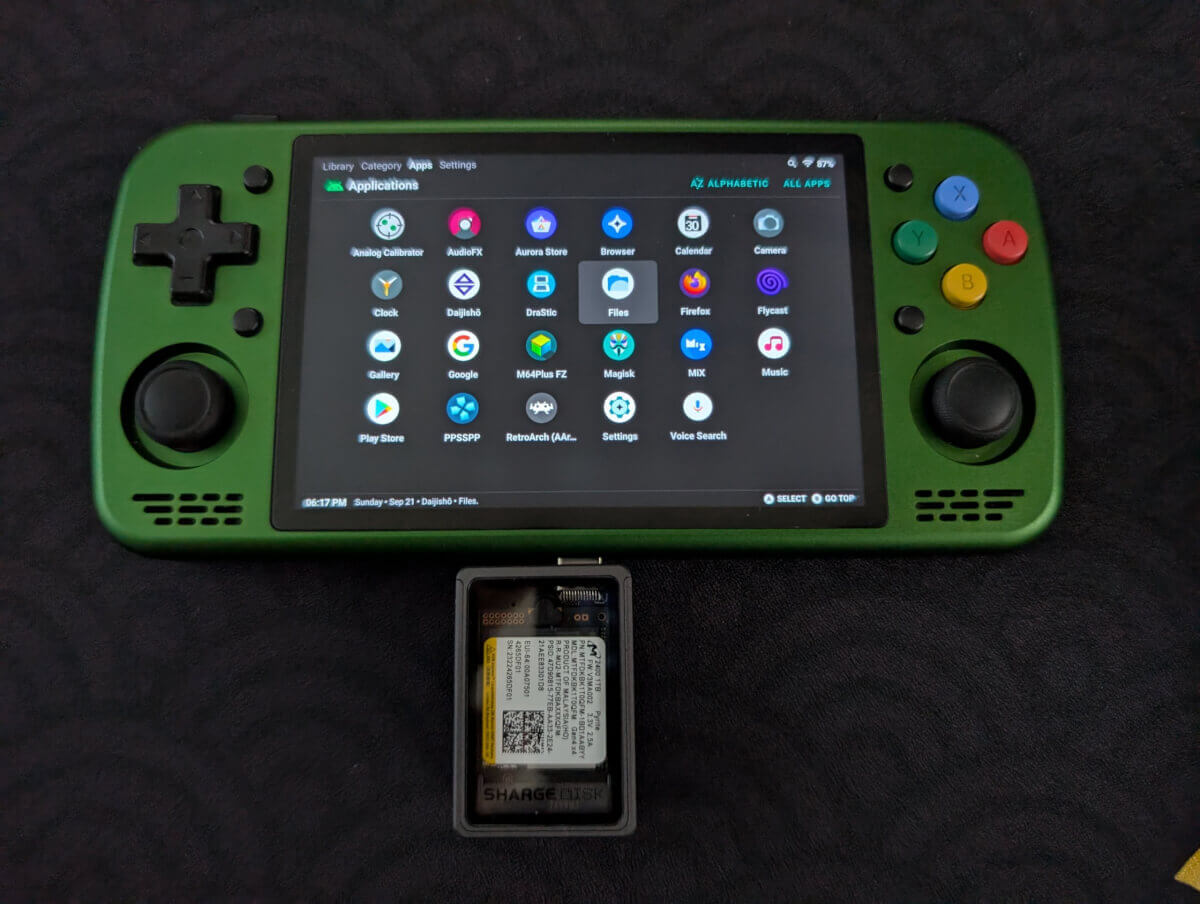
You can see that all the game systems, paths, and emulators have already been installed on the device and linked to Daijisho. RetroArch has also been installed and pre-configured, along with standalone emulators like Mupen64 and PPSSPP. We’re now also now on Android 13, with native Bluetooth functionality that was notably absent on the KT-R1 in some older GammaOS builds.
- ROM File Transfer
- Transfer Progress and Settings Menu
All emulator and rom folders are also present, though you’ll need to provide your own ROM files. I personally have my KT-R1 set to be a GBA only device, and used my Sharge to move all my files over to the GBA folder on the device. If you’re using a device with a Nintendo-style ABXY setup, don’t forget to enable that ABXY Swap On in the settings dropdown! Your power modes and universal button mapping will also be located in this dropdown menu.
Ready to Play
You’re done! Outside of configuring things like RetroArch and Daijisho to your particular preferences, you’re ready to start playing some games. Remember that a lot of the emulators and apps come pre-configured with GammaOS Next, so feel free to leave the settings as they are within the OS.
Gamma has made it ridiculously easy to install and just start gaming with GammaOS Next. The pre-configured apps and emulators, along with functionality like universal button mapping and debloated software, make this one of the best operating systems you can put on a retro handheld device today.
What did you think of this article? Let us know in the comments below, and chat with us in our Discord!
This page may contain affiliate links, by purchasing something through a link, Retro Handhelds may earn a small commission on the sale at no additional cost to you.
