“Wii will go on to the end. Wii will never surrender,” – Winston Churchill after losing his fourth boxing match in Wii Sports
The seventh generation of gaming consoles was weird. Here we saw the release of the Xbox 360, which ceremoniously offed itself with the flicker of a red ring on release, the irrationally expensive $600 PlayStation 3 (Welp), and what is literally an overclocked 6th gen machine re-boxed and sold to you with fewer features than the competition.
Out of all these, which one do you think sold the most? It’s the Wii. This article is about the Wii, or should I say: The GameCube 2, or the GameRectangle. With a remote.
Having never owned a Wii growing up, when I finally bought one in 2018, it basically became my “Better GameCube Machine”. As part of my ever-loosing battle of finding the best image quality possible on these machines, I have picked up a lot of tips and tricks to fast-track what was a nearly 10-year battle for me.
The Wii’s Baseline Picture Quality
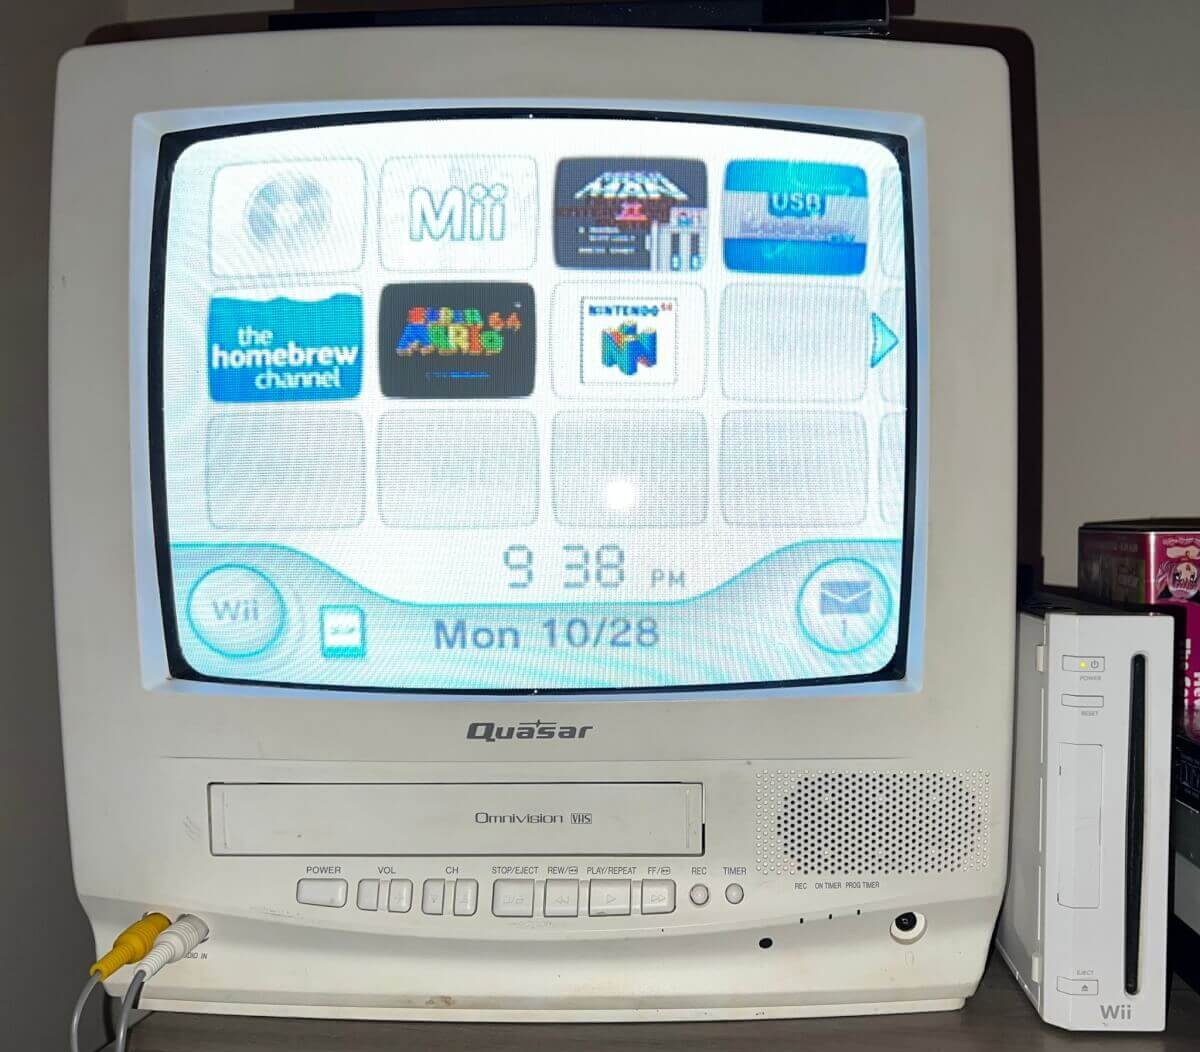
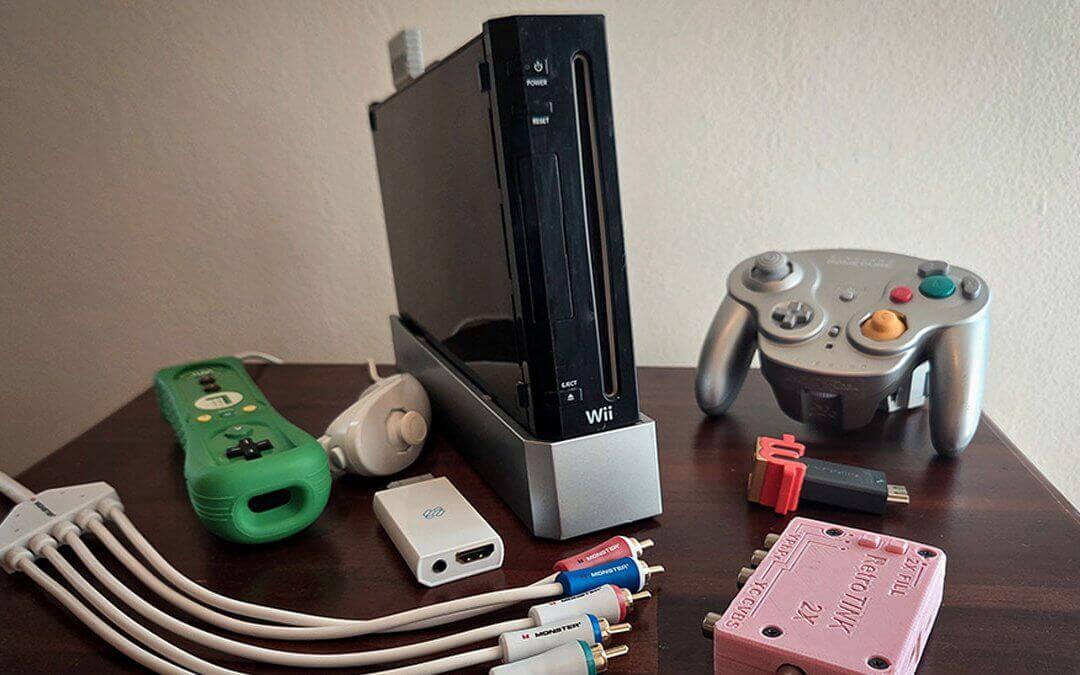
Image source: Chadwick Benson on X
Running on an overclocked GameCube SOC, the Wii is optimized for full 480p gameplay. Through the video out port and some super cheap component cables, we can get the full resolution of GameCube/Wii games for a fraction of the cost of the infamous GameCube component cables. Unlike the GameCube, the Wii also natively supports 16:9 aspect ratios by default.
However, instead of the standard 480×800 for 16:9 content, the Wii actually runs a max of 480×720 which is effectively a 2:3 ratio squished to 4:3 or stretched to 16:9, but displays correctly because the of another Wii function called the “Framebuffer” that takes a raw image and processes it to appear correct on screen, but slightly blurs it as a result.
And last, every Wii applies a filter over the final image that is meant to prevent flicker on 480i content called the “Deflickering filter”. This filter effectively makes the image super blurry on modern TVs. Unfortunately, the only way to turn it off is with mods.
So… how exactly are we going to get the best image quality out of our favorite GameRectangle? Here are the steps!
Without Mods
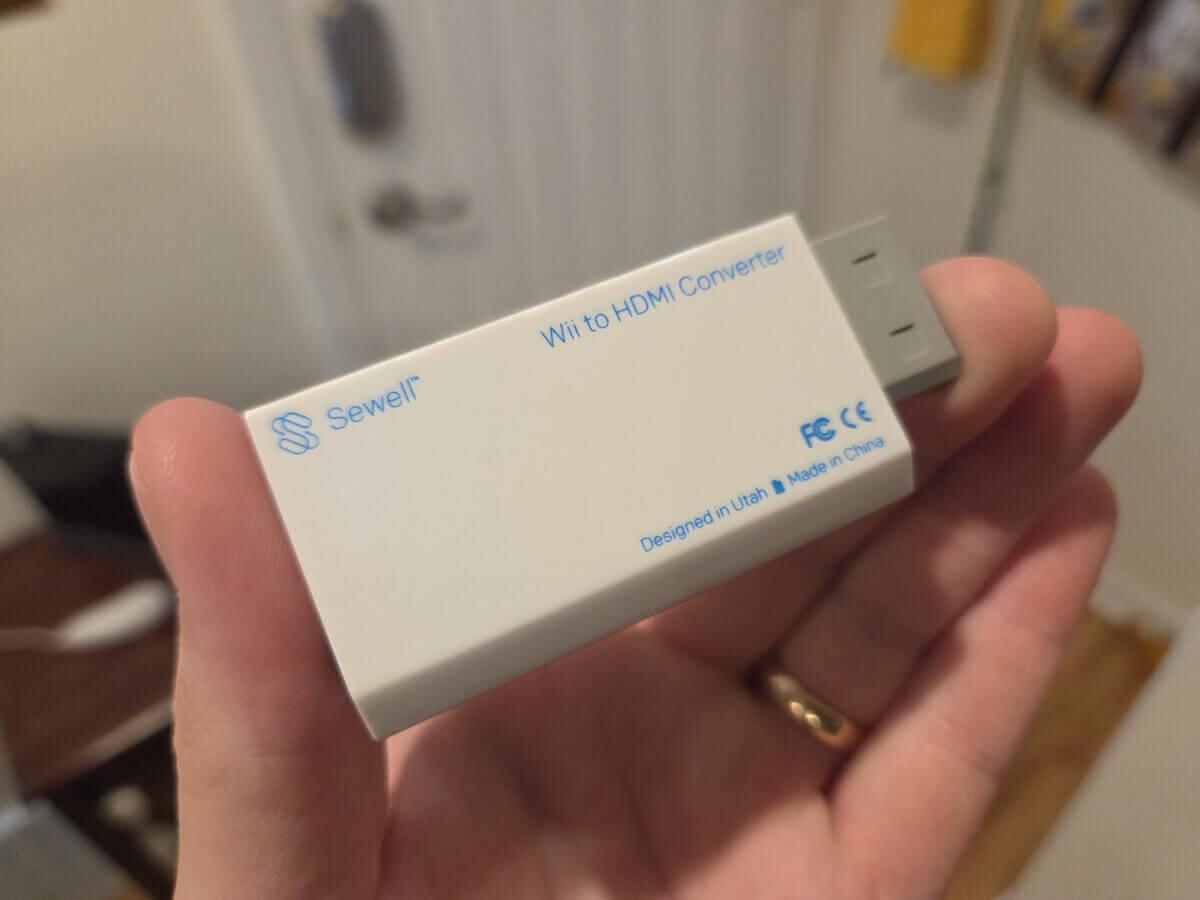
Don’t feel like modding it? Nintendo put the fear of God into you? No matter, because you can achieve great image quality for as cheap as $10.
Step 1: Pick Your 480p-out Solution!
Video Source: QDA
PTSD over the price for GameCube component cables? Have no fear! Wii component cables are plentiful, cheap, and give you a full 480p image like the GameCube! Just like anything with component-in, however, there’s a digital-to-analog conversion and cable management.
Alternatively, you can just fork over $15 and buy a WII2HDMI adapter and be done with it. Seriously, most of them are fine enough. Here’s one by Mayflash that’s pretty popular. Either way, both will give you superior colors and access to 480p.
Step 2: Set ‘er To 480p!
Accessing the settings from the home menu and setting the resolution to 480p will give you a nice, clean experience from the get-go. If you can’t set this to 480p, or it bugs out, something is wrong with your HDMI converter (most likely caps at 480i). And… that’s it! Play your Wii and GameCube games at 480p. But… What if we can do MUCH better?
Mod Your Console
From here, I’m assuming you already modded your Wii and have access to the Homebrew Channel. Haven’t yet? There are a bunch of methods, but here’s the golden standard (Let us know if you’d like to see a modding guide in the future!).
Step 1: Using Priiloader!
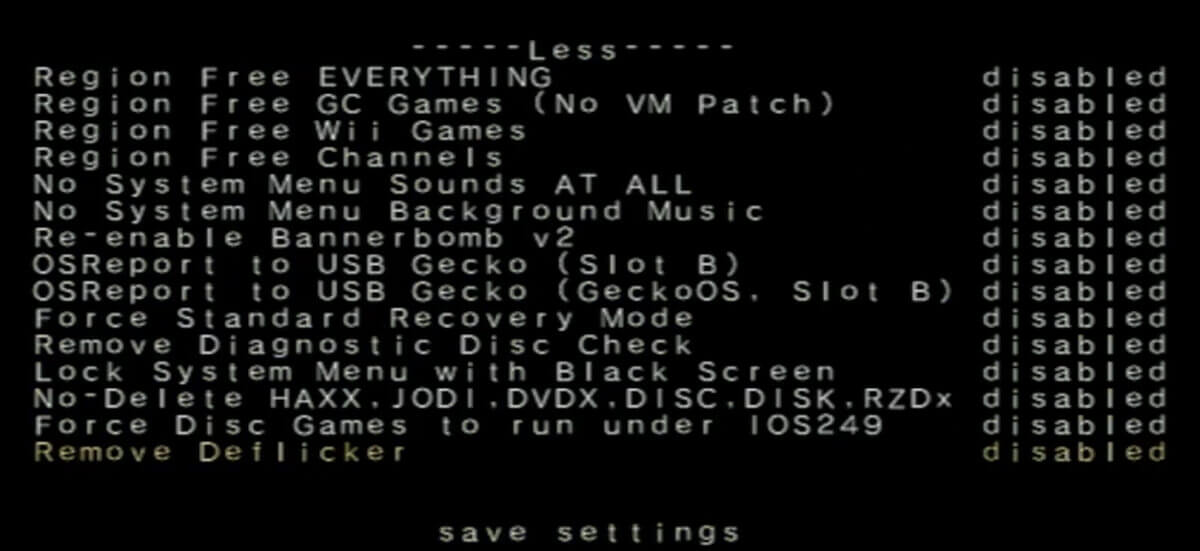
Under “System Menu Hacks,” enable “Remove Deflickering Filter
Priiloader is an application that modifies the system at the BIOS level, so it takes effect before the console boots up. Here we can set parameters like booting straight into The Homebrew Channel or backing up your system NAND. Notably, here you can turn off the deflickering filter on a system level.
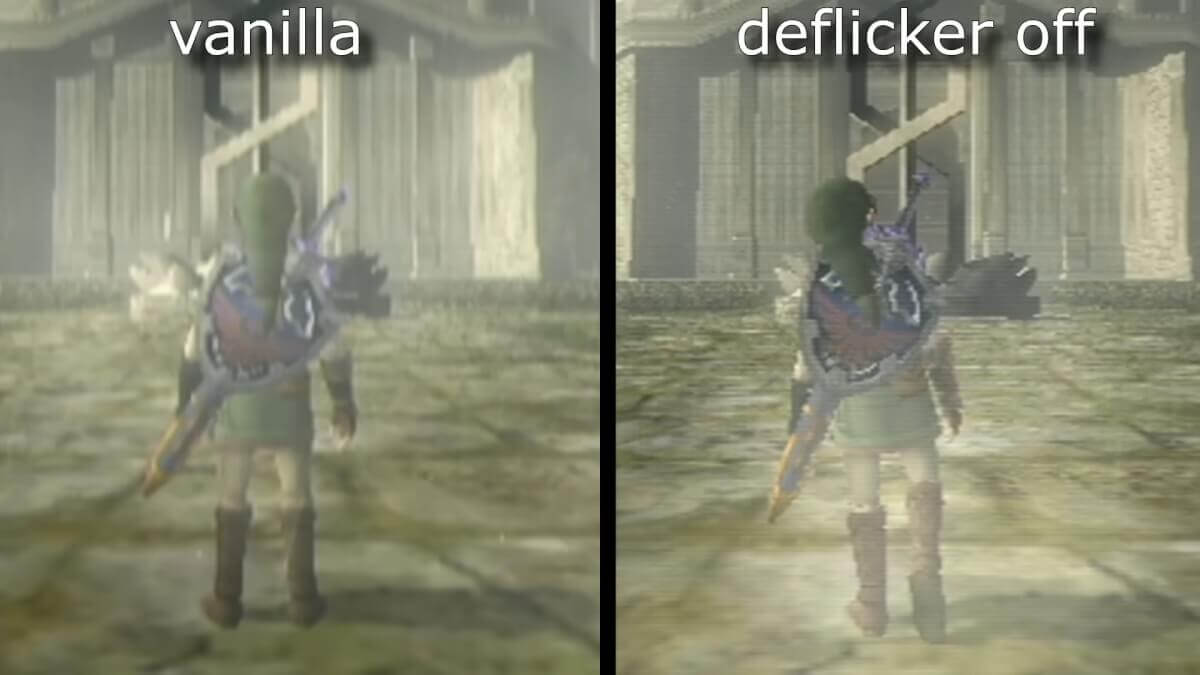
Image source: GVG
A simple restart and you will instantly see the difference it makes. Installing Priiloader is easy, but it can easily brick your console if you don’t pay attention. The best tutorial I was able to find is this video.
Step 2: Play GameCube BETTER With Nintendont!
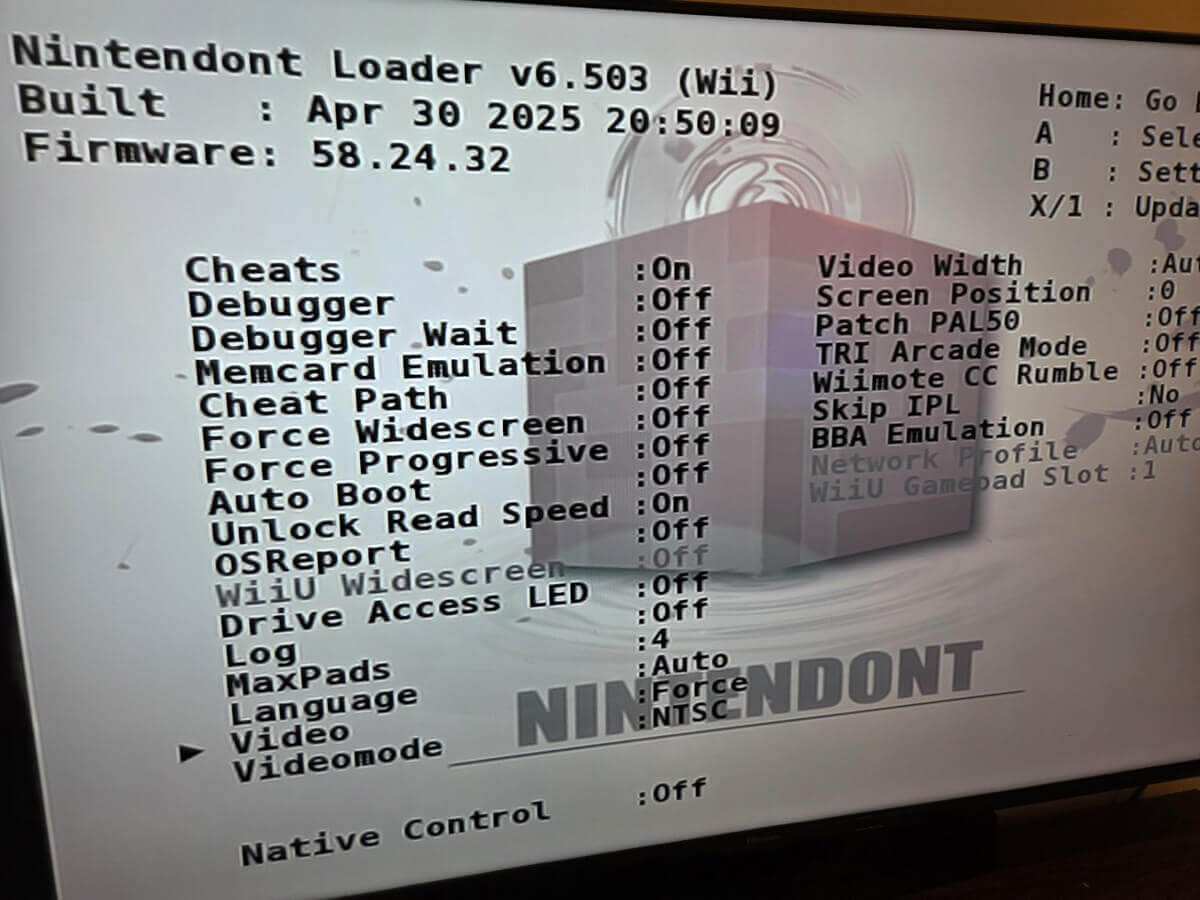
Nintendont is an application for the Wii and Wii U that bypasses the Wii’s native GameCube player to enhance the way you play GameCube games while taking full advantage of the Wii’s hardware.
Here you can set cheats, force progressive scan (480p), turn off the deflicker, and a bunch of other modifications. Notably, this also enables you to boot GameCube games from an SD card or a thumb drive.
A not-so-advertised feature of using Nintendont is that it takes full advantage of the Wii’s “Overclocked GameCube” nature and boosts the performance across the board for GameCube titles, whereas the native GameCube player runs just like a normal GameCube.
Some standouts are the ability to use the 60 FPS cheat for Super Mario Sunshine, better performance on the N64 Zelda games, closer to 60fps performance on Rogue Squadron, and faster loading. Nintendont is a very easy install and a setup guide, and can be found here.
Step 3: Using USB Loader GX
USB Loader GX is a front-end for the Wii that can launch games directly from a myriad of sources without booting into multiple apps to otherwise do so. The loader’s intended use is to boot Wii backups from a USB drive.
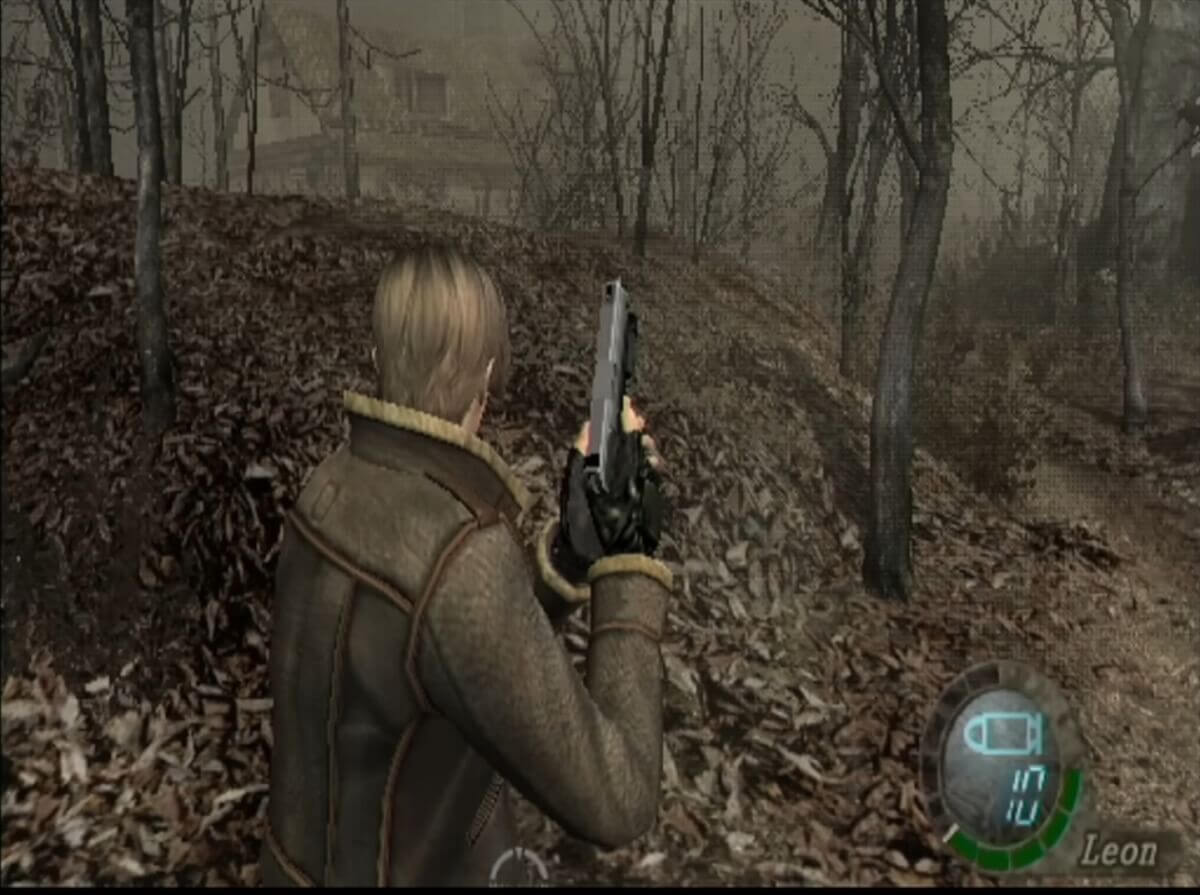
- RE4 with the framebuffer off. Source: GVG
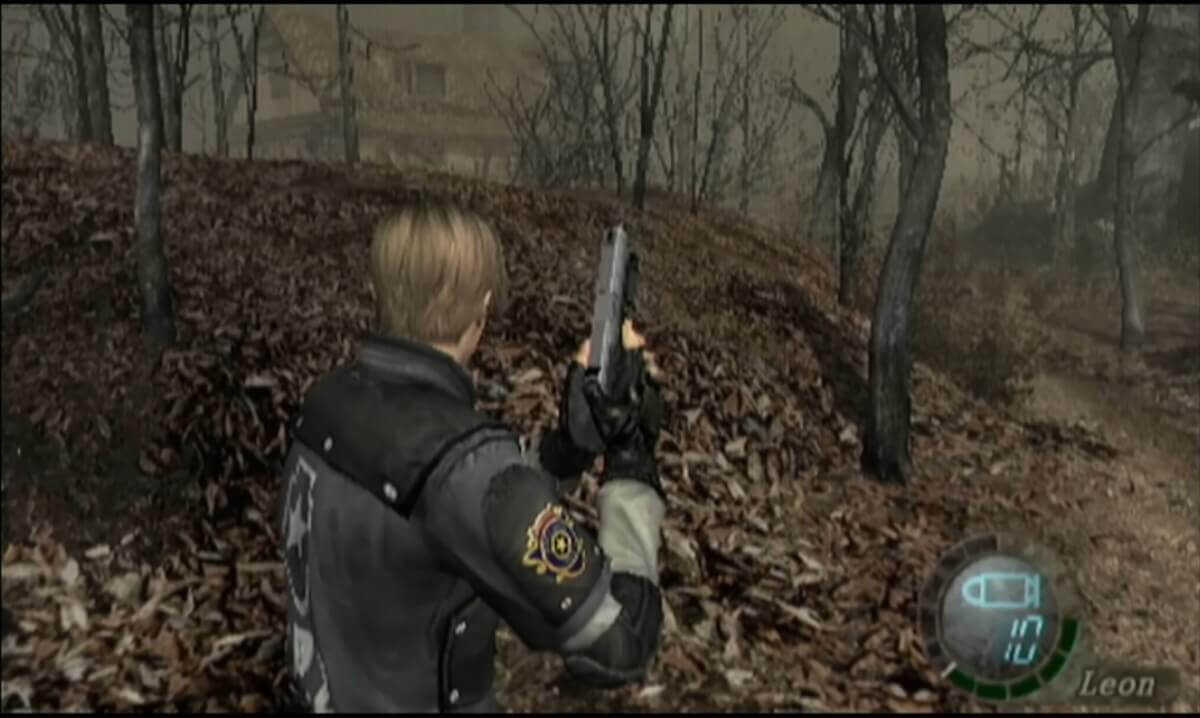
- RE4 with Framebuffer On. Source: GVG
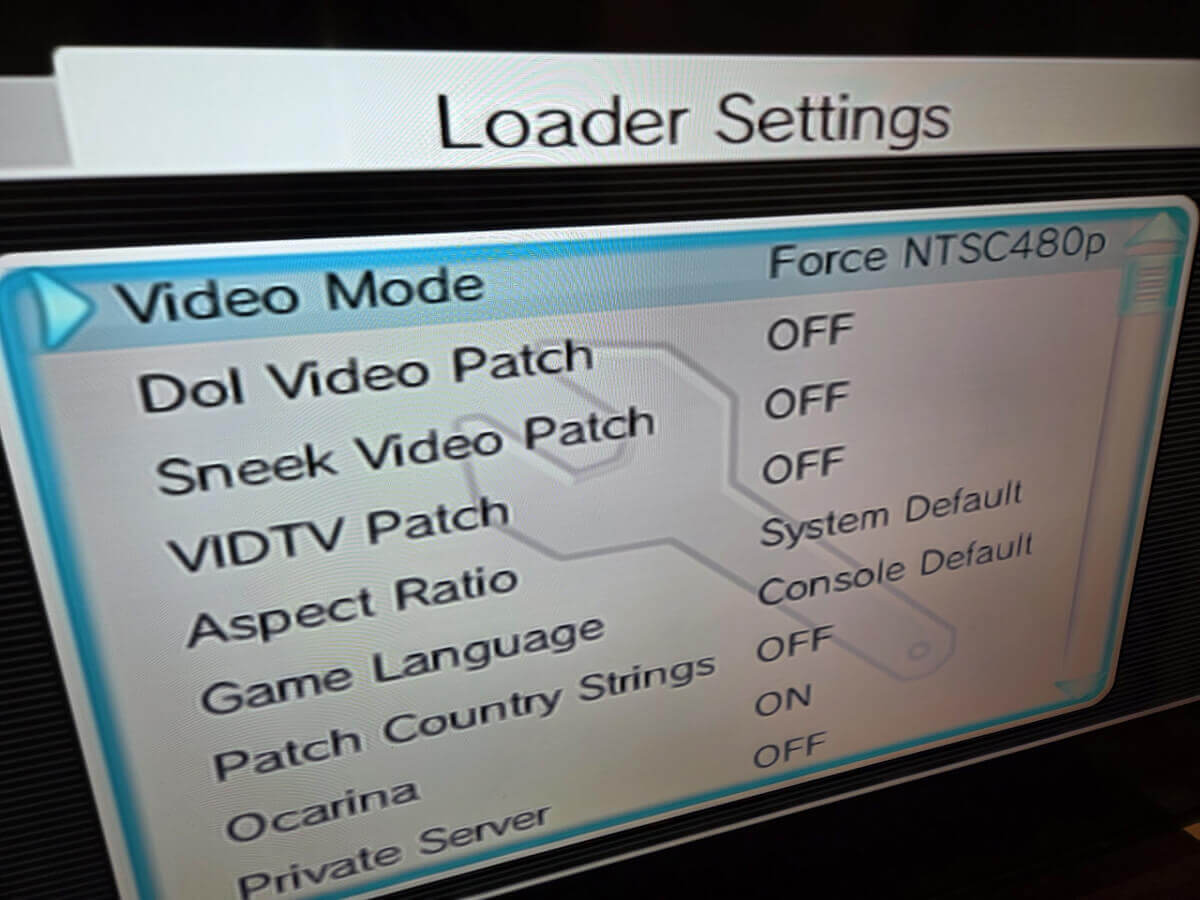
A lesser-known feature of this application is the ability to enhance picture quality system-wide by, you probably guessed it, turning off the deflicker filter. Here, we can also turn off the framebuffer and get the raw image produced by the Wii for extra sharpness. Be warned, you can get very wacky results with turning the framebuffer off, but it’s a cool function regardless. Here is a setup guide.
In Summary…
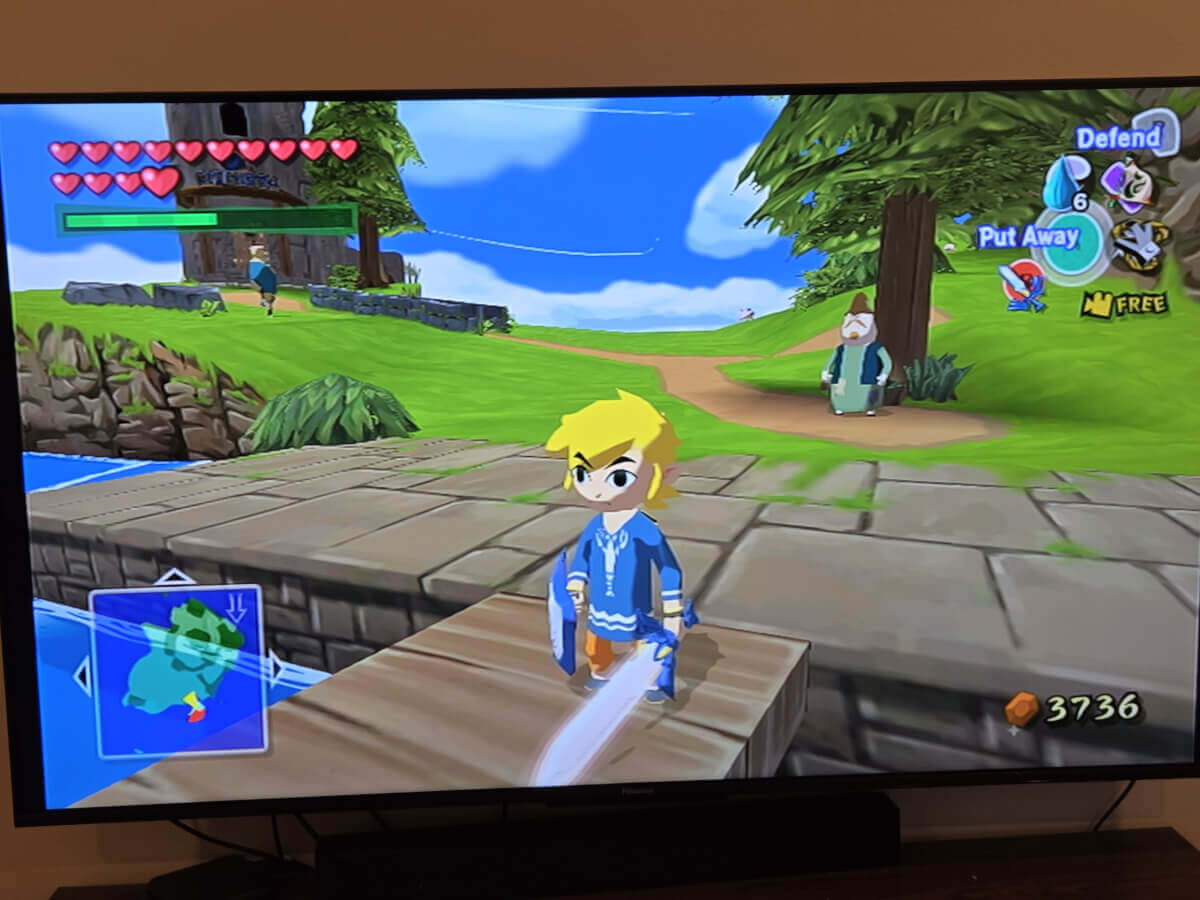
Nintendont, Cheats, and a little bit of love
You definitely don’t need EVERYTHING here to enjoy your Wii/GameCube games. Here’s a TL;DR you can pick and choose from:
Before Mods:
- Buy a Wii2HDMI adapter
- Set your console to 480p
With Mods
- Set up Priiloader to disable the de-flicker filter
- Set up Nintendont for enhanced GameCube performance, progressive scan, and a disabled de-flicker
- Set up USB Loader GX and disable flicker, disable the framebuffer, and manage your games
After going through these processes, here are some miscellaneous notes:
- Disabling “De-Flicker” on Priiloader should be enough system-wide, but I disable it everywhere to be safe
- There are multiple ways to boot into apps on your Wii. You can download versions to be booted from the Homebrew menu or the home screen. The guides provided above should provide what you need for that
- I don’t personally use USB Loader GX and opted just to boot directly into the Homebrew Channel
- Homebrew channel and USB Loader GX can be navigated with a GameCube controller
- I use a Sewell WII2HDMI adapter (discontinued) and an MClassic upscaler
What did you think of this article? Let us know in the comments below, and chat with us in our Discord!
This page may contain affiliate links, by purchasing something through a link, Retro Handhelds may earn a small commission on the sale at no additional cost to you.
